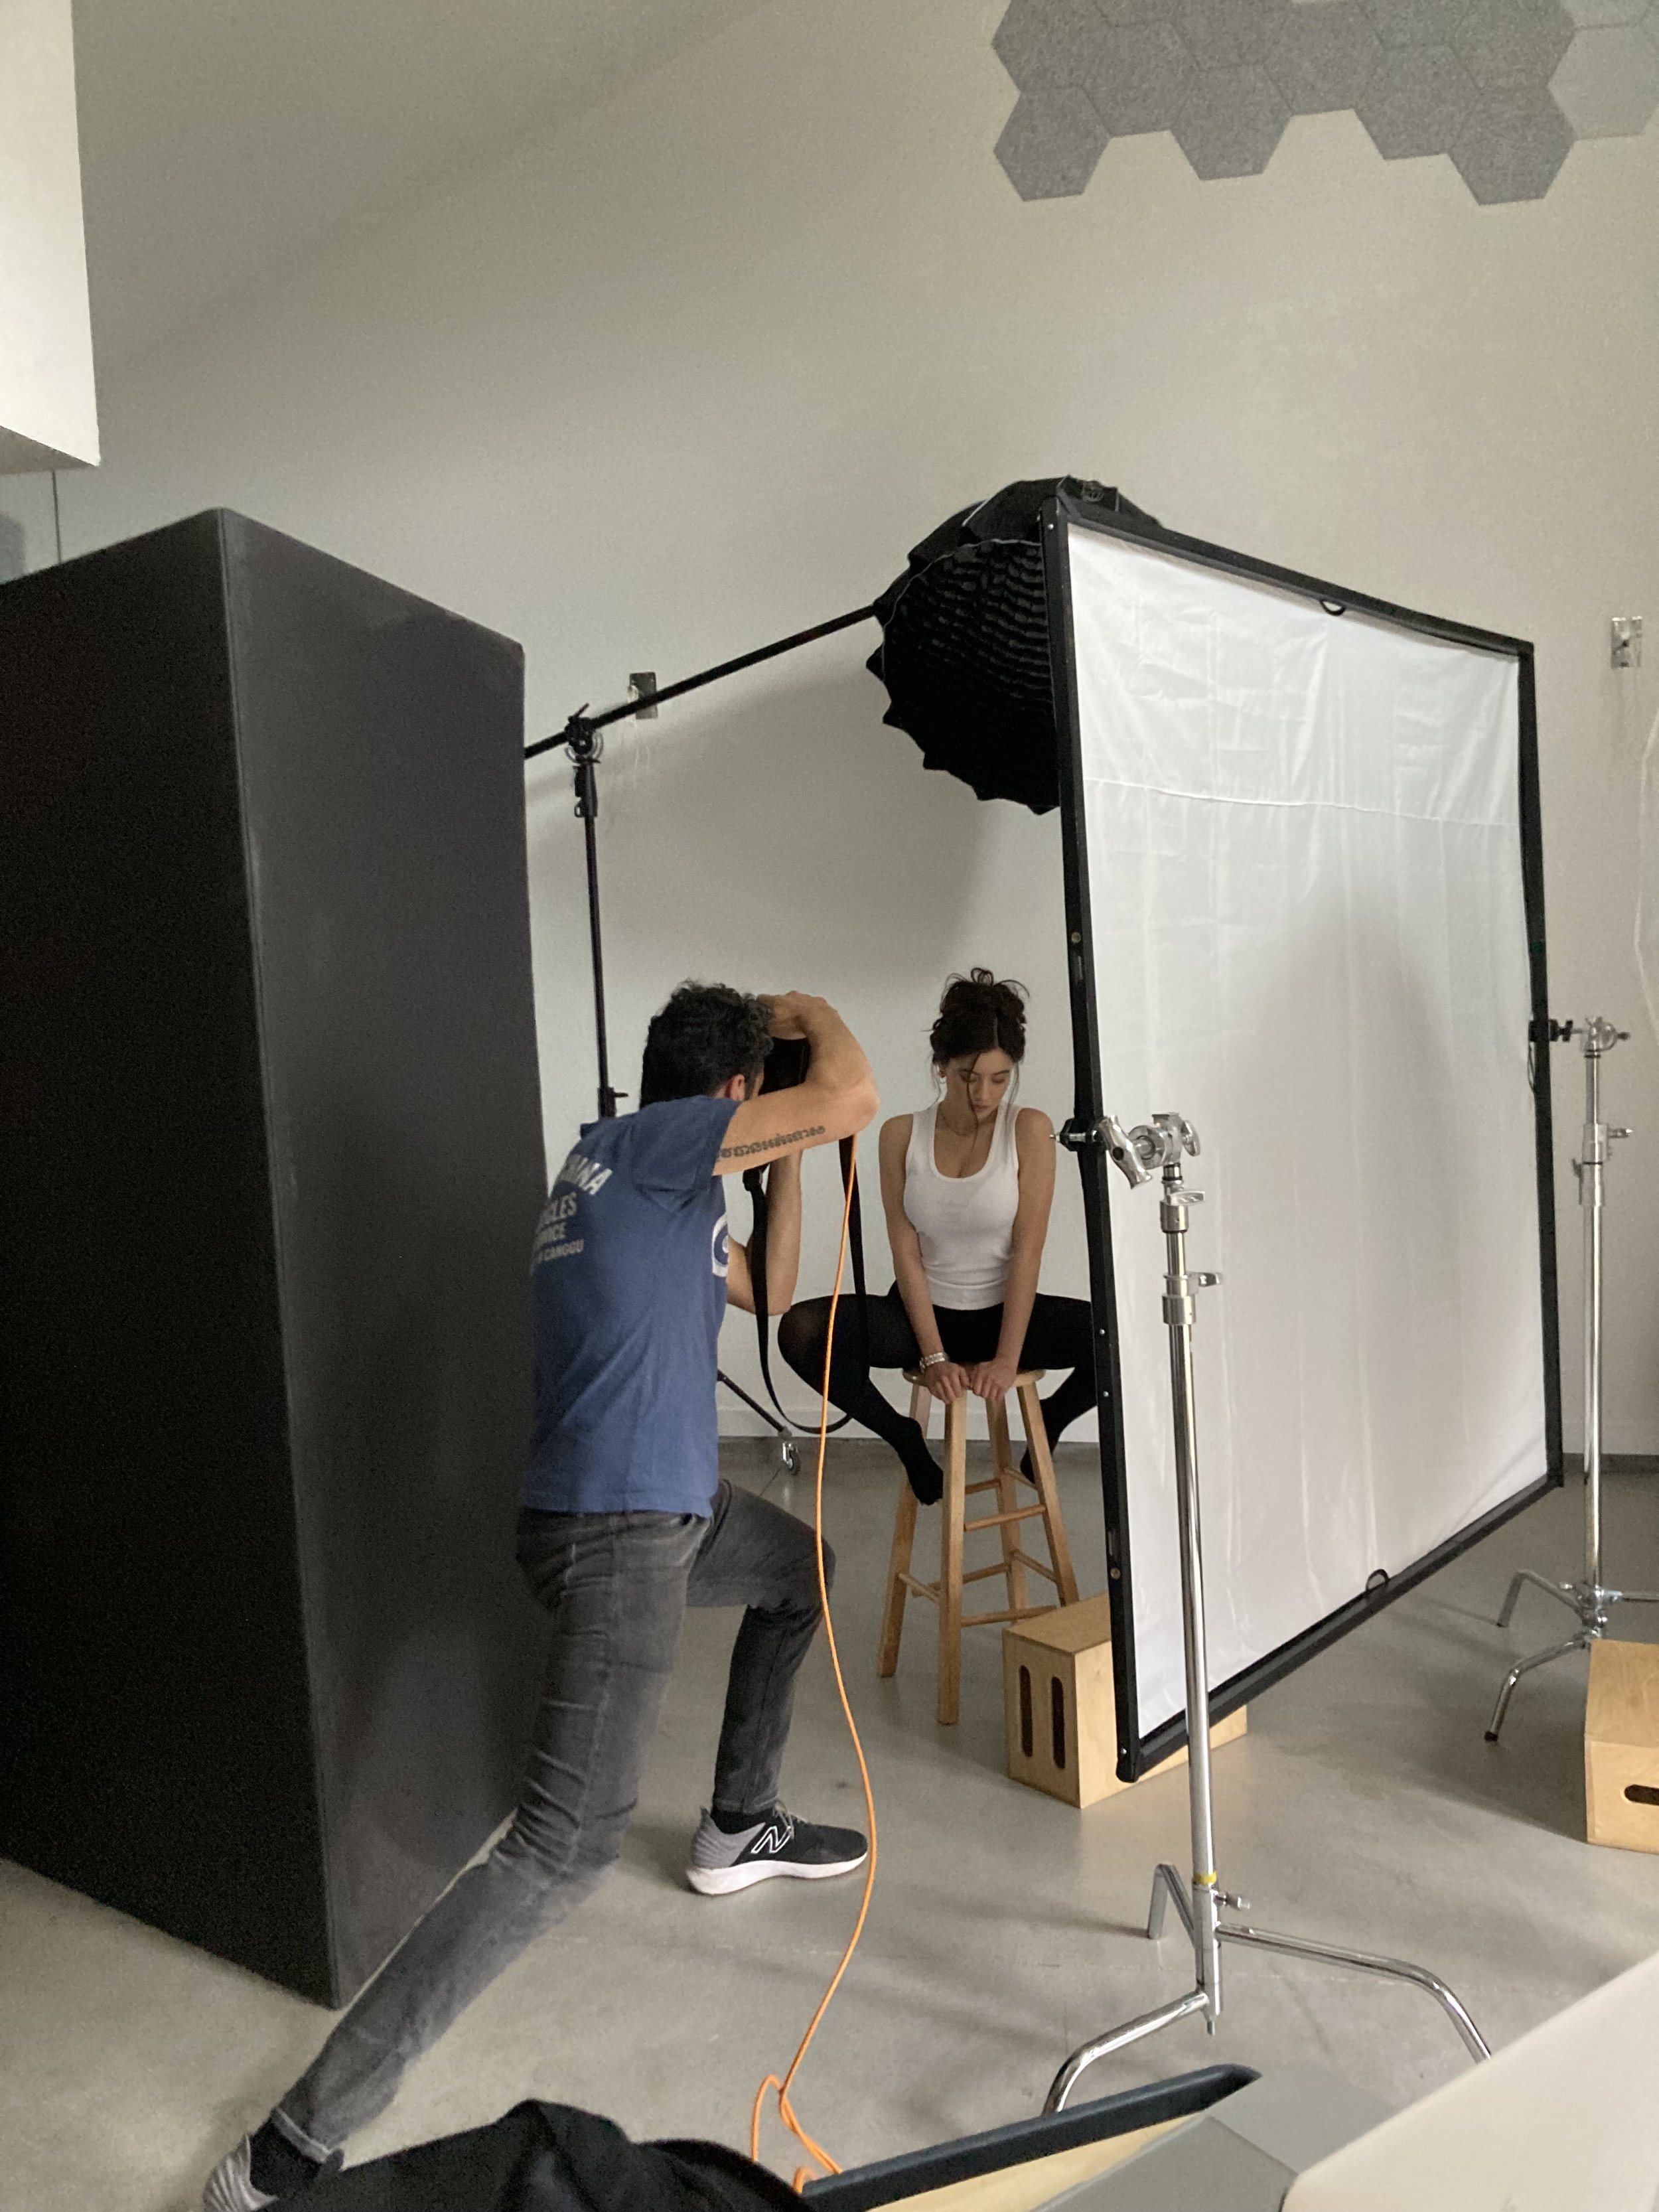
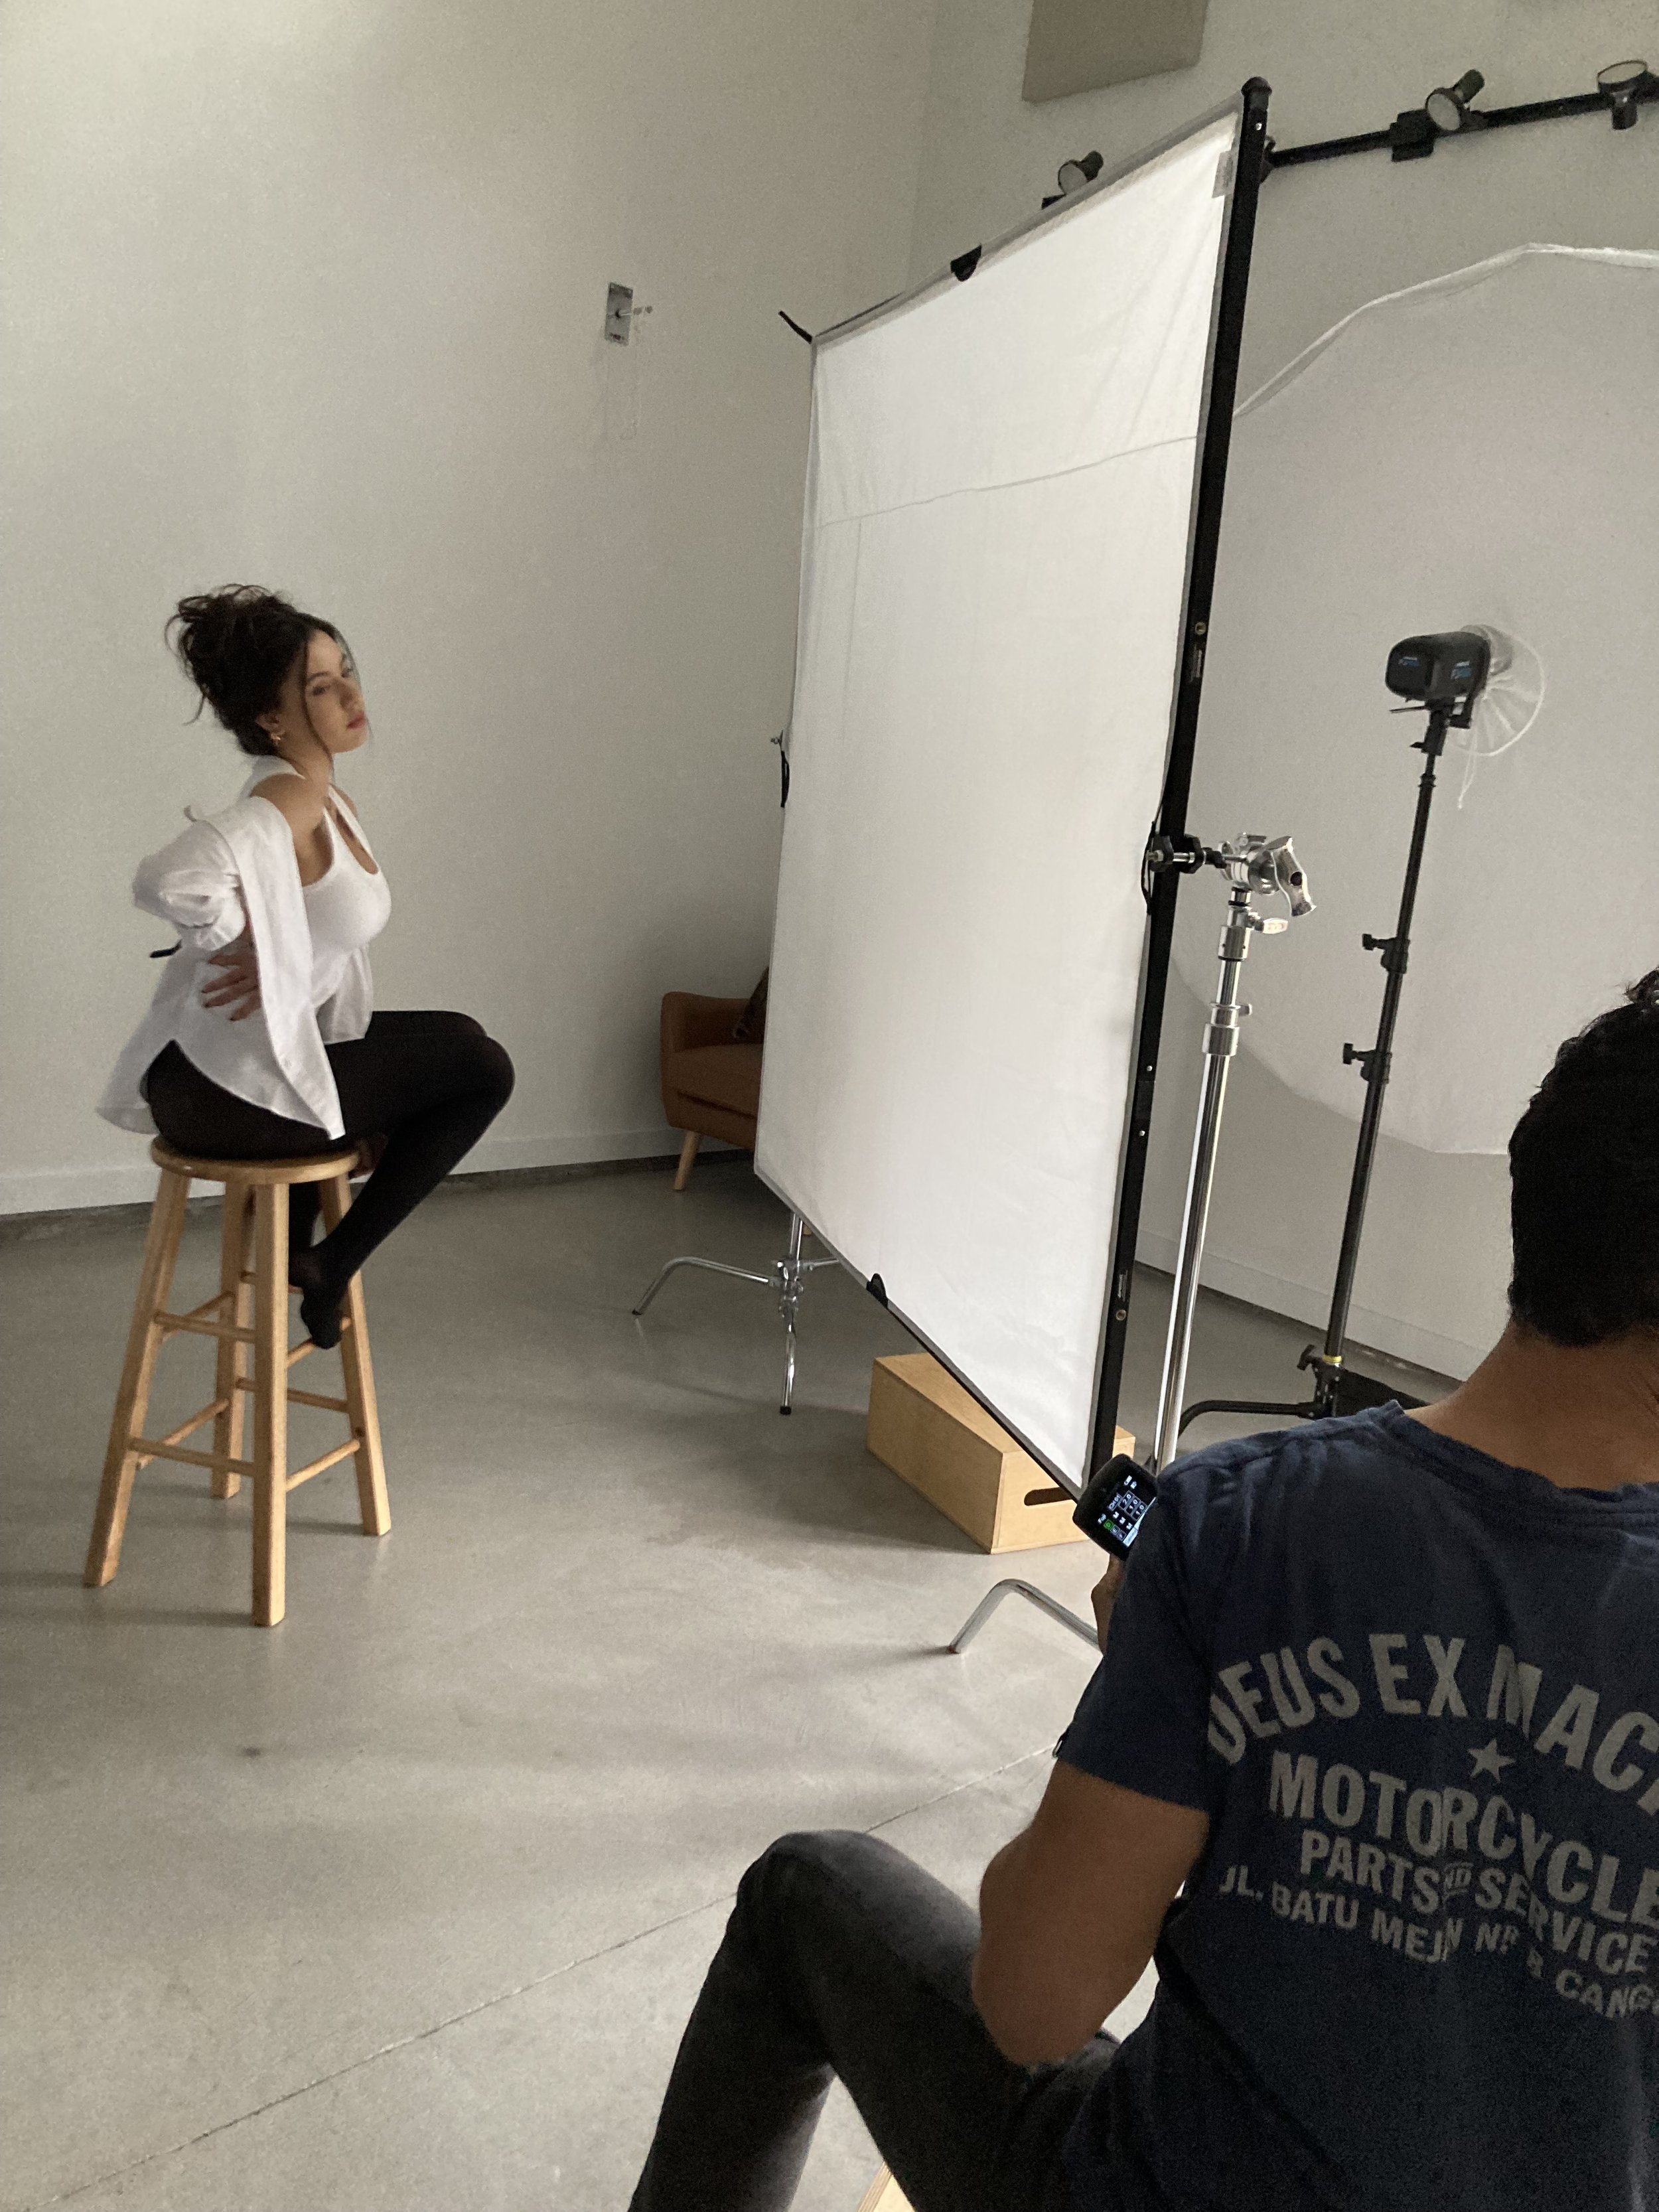
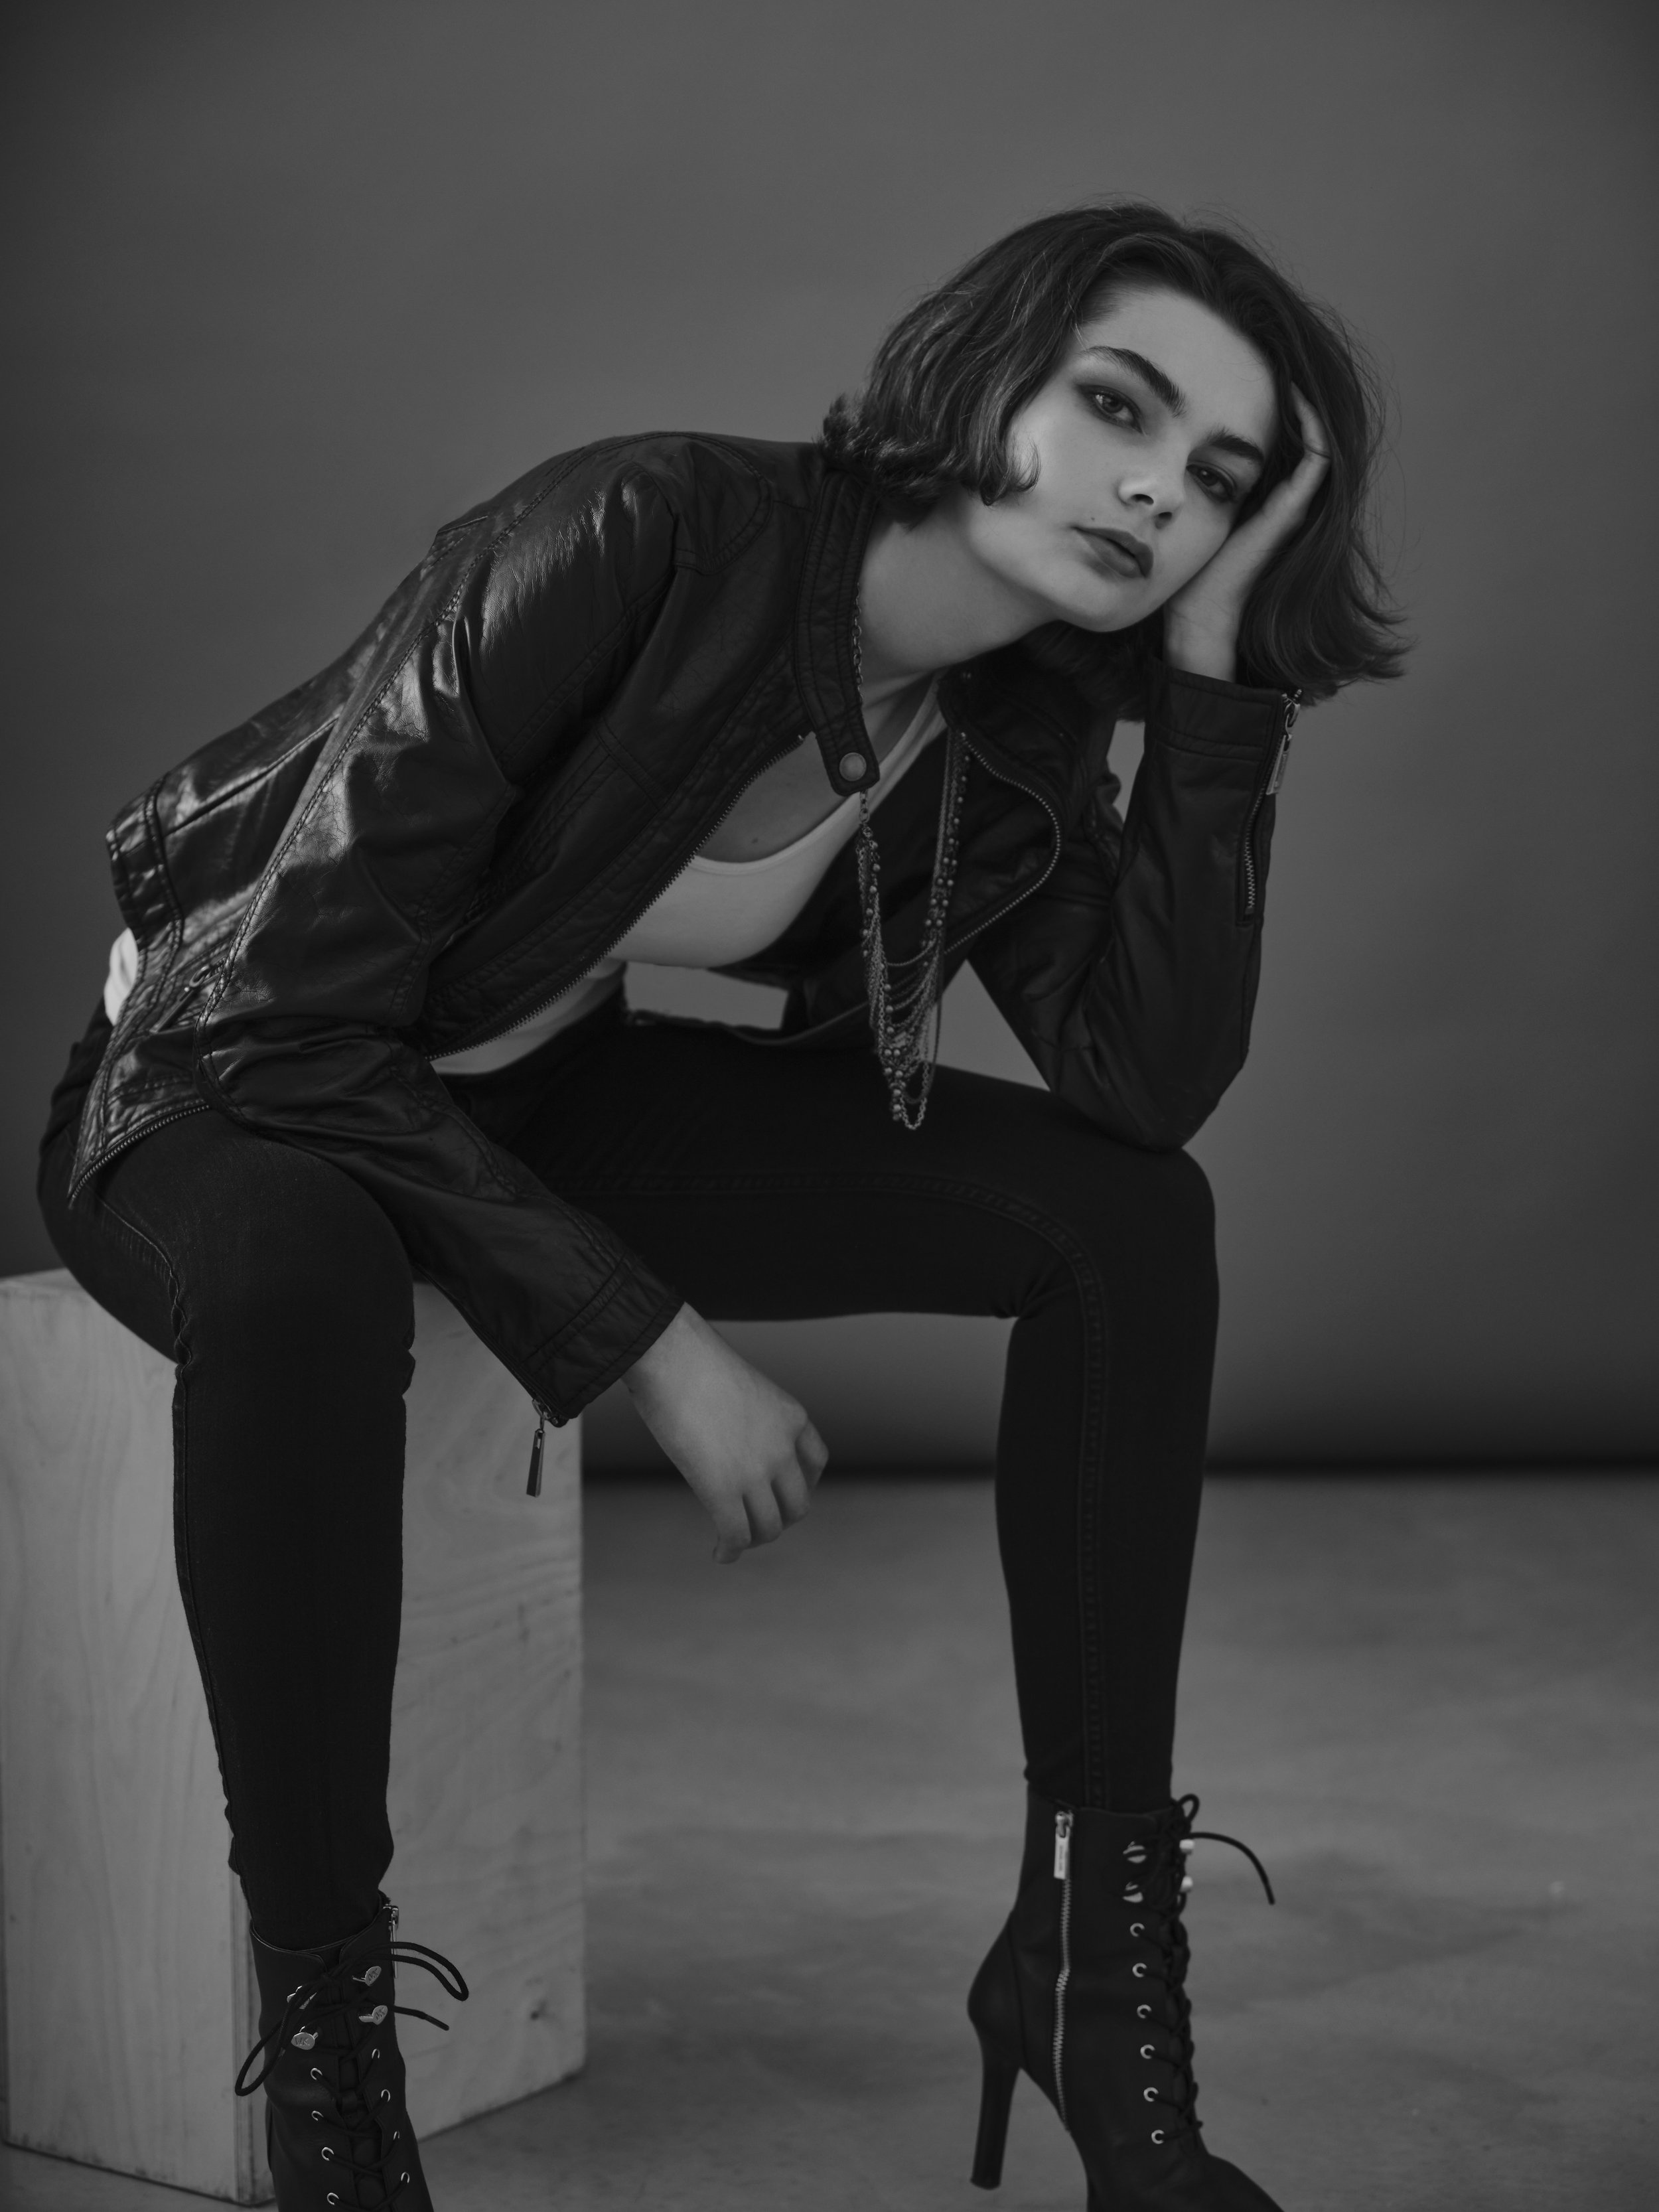
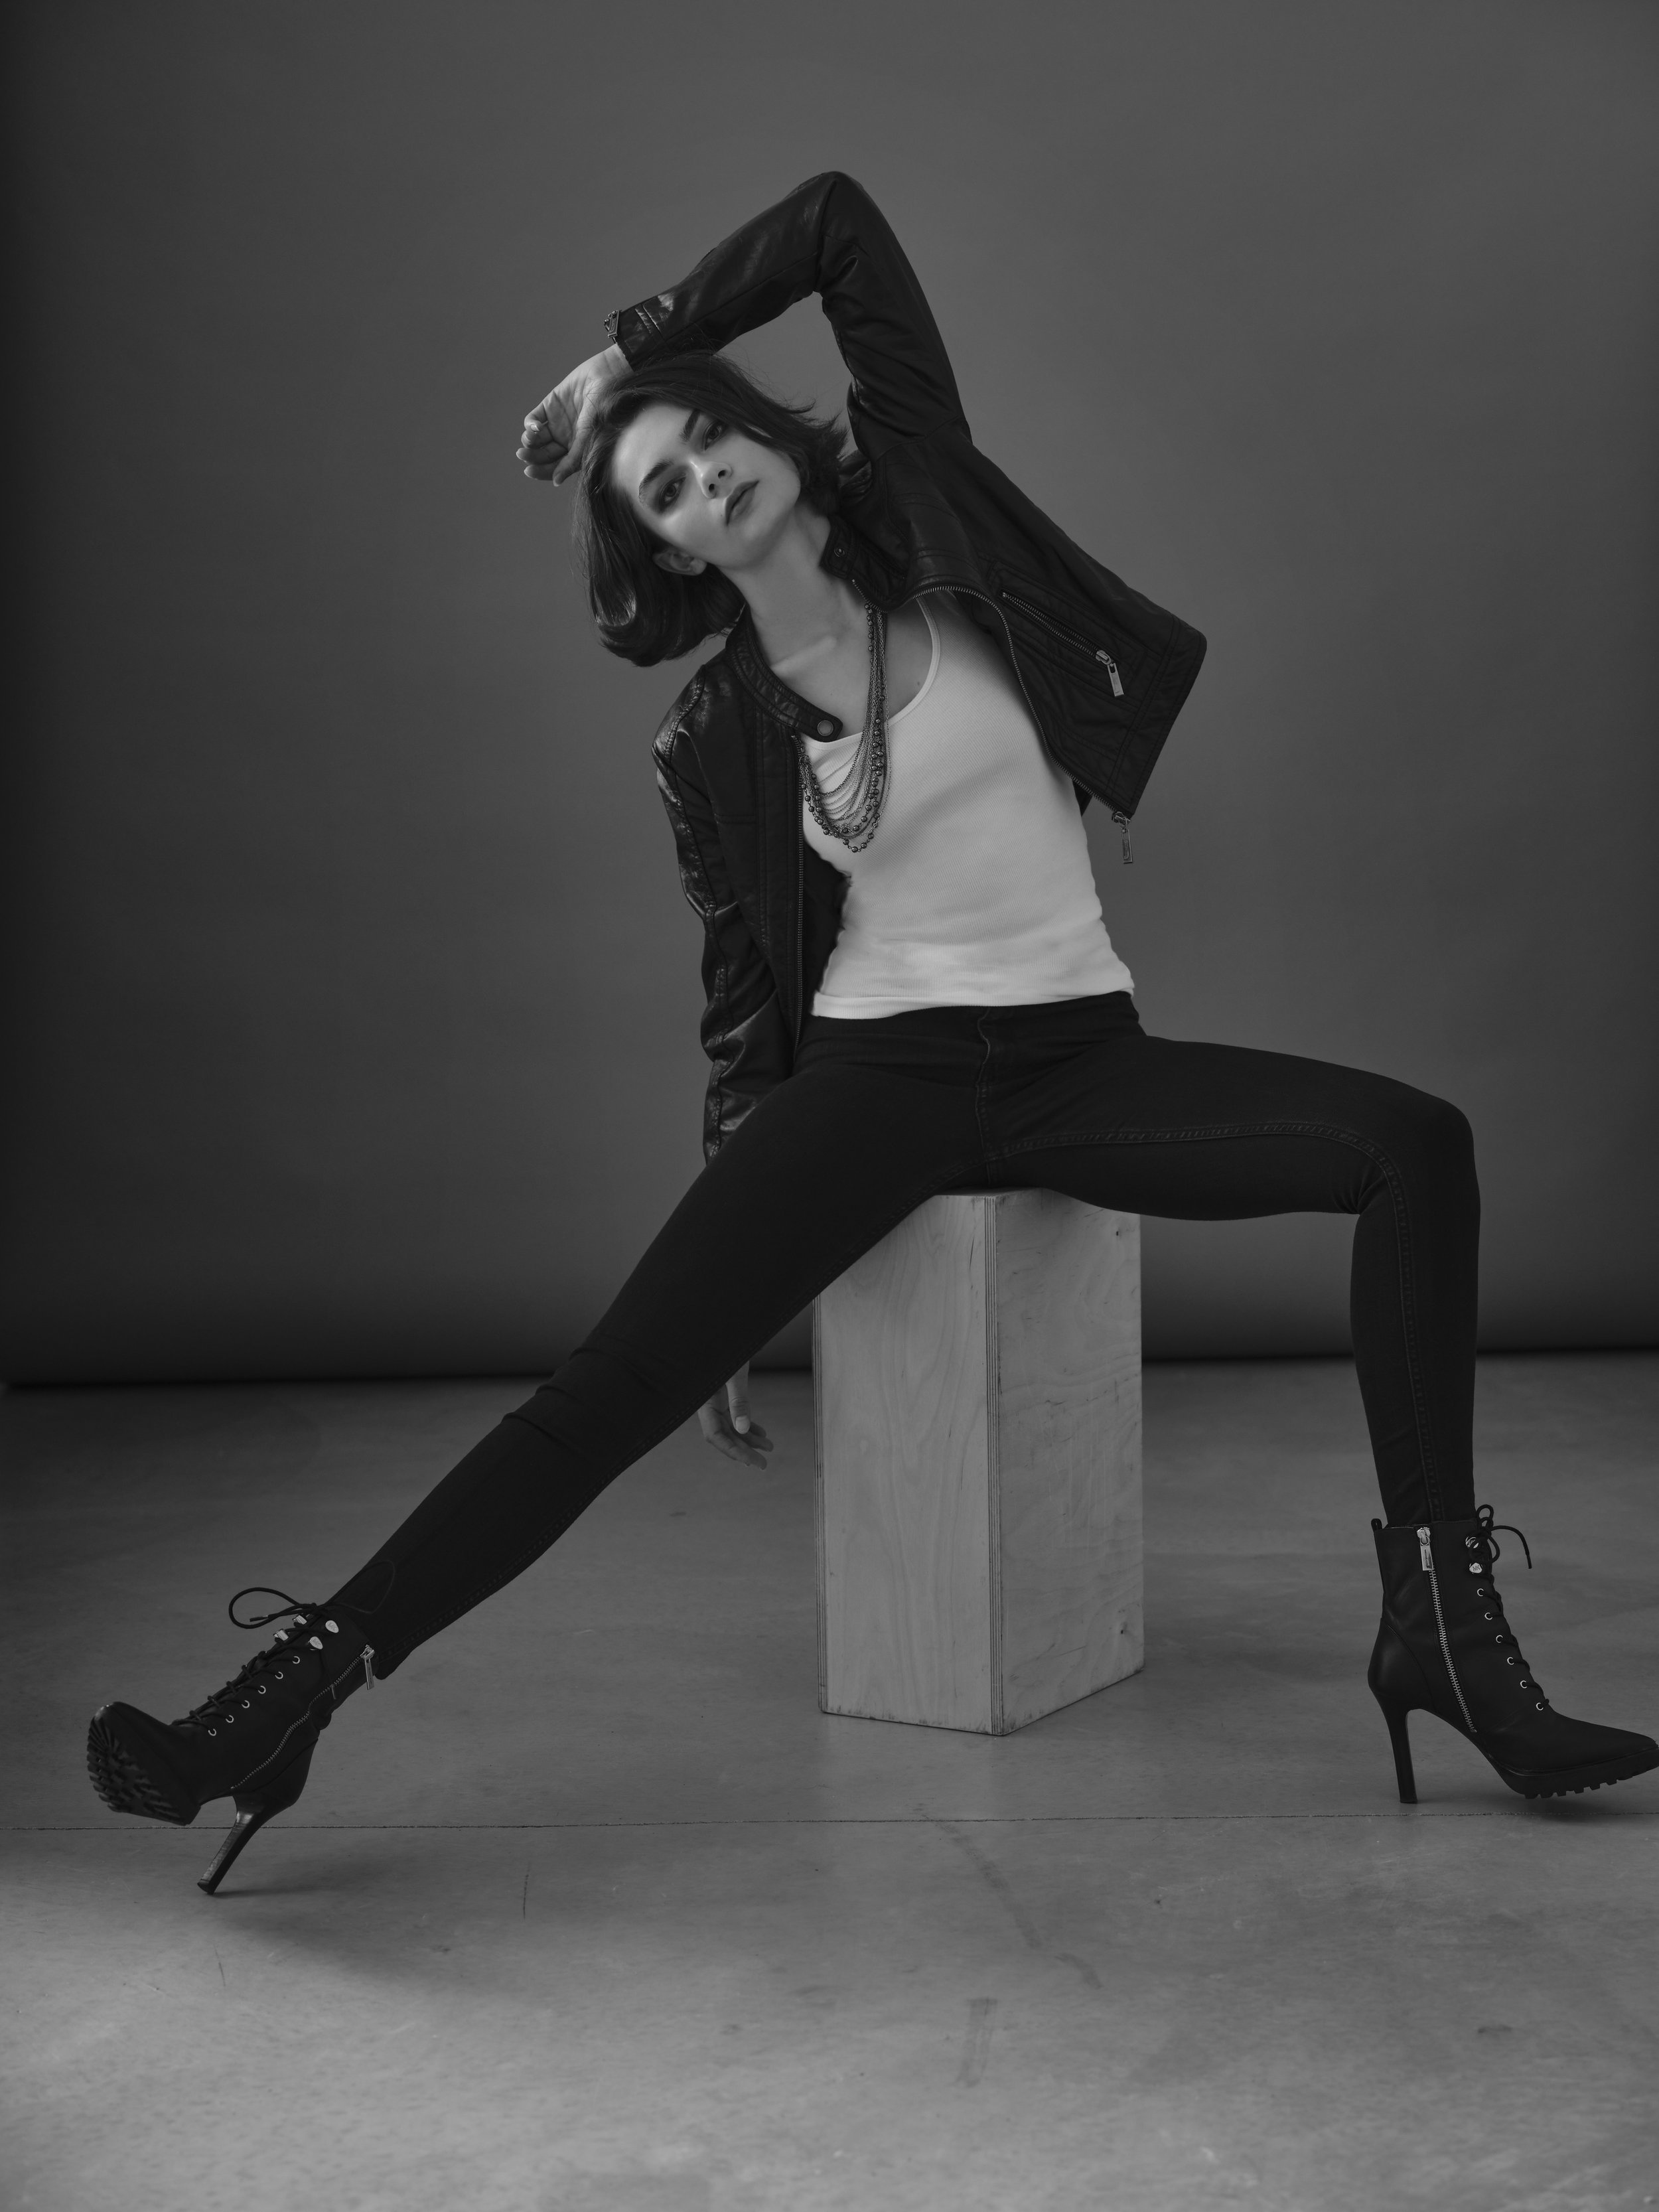
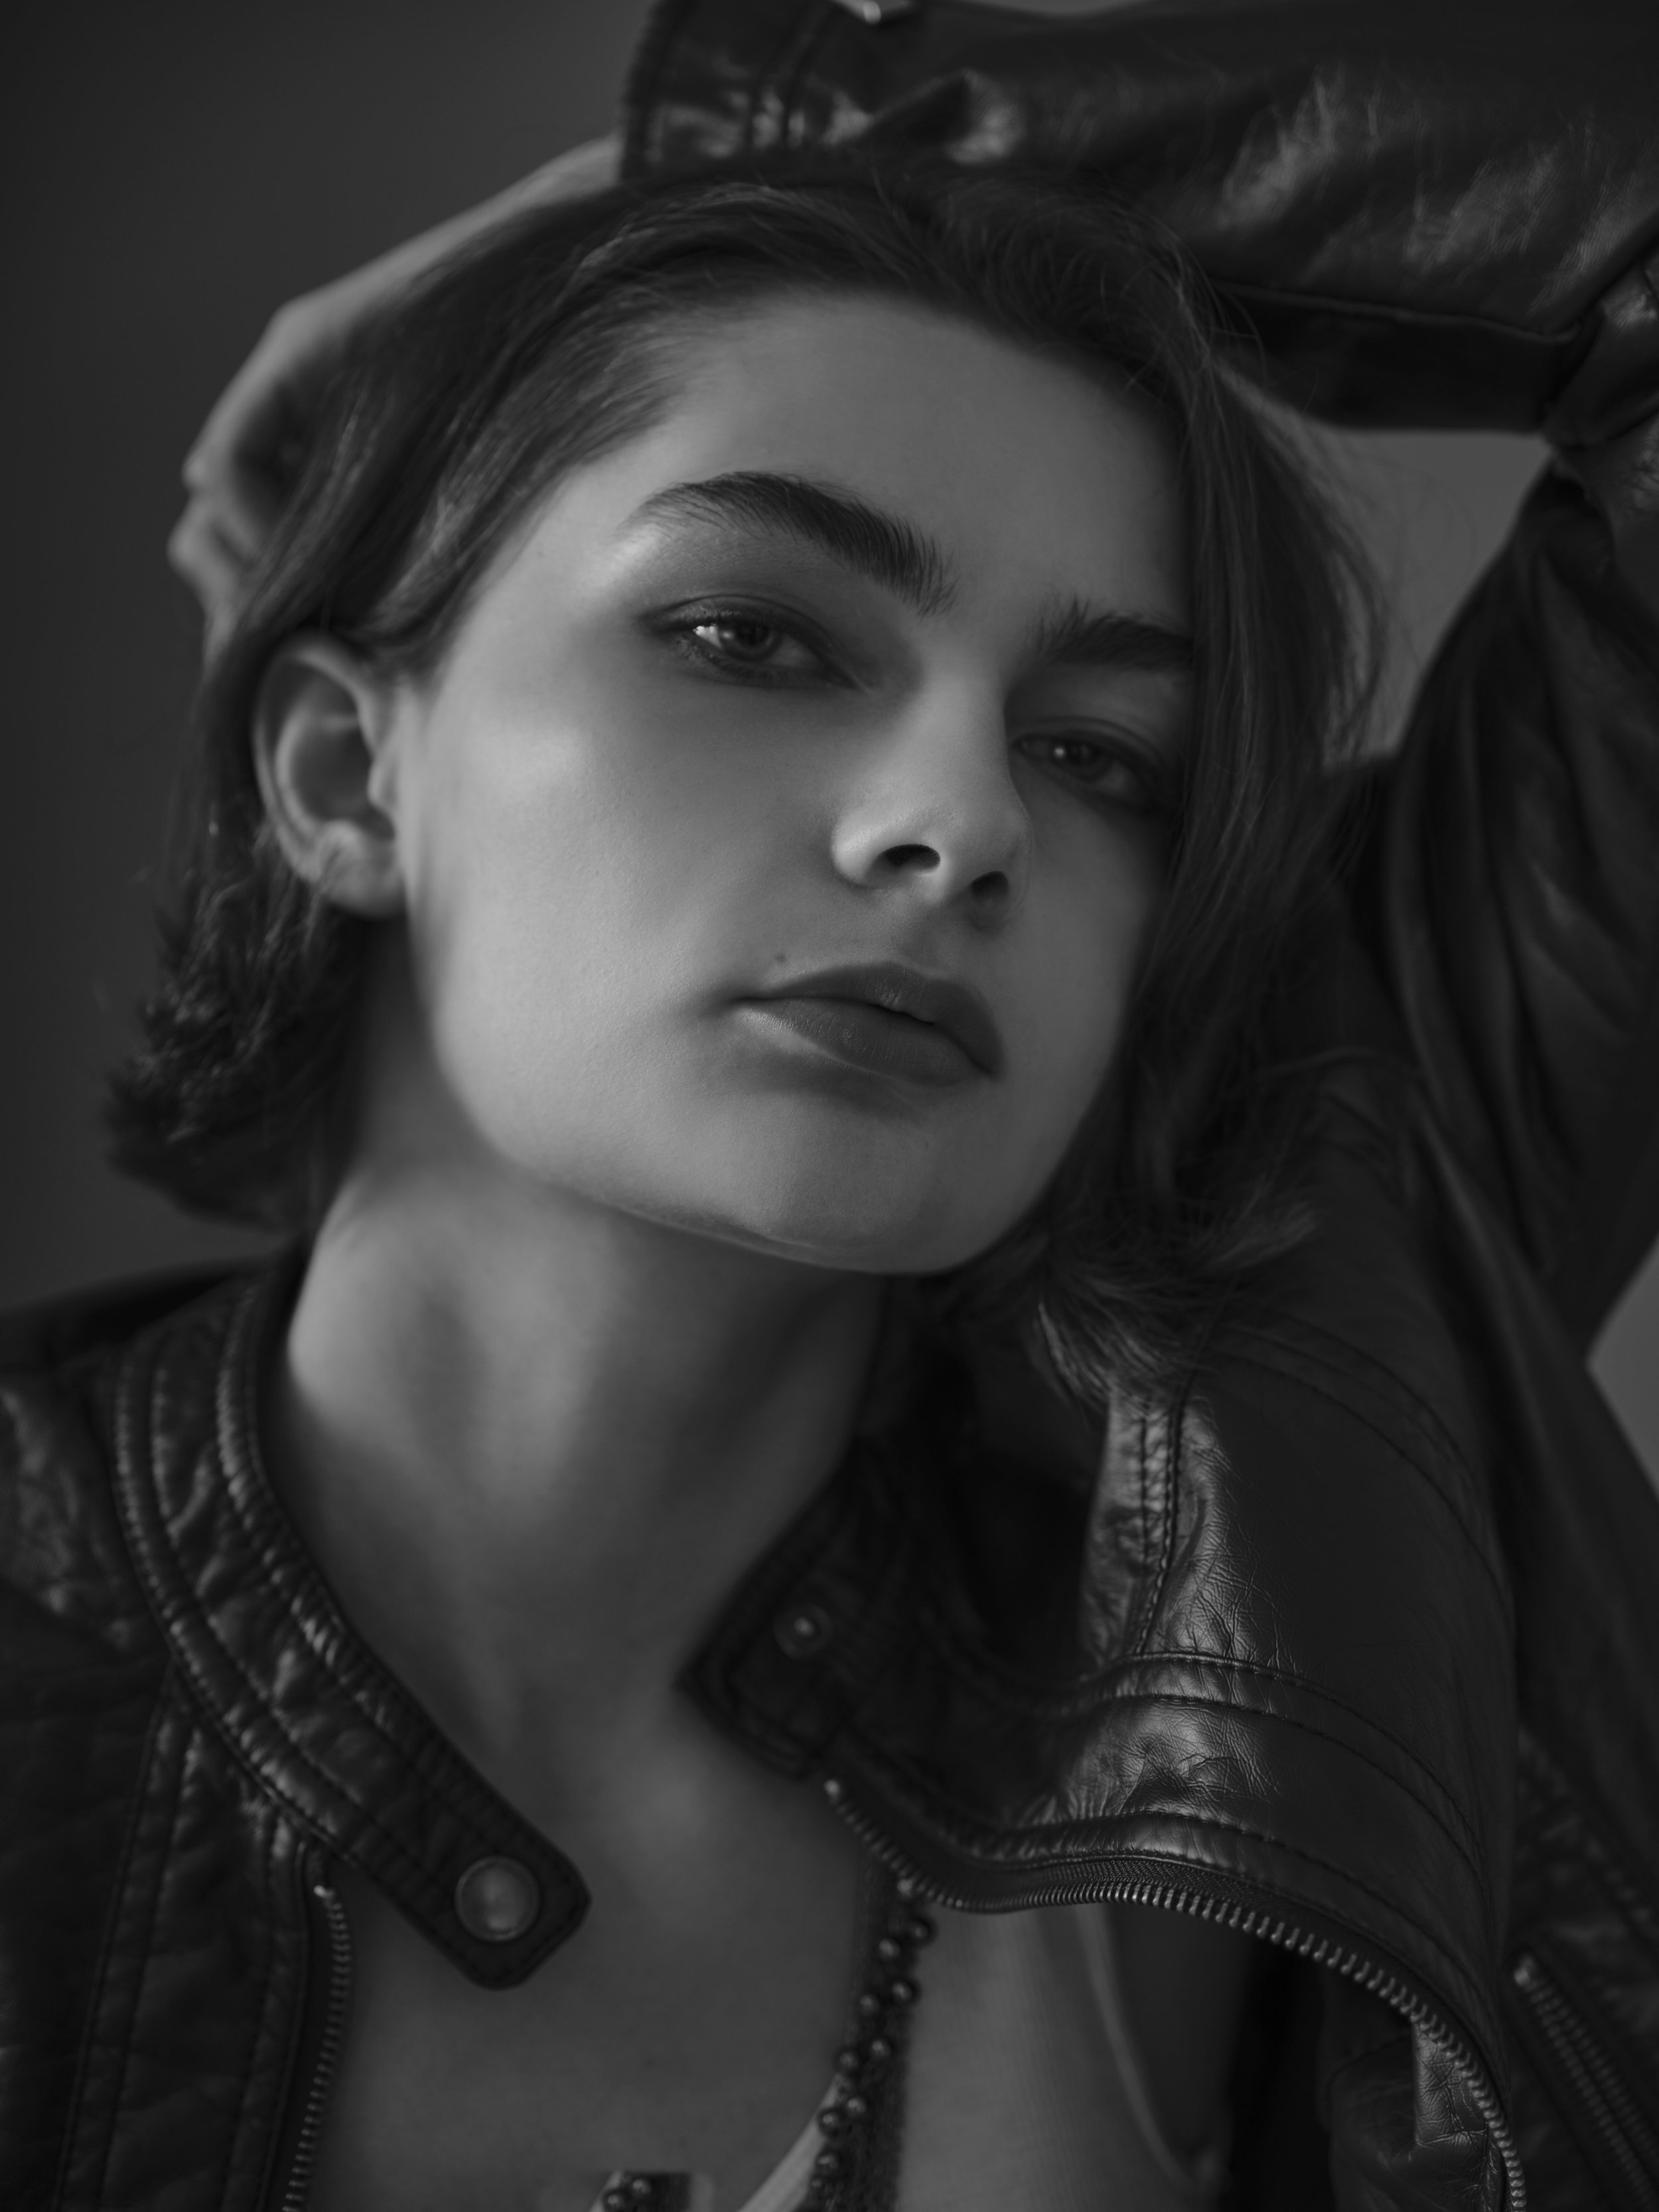
We did a shoot with Noella last week in the studio and Gillian did the makeup and styling.
Everything shot on the Fujifilm GFX 50r and my new GF80mm 1.7 which creates an incredibly soft fall off of the in focus area.

We did a shoot with Noella last week in the studio and Gillian did the makeup and styling.
Everything shot on the Fujifilm GFX 50r and my new GF80mm 1.7 which creates an incredibly soft fall off of the in focus area.


When we built the studio last year one side was intended for photo and video and the other side was intended to be used as my workshop. In addition to my photography and filmmaking I love working with wood. I’ve made many picture frames and boxes and recently I started experimenting more with cedar which in the past I’ve used for fencing. But I discovered the Japanese technique of shou sugi ban, which is applying heat to cedar to make it permanently insect and weather resistant. I used that technique to do the siding on the studio which looks really cool. If you just give cedar wood a quick blast of high heat it won’t char but the color will change, adding more depth to the wood. So I thought it would look really cool when used on various applications like boxes, or even a vase like this which can hold more colorful bouquets.
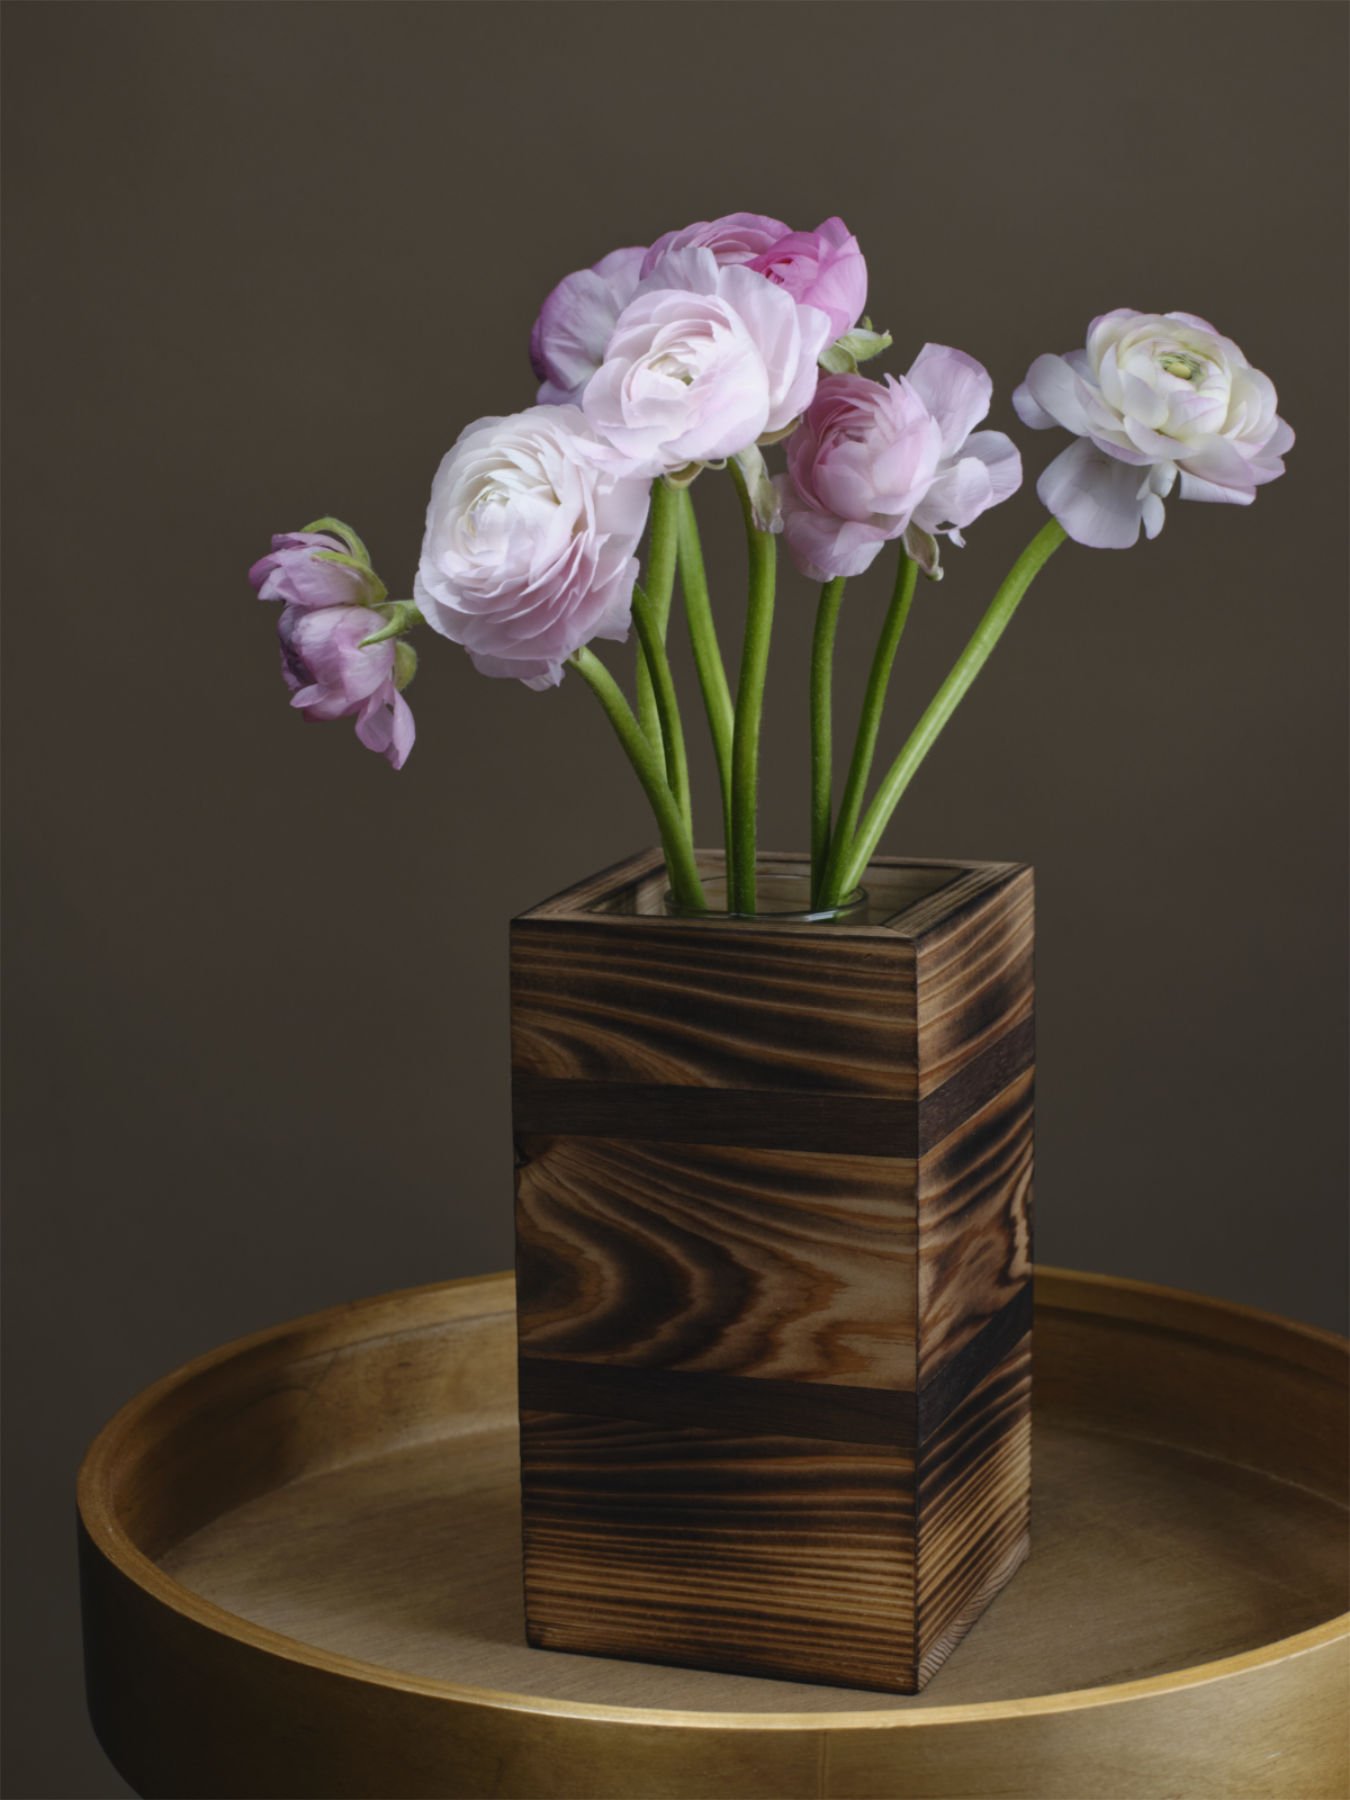
A handmade cedar and walnut vase.
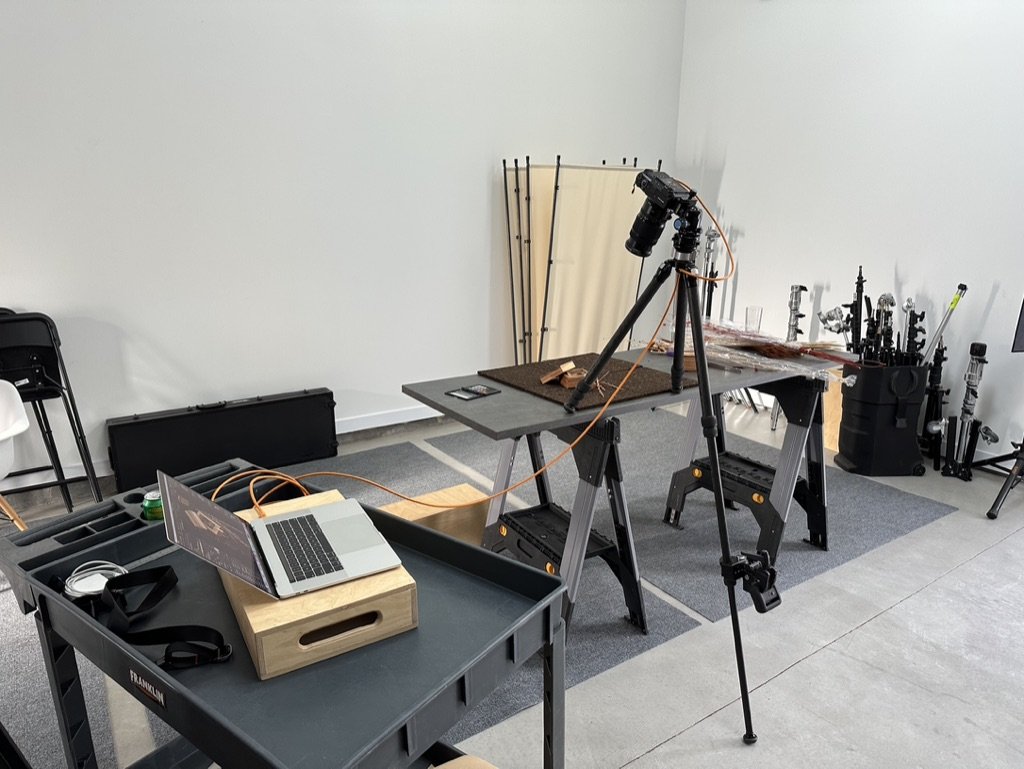
Whenever I make physical art I like to take beautiful photographs of it in the studio. Since we have a daylight studio Gillian will get to work styling it and then I’ll set up the lighting and we finish off the process. I’m really attracted to soft natural light and reflected light. So we used natural window light and some simple studio tools.
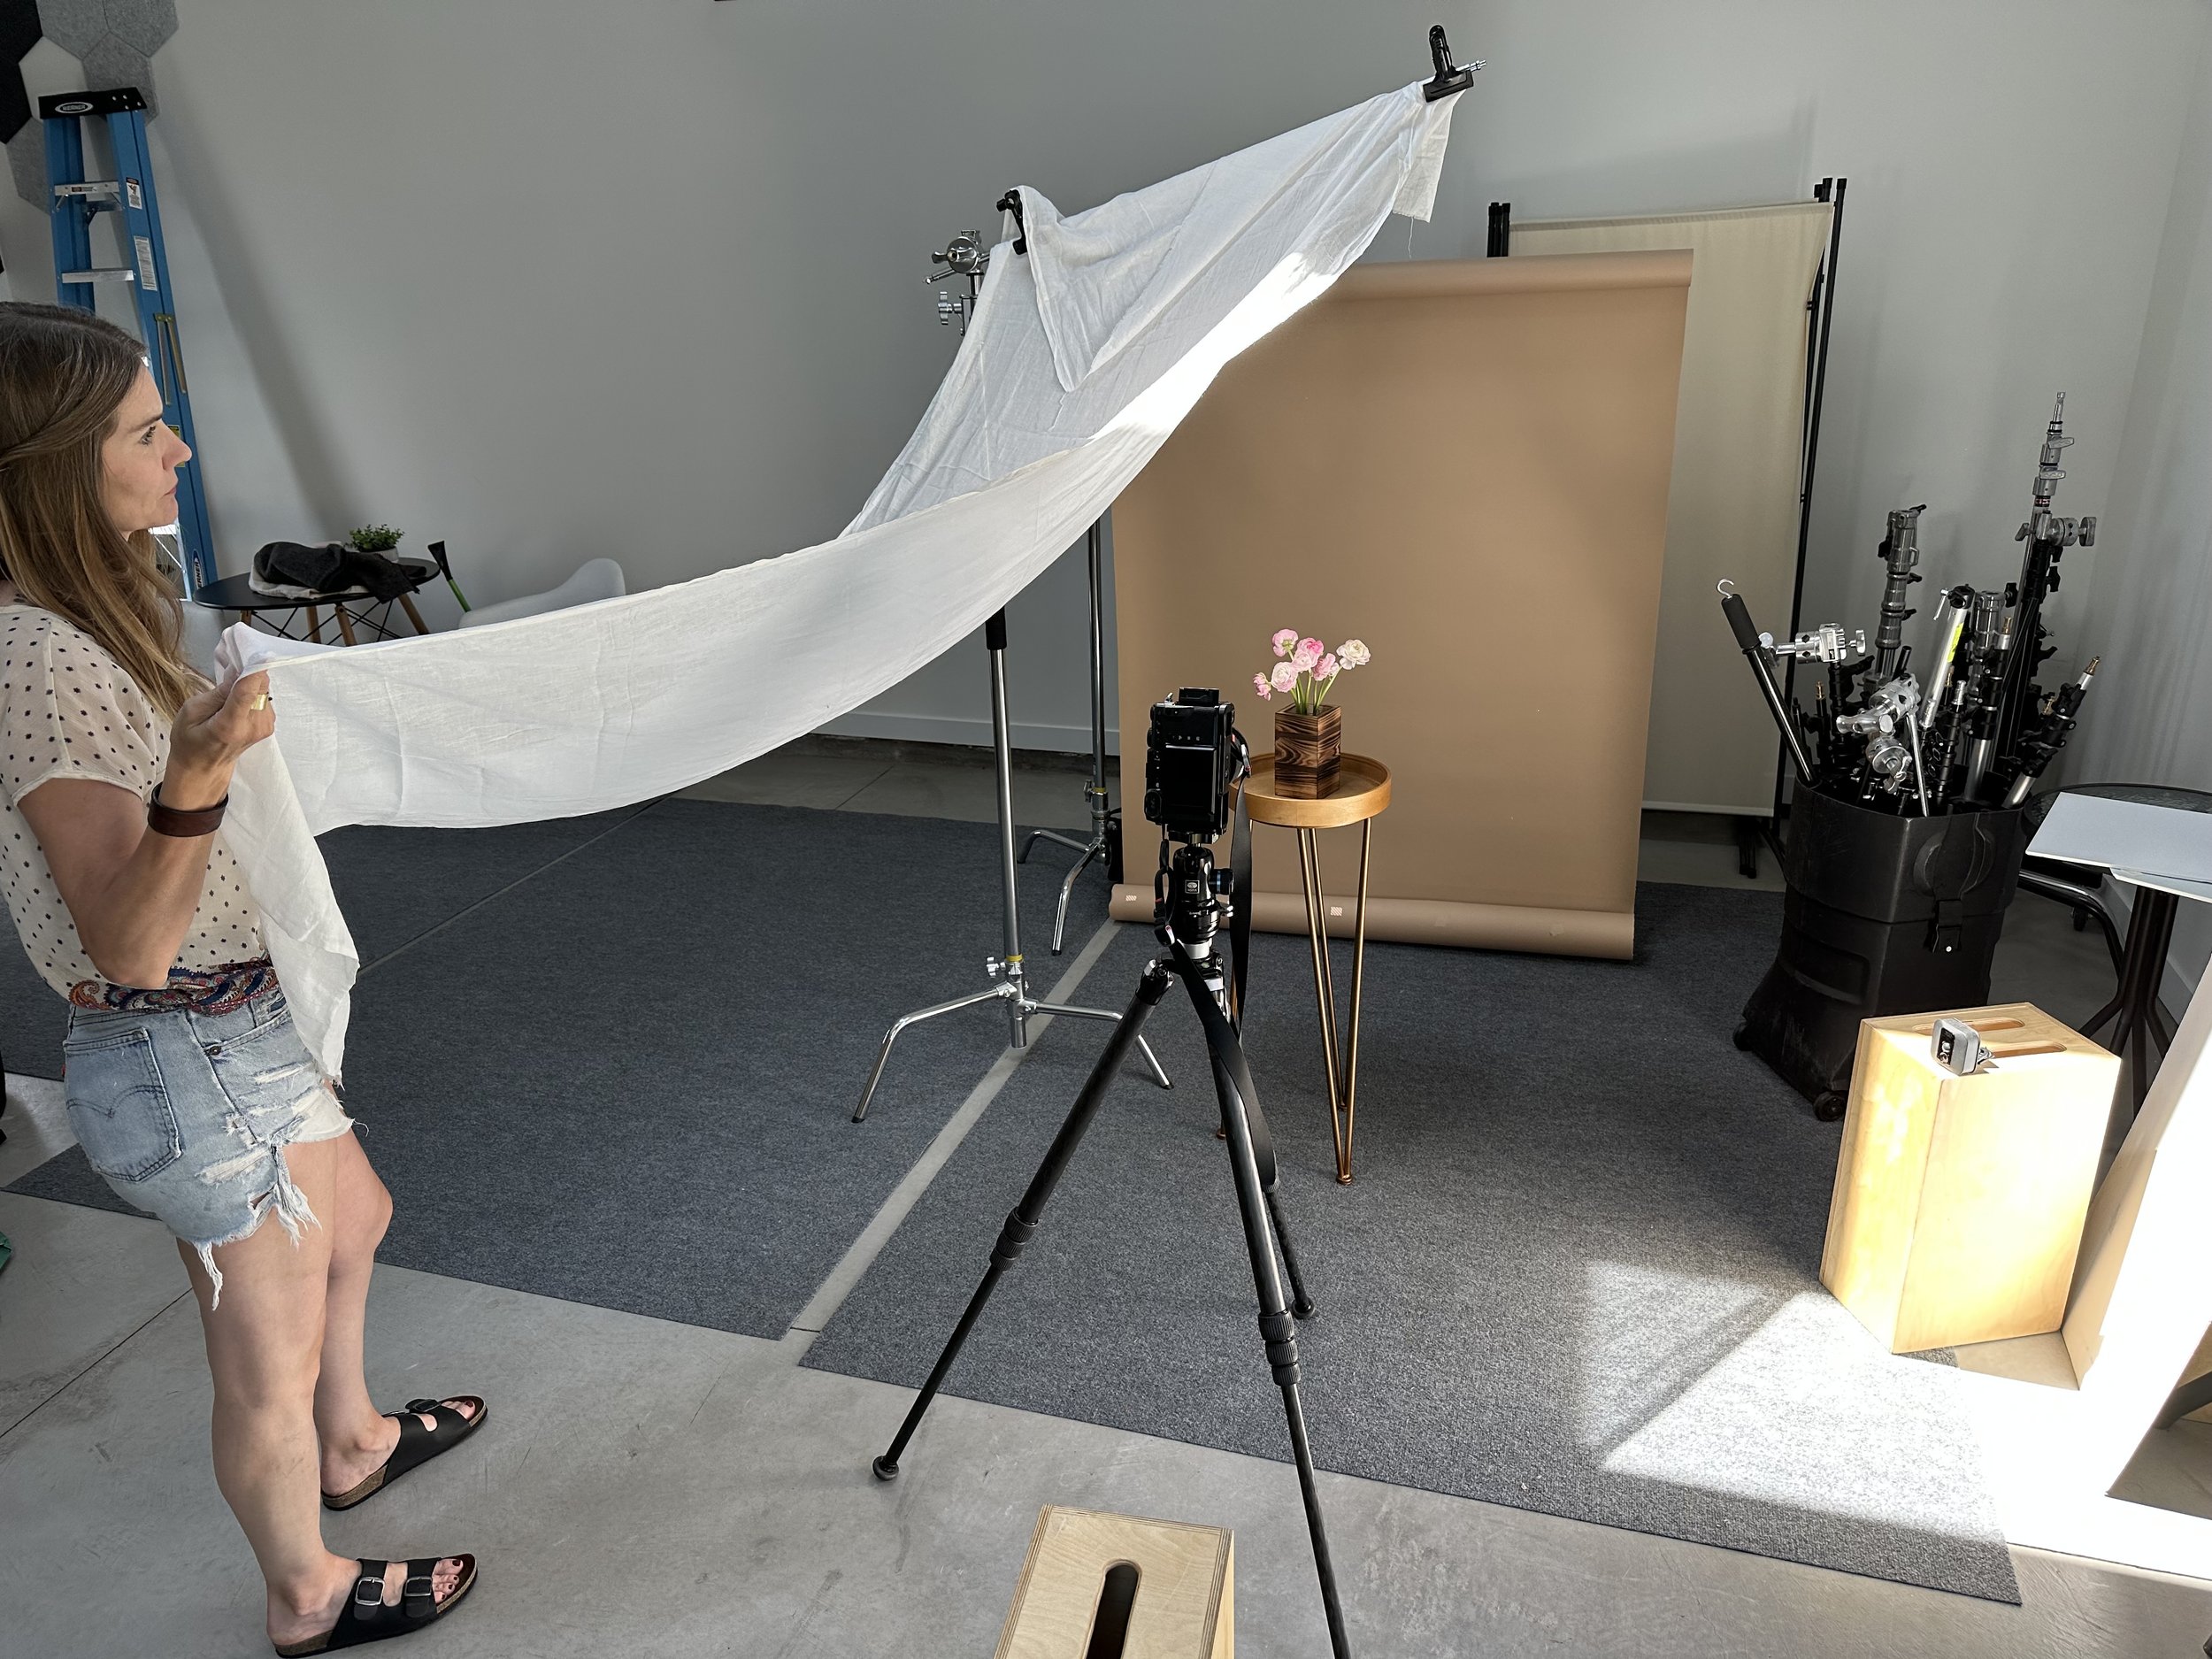
This is such a simple shot if you want to execute something similar. We used natural light coming in from the skylight which I bounced from a white foam core card available from any crafts store. Then we used a thin white cotton piece of scrap fabric to diffuse the overhead light.
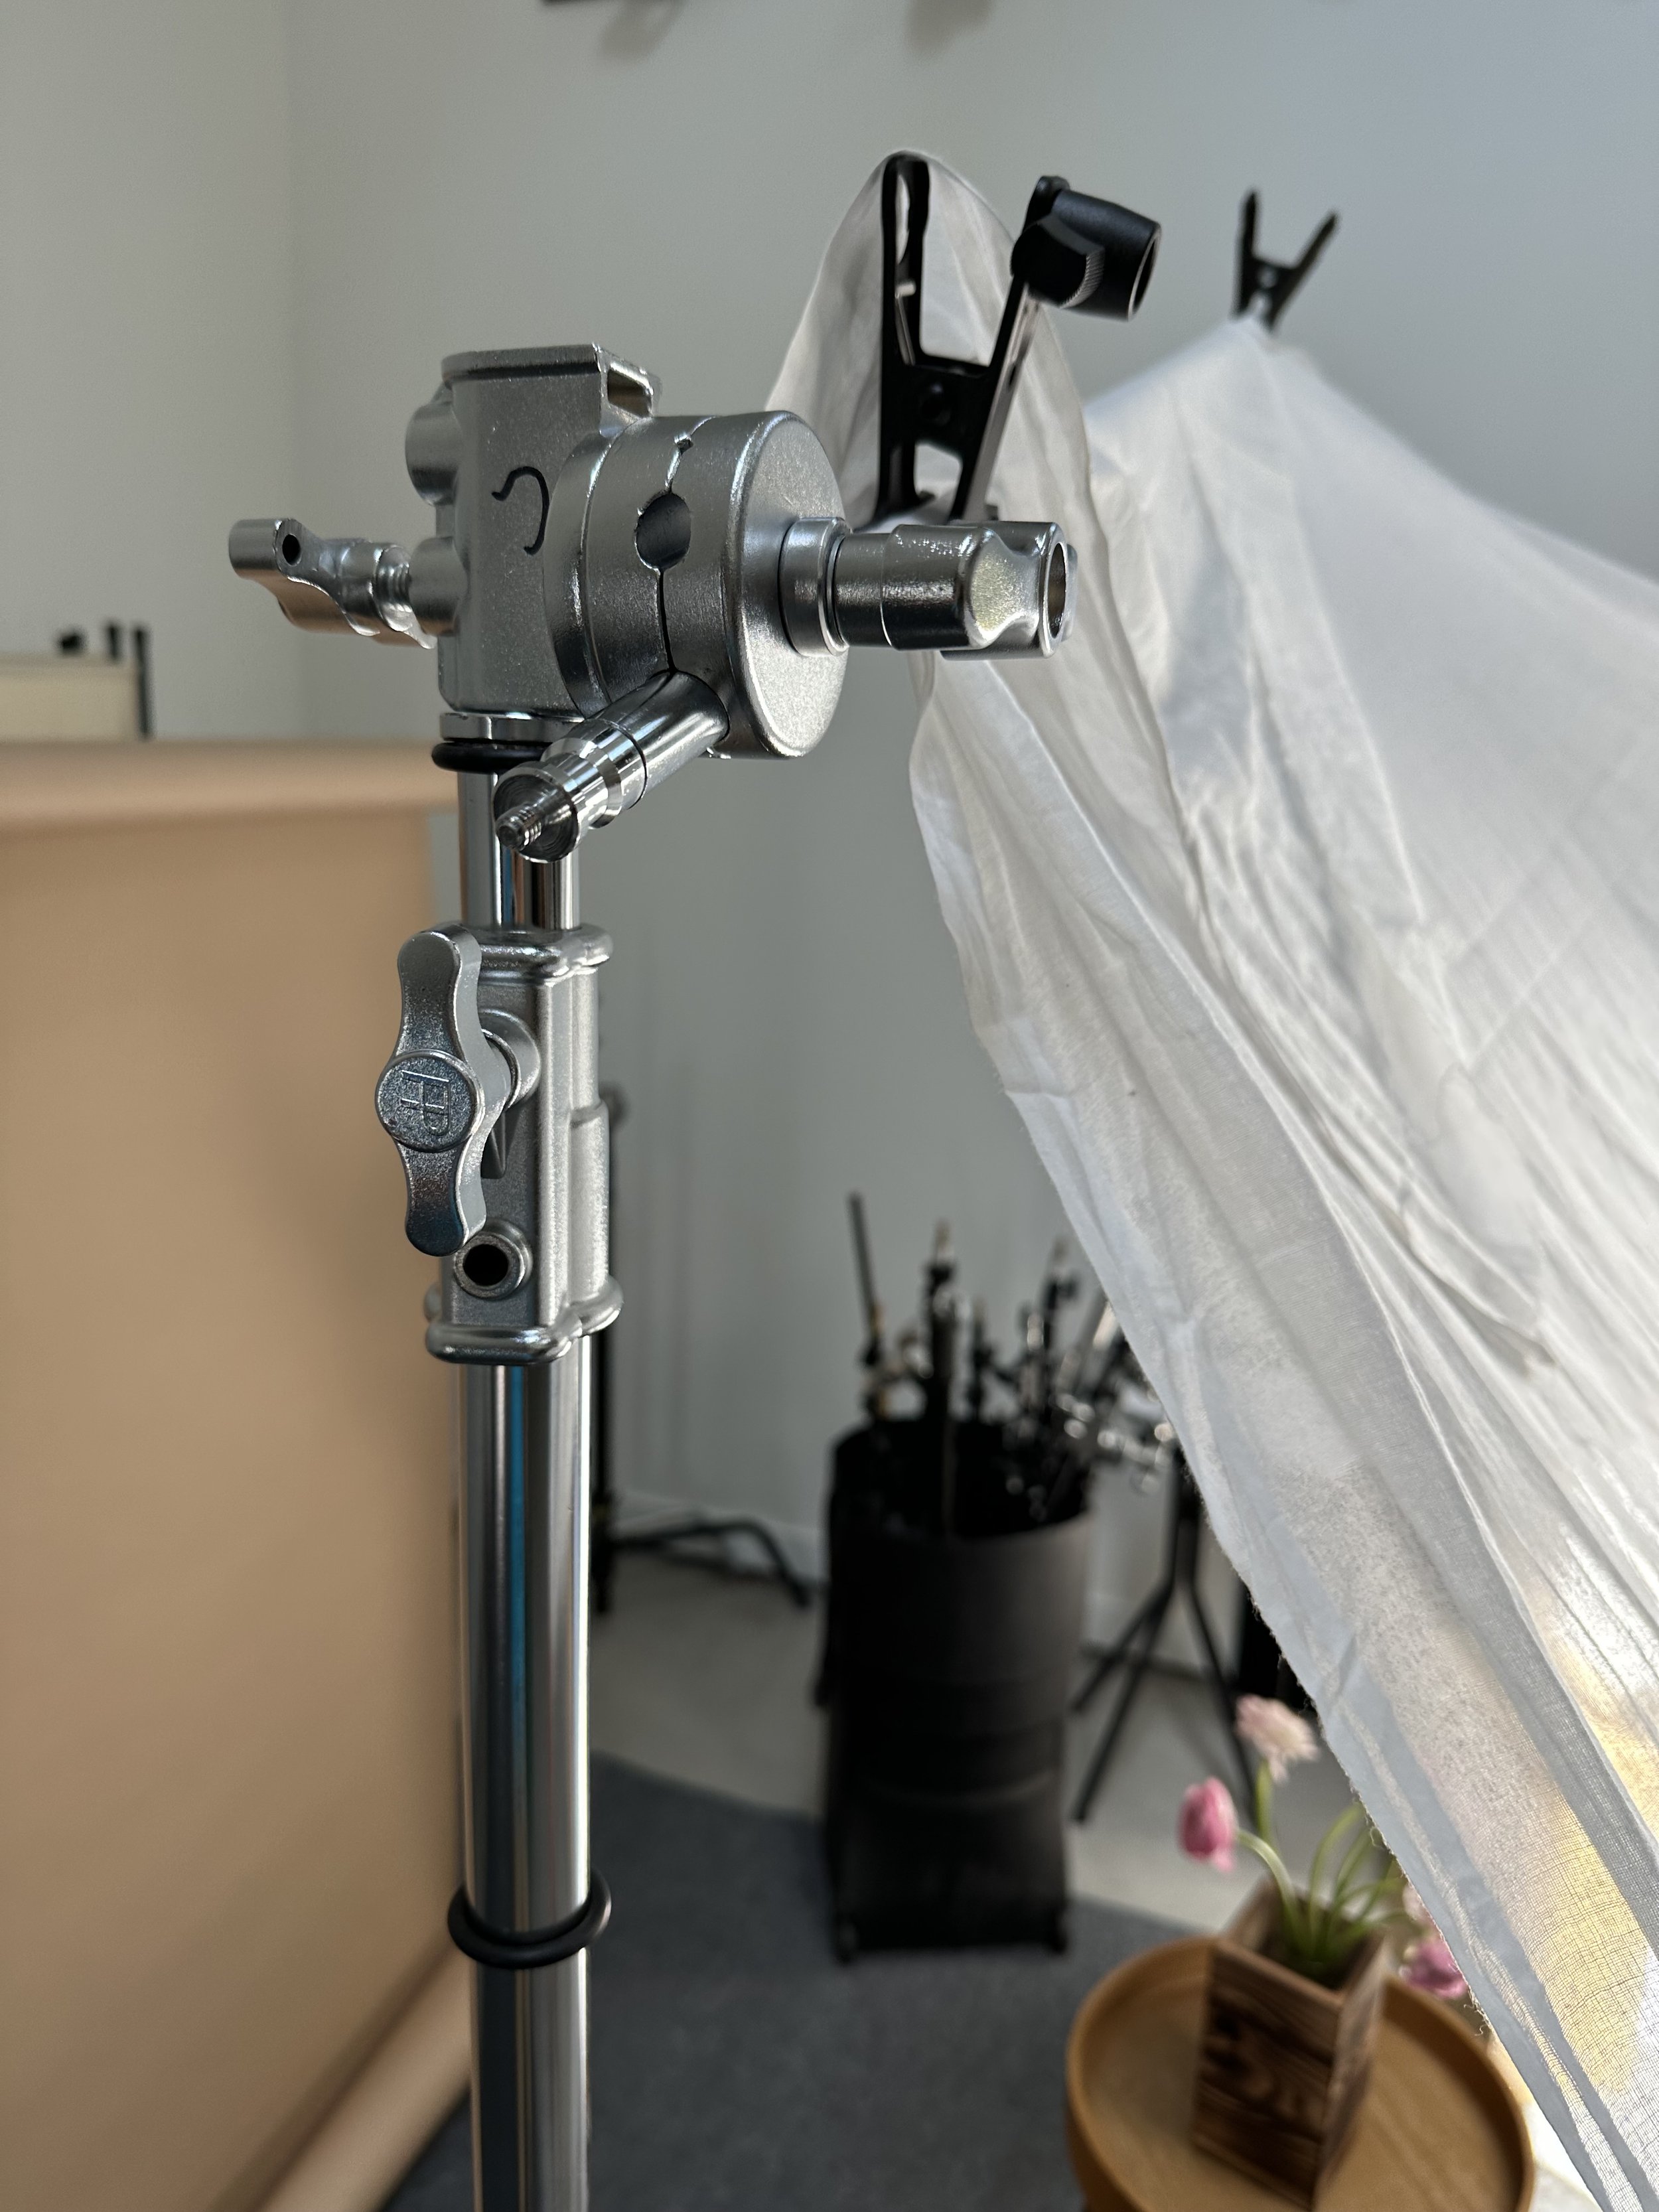
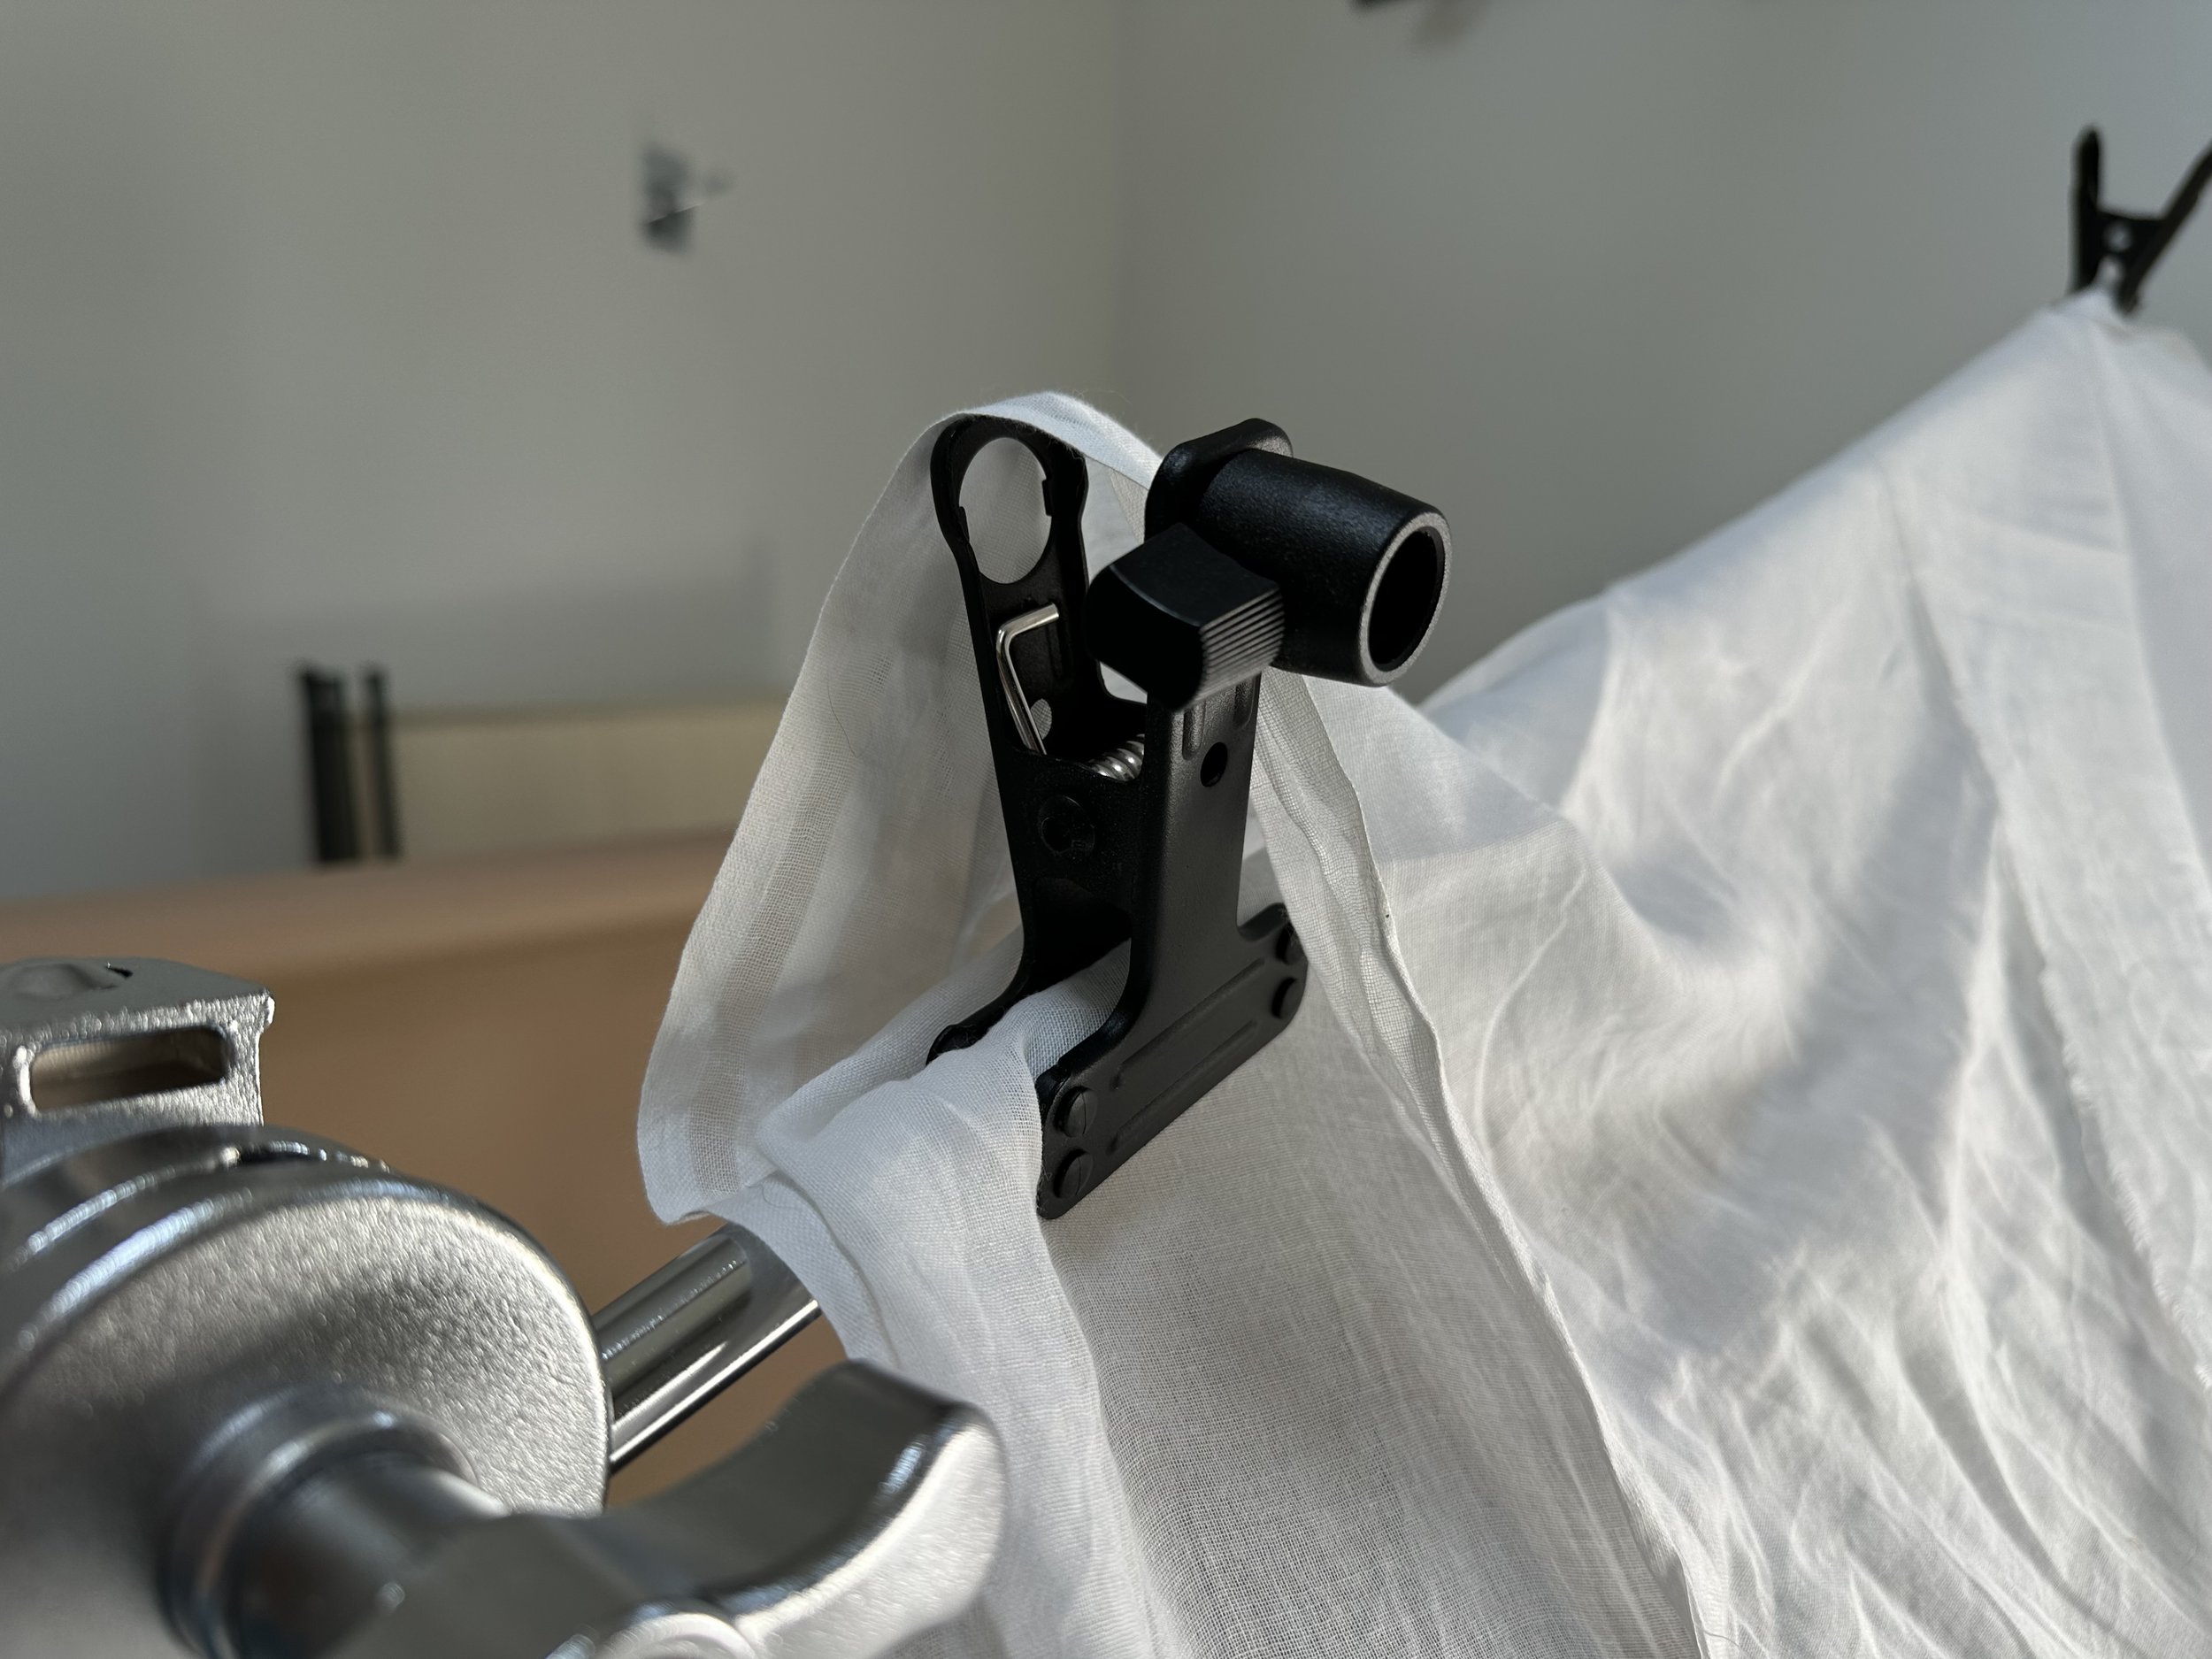
The tools I’m using here are pretty affordable and easy to find as well. First you need a heavy stand to support the weight of an arm being extended. I prefer heavy c-stands like this one. Then you’ll need several of these really cheap clamps (like this small one from Impact) which are more of a duckbill design so they grab on to polls. Normal spring clamps, or a-clamps as they’re called in photography are not adequate because they’ll slip right off of an arm, or gobo arm as they’re called. The arm often comes with the stand, like the one I linked to above. Then, make sure you weigh down your stand with bag of rocks or a proper photo sandbag like this one.
You can do so much with such a simple setup! There’s no need to go over the top and spend a fortune on equipment before you’re really ready to make the leap. If you’ve got an etsy page or need simple product photos that you want to do yourself you definitely accomplish the look you’re after with a few simple tools! Good luck!
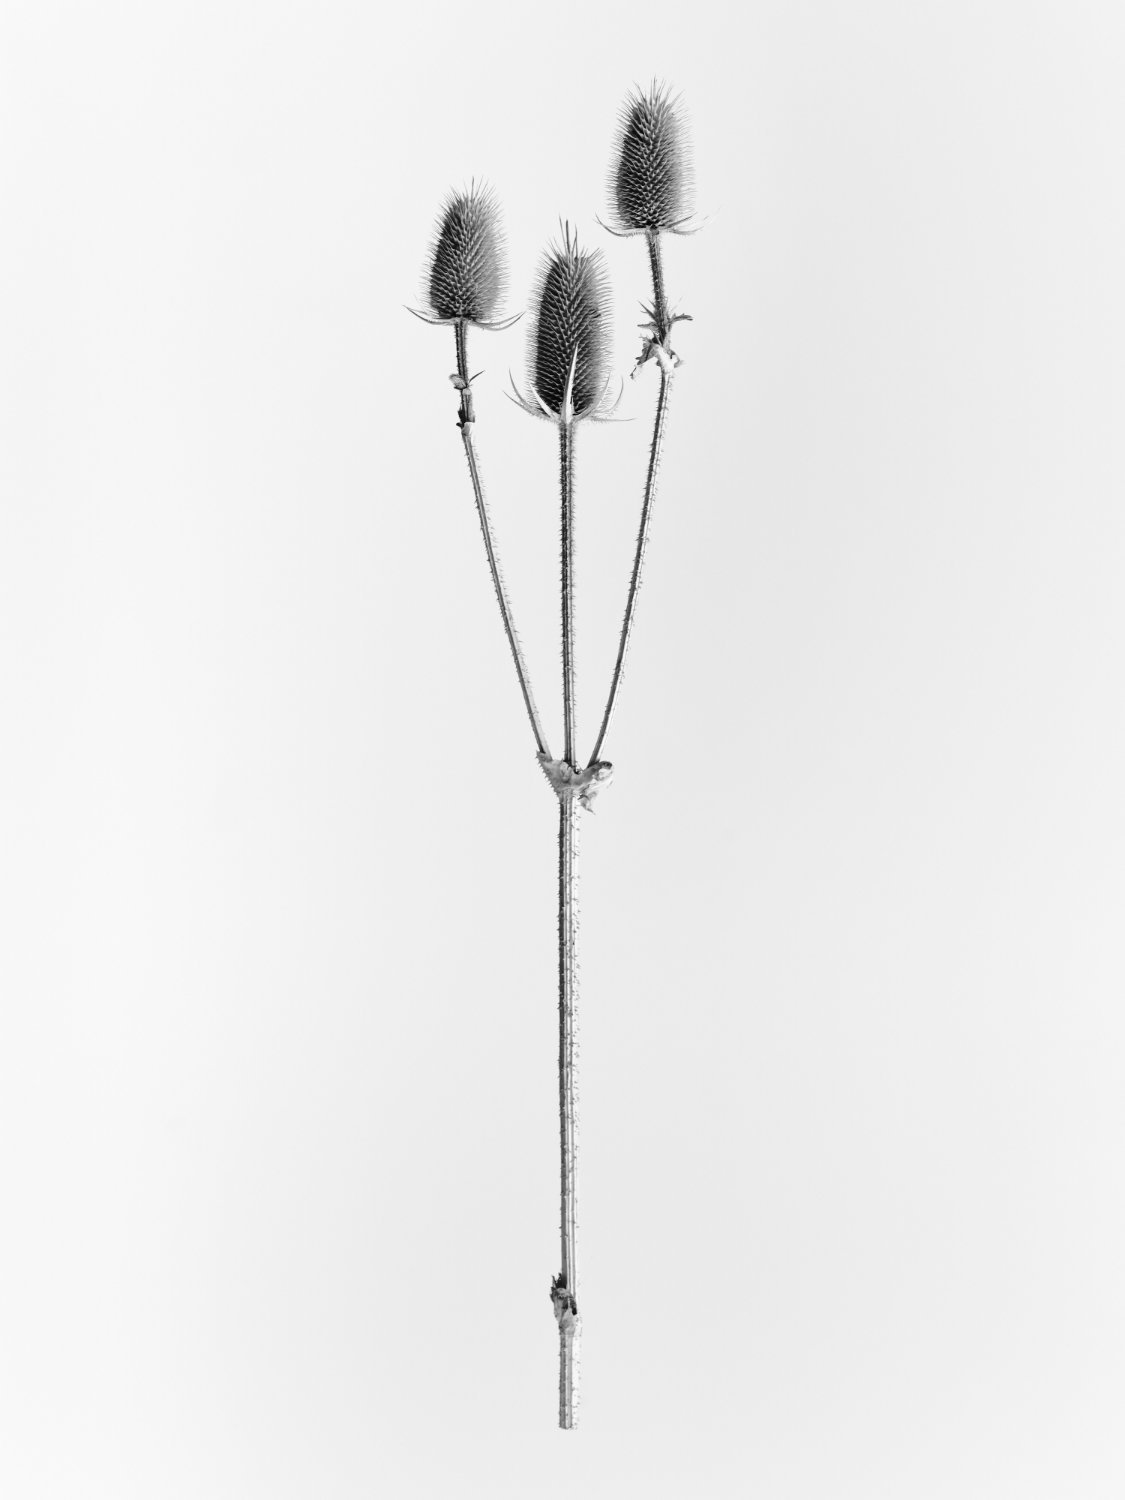
Last month Gillian and I went foraging for perfect specimens of last year’s native vegetation. We wandered around a nearby park with a cardboard box collecting dried plants from last year’s growth. I’ve always been fascinated with the forms and shapes plants take but people usually disregard them once they’ve died, even though they naturally preserve themselves on the stalk. I wondered what would happen if I took the color out of them and presented them on a clean background. This would force the viewer to respect the beauty of the shapes for what they are. If you couldn’t tell it was dead, would you still look past it? So, we took a day to try out whether or not the results would be worthy of sharing and we think they are. Let us know what you think and which ones are your favorites!
These images would look amazing when presented on a large format print with a white frame. UPDATE: They’re now added to my Etsy store for purchase. Local customers can always buy prints directly and get your signed copy hand delivered!


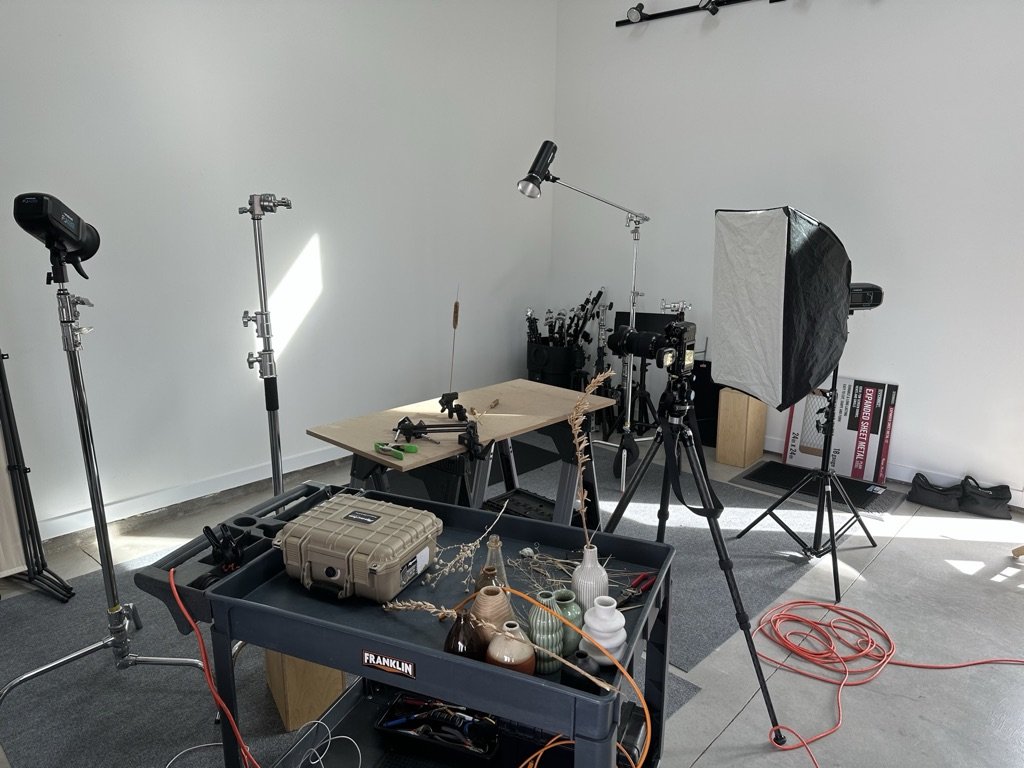
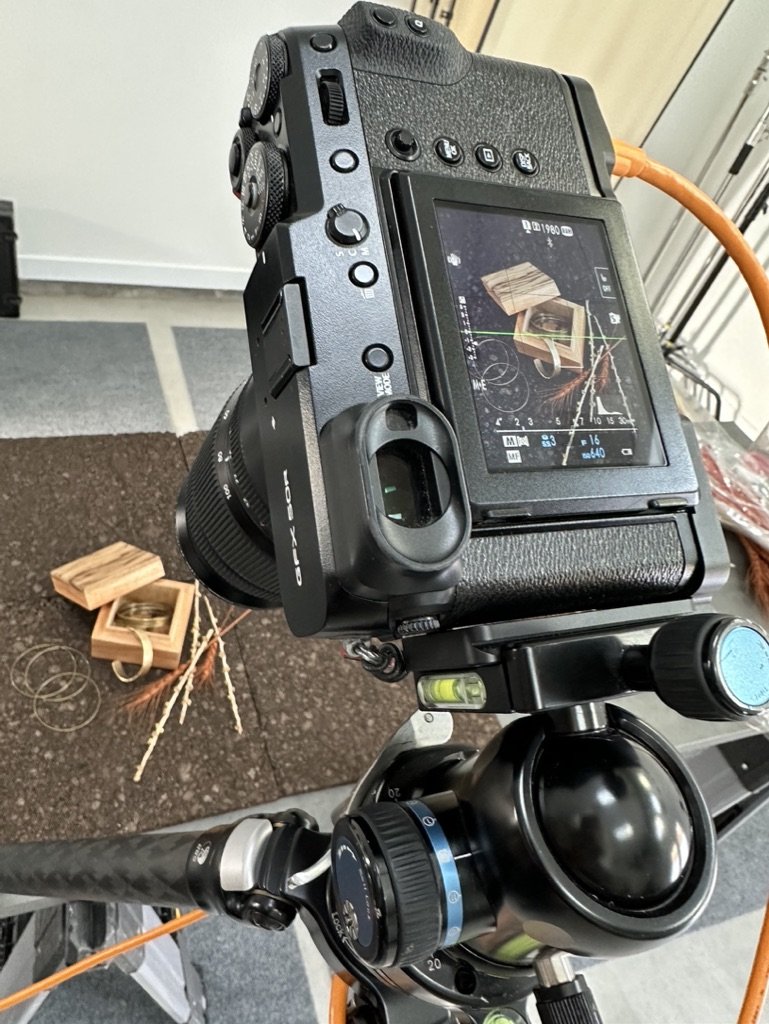
Behind the scenes in our studio during our Native Botanical series shoot.


In addition to photography and filmmaking one of my other passions is woodworking. I utilize my studio space as both a workshop and a studio. When I’m done making new projects we clean up, set up the still life photography equipment and make some nice photos of the finished pieces!
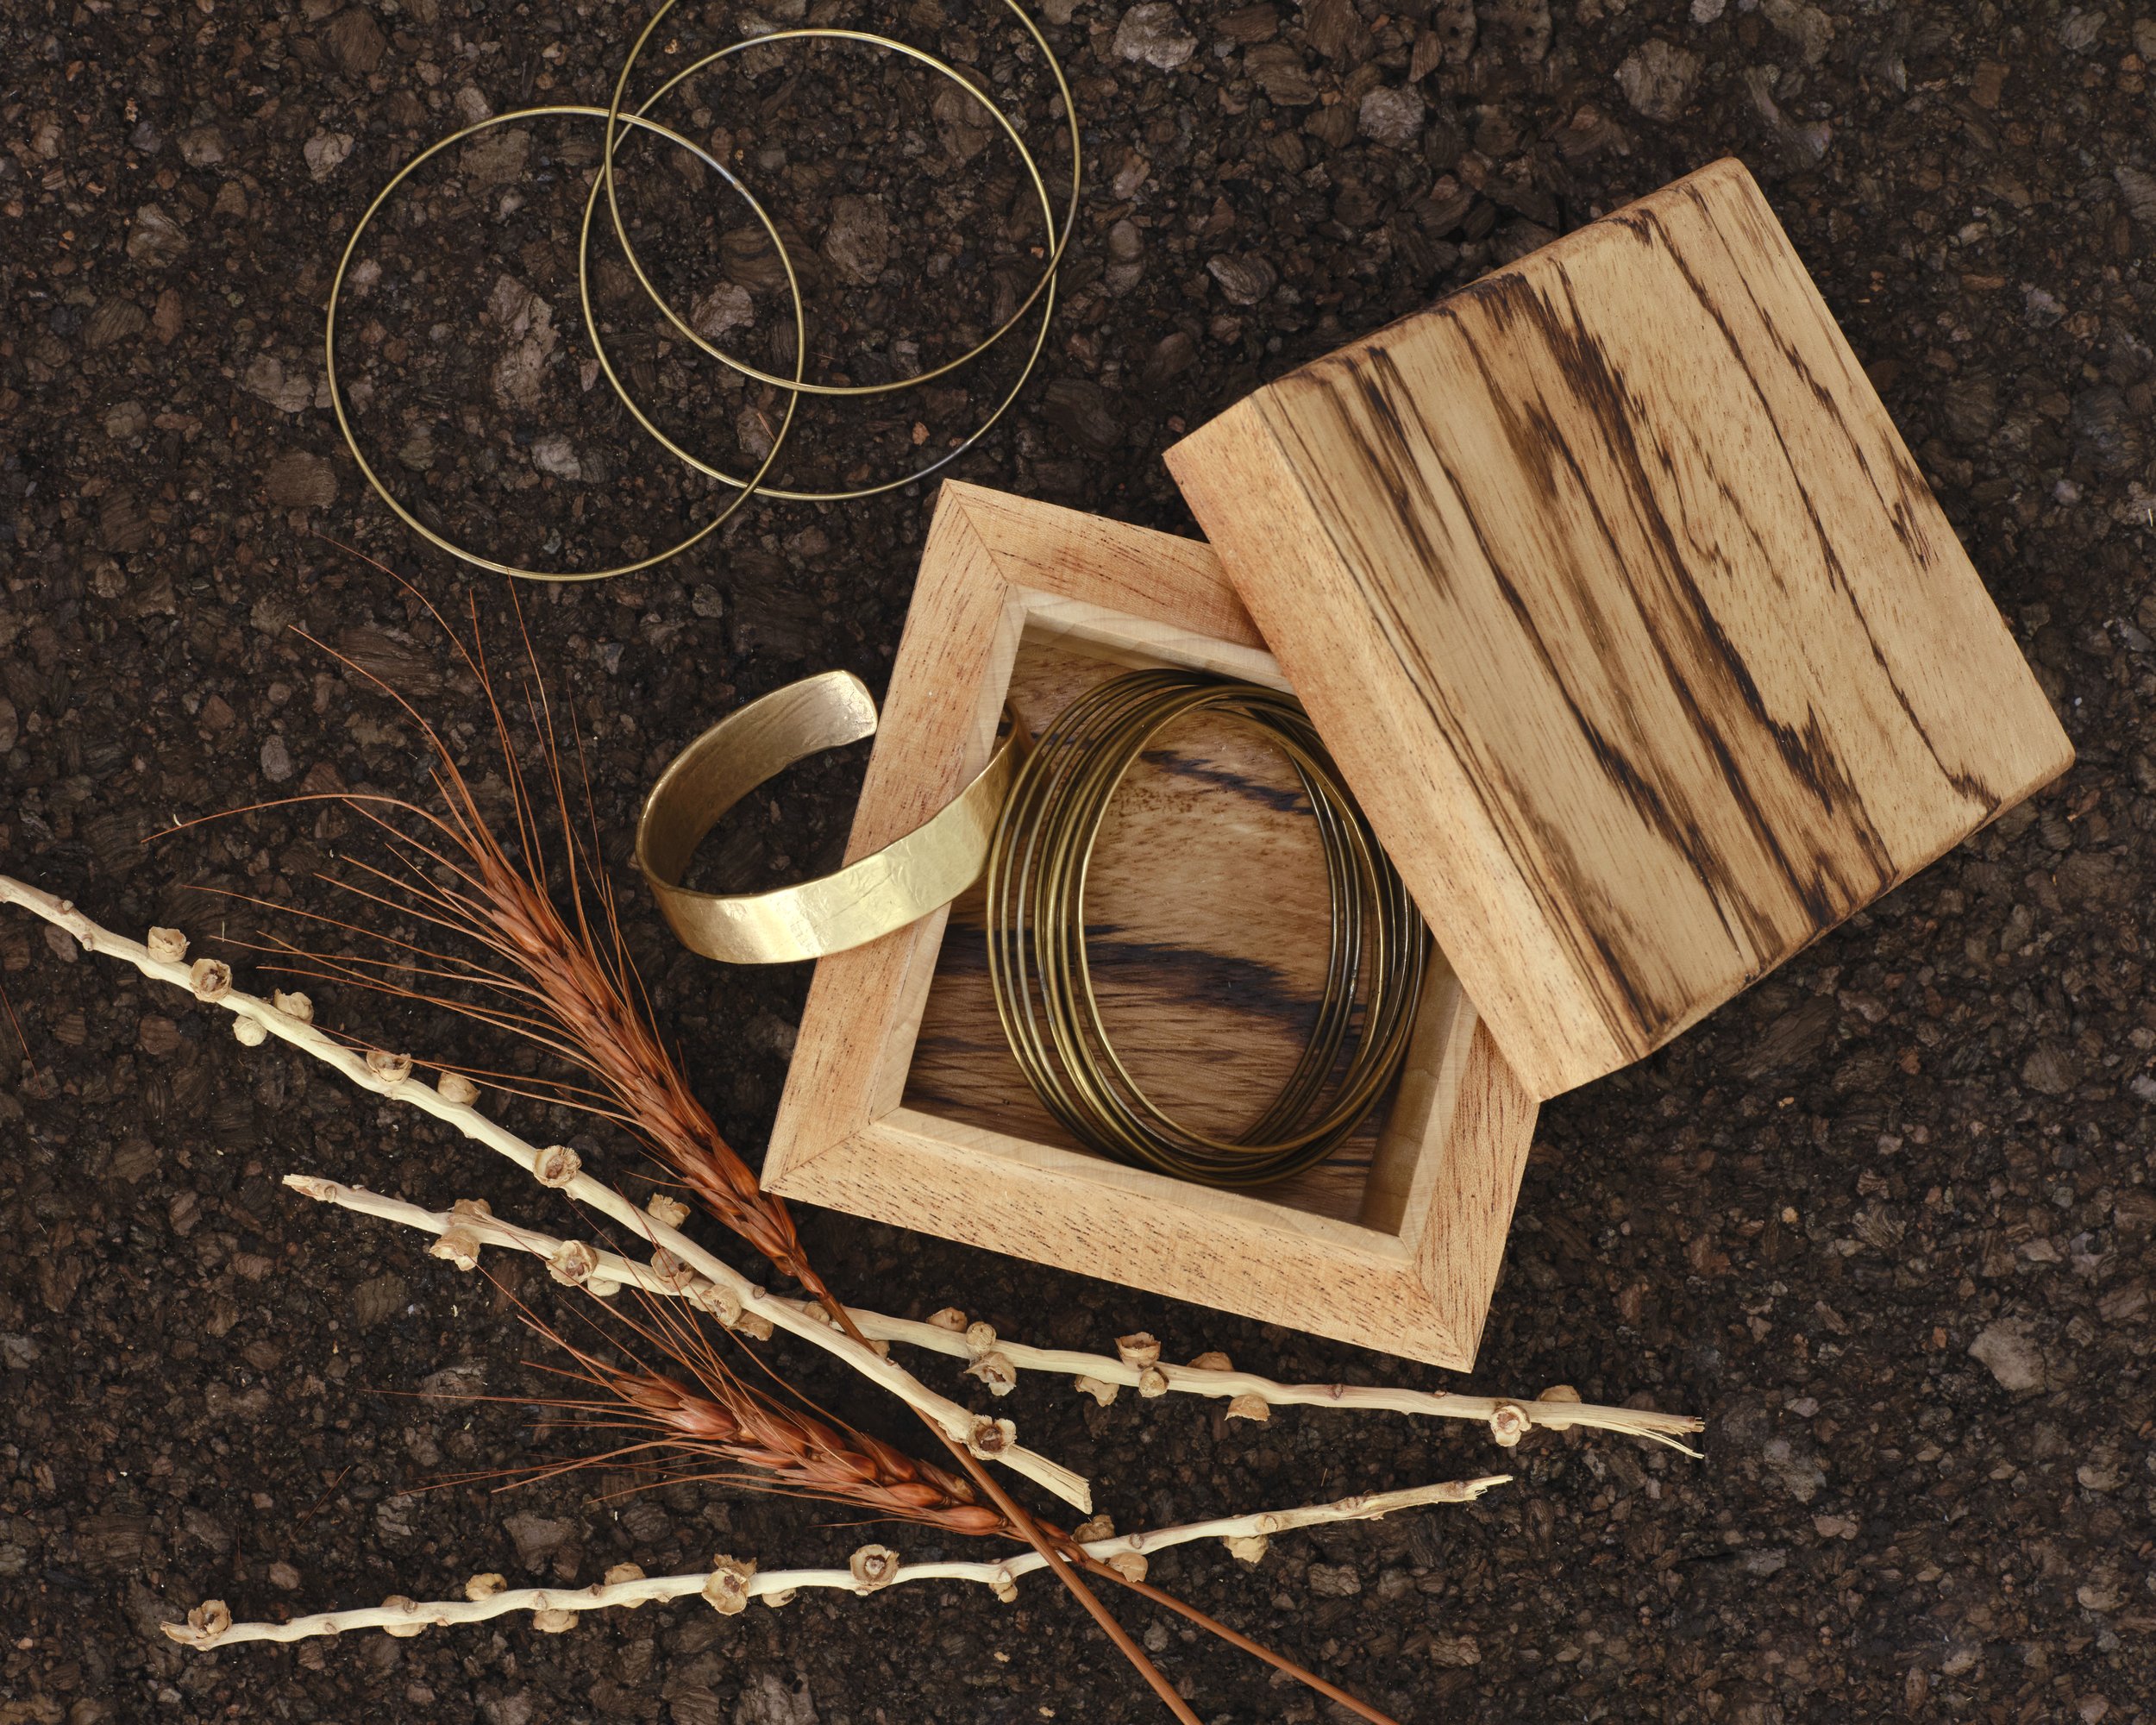
Gillian gets free reign to make whatever she wanted here and I just light, compose and hit the button.
The boxes are made out of zebra wood with maple inserts and glue. I try not to use any nails or screws in my pieces if it can be helped. The lighting is all natural light with just a couple foam core books and a diffusion scrim to block or reflect light from the desired direction. Very simple, but very engaging results. I love how the wood pops off the dark cork background.

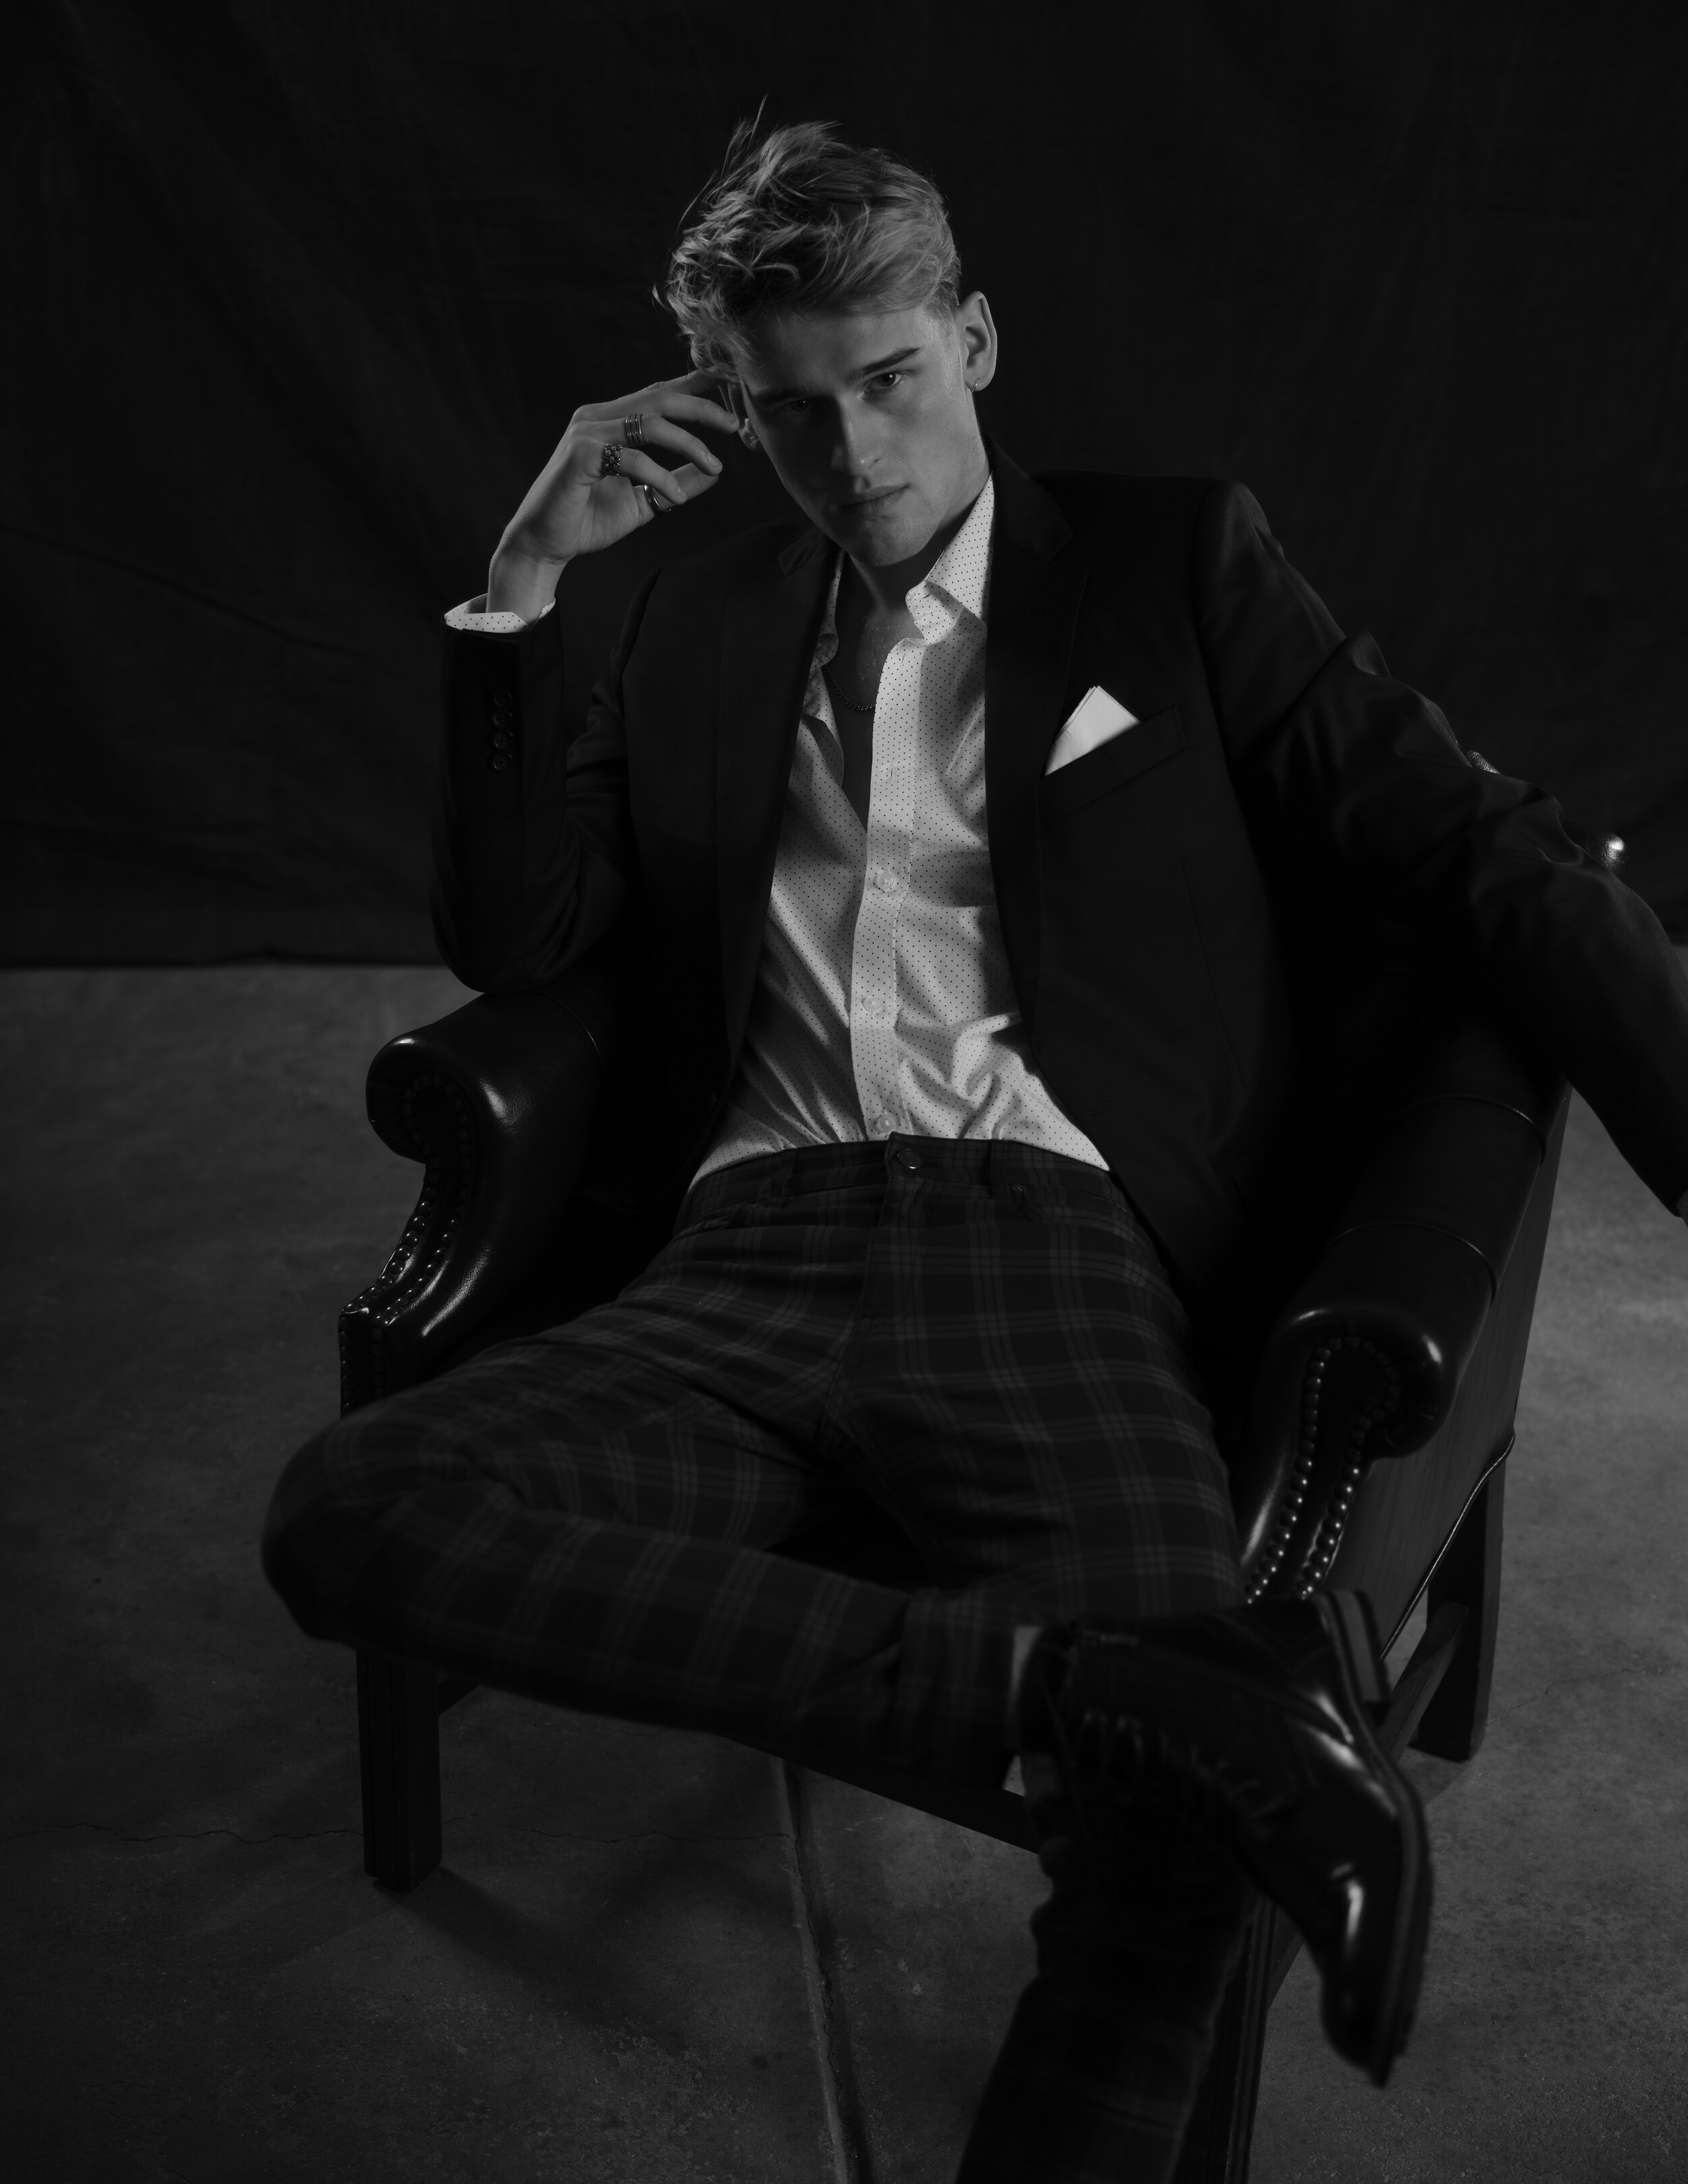
We had a really cool fashion shoot with Samantha Burton of Wilhelmina Denver last week. Gillian styled and did the makeup and I… took the pictures. Low light, low key is my thing now. So, let’s roll with it.
Everything was captured with the Fujifilm GFX50r and the 45-100f4. All images were lit with just one Westcott FJ400 strobe but I varied the modifier. I used a large octabox for the first look, and then different reflectors and grid combos. There was a wall of black cards and diffusion net to further soften the light and prevent spill on to the background and for the last look we employed a smoke machine for that dreamy, ethereal look.


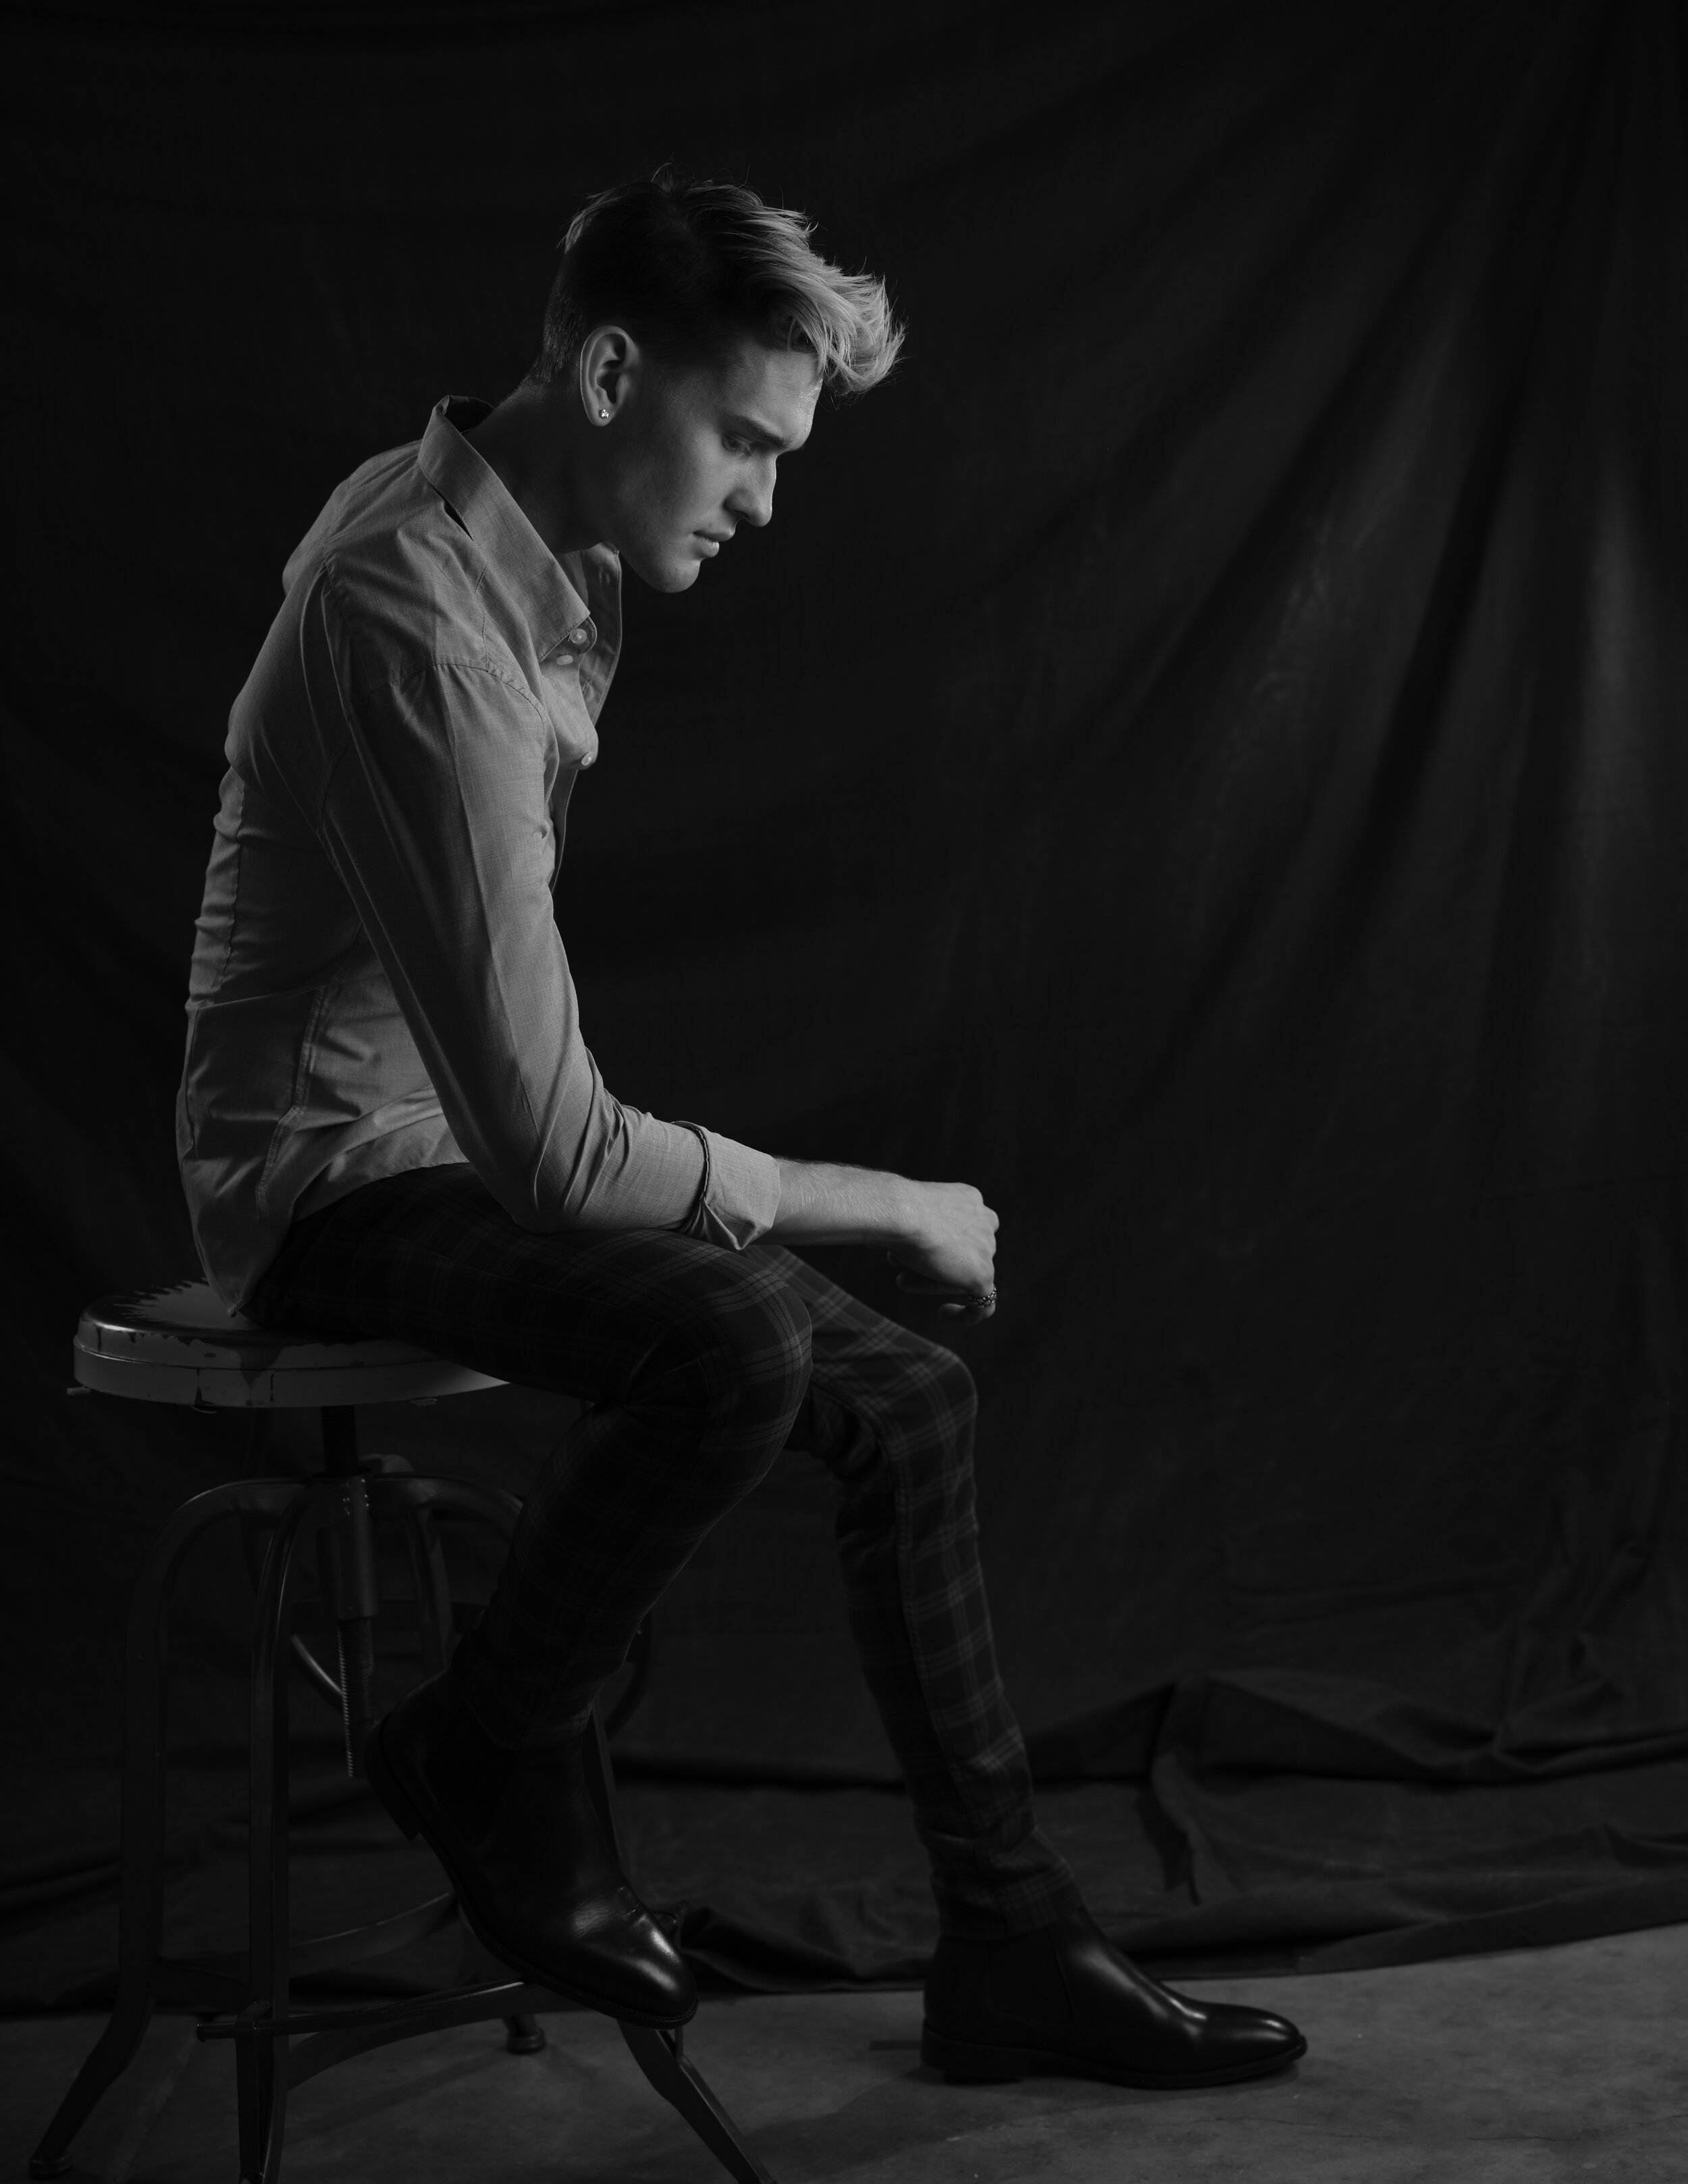
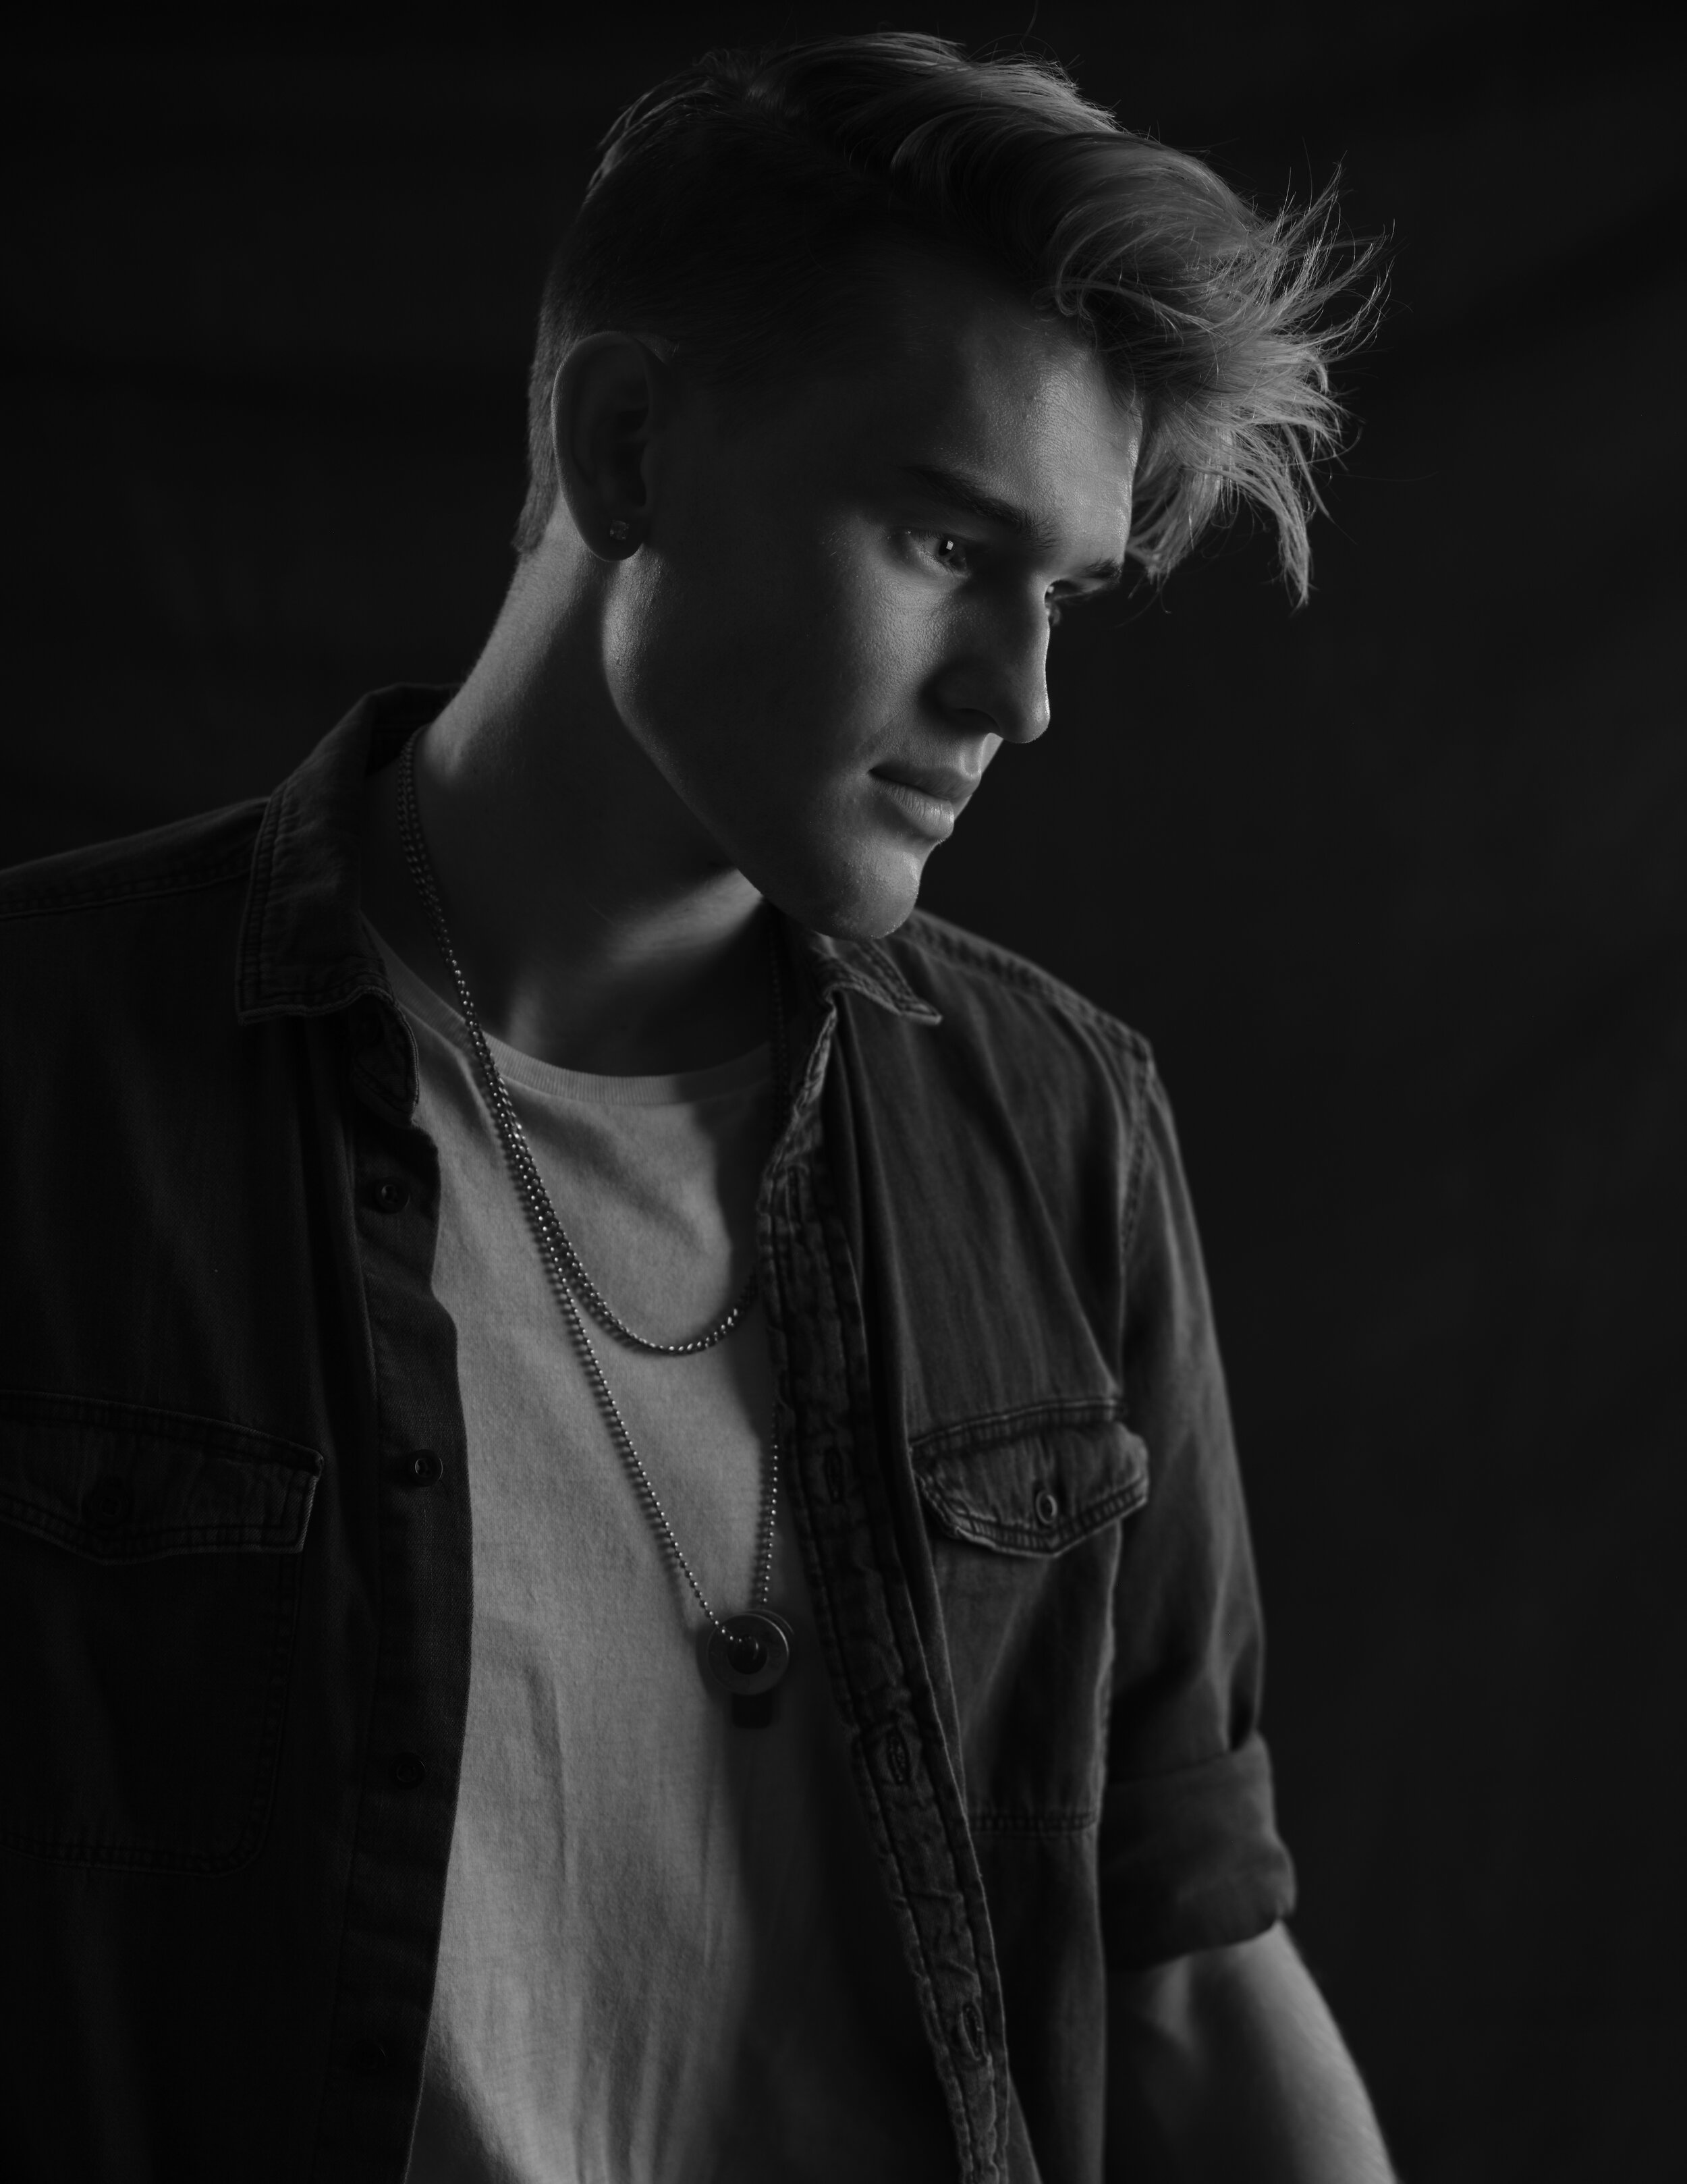
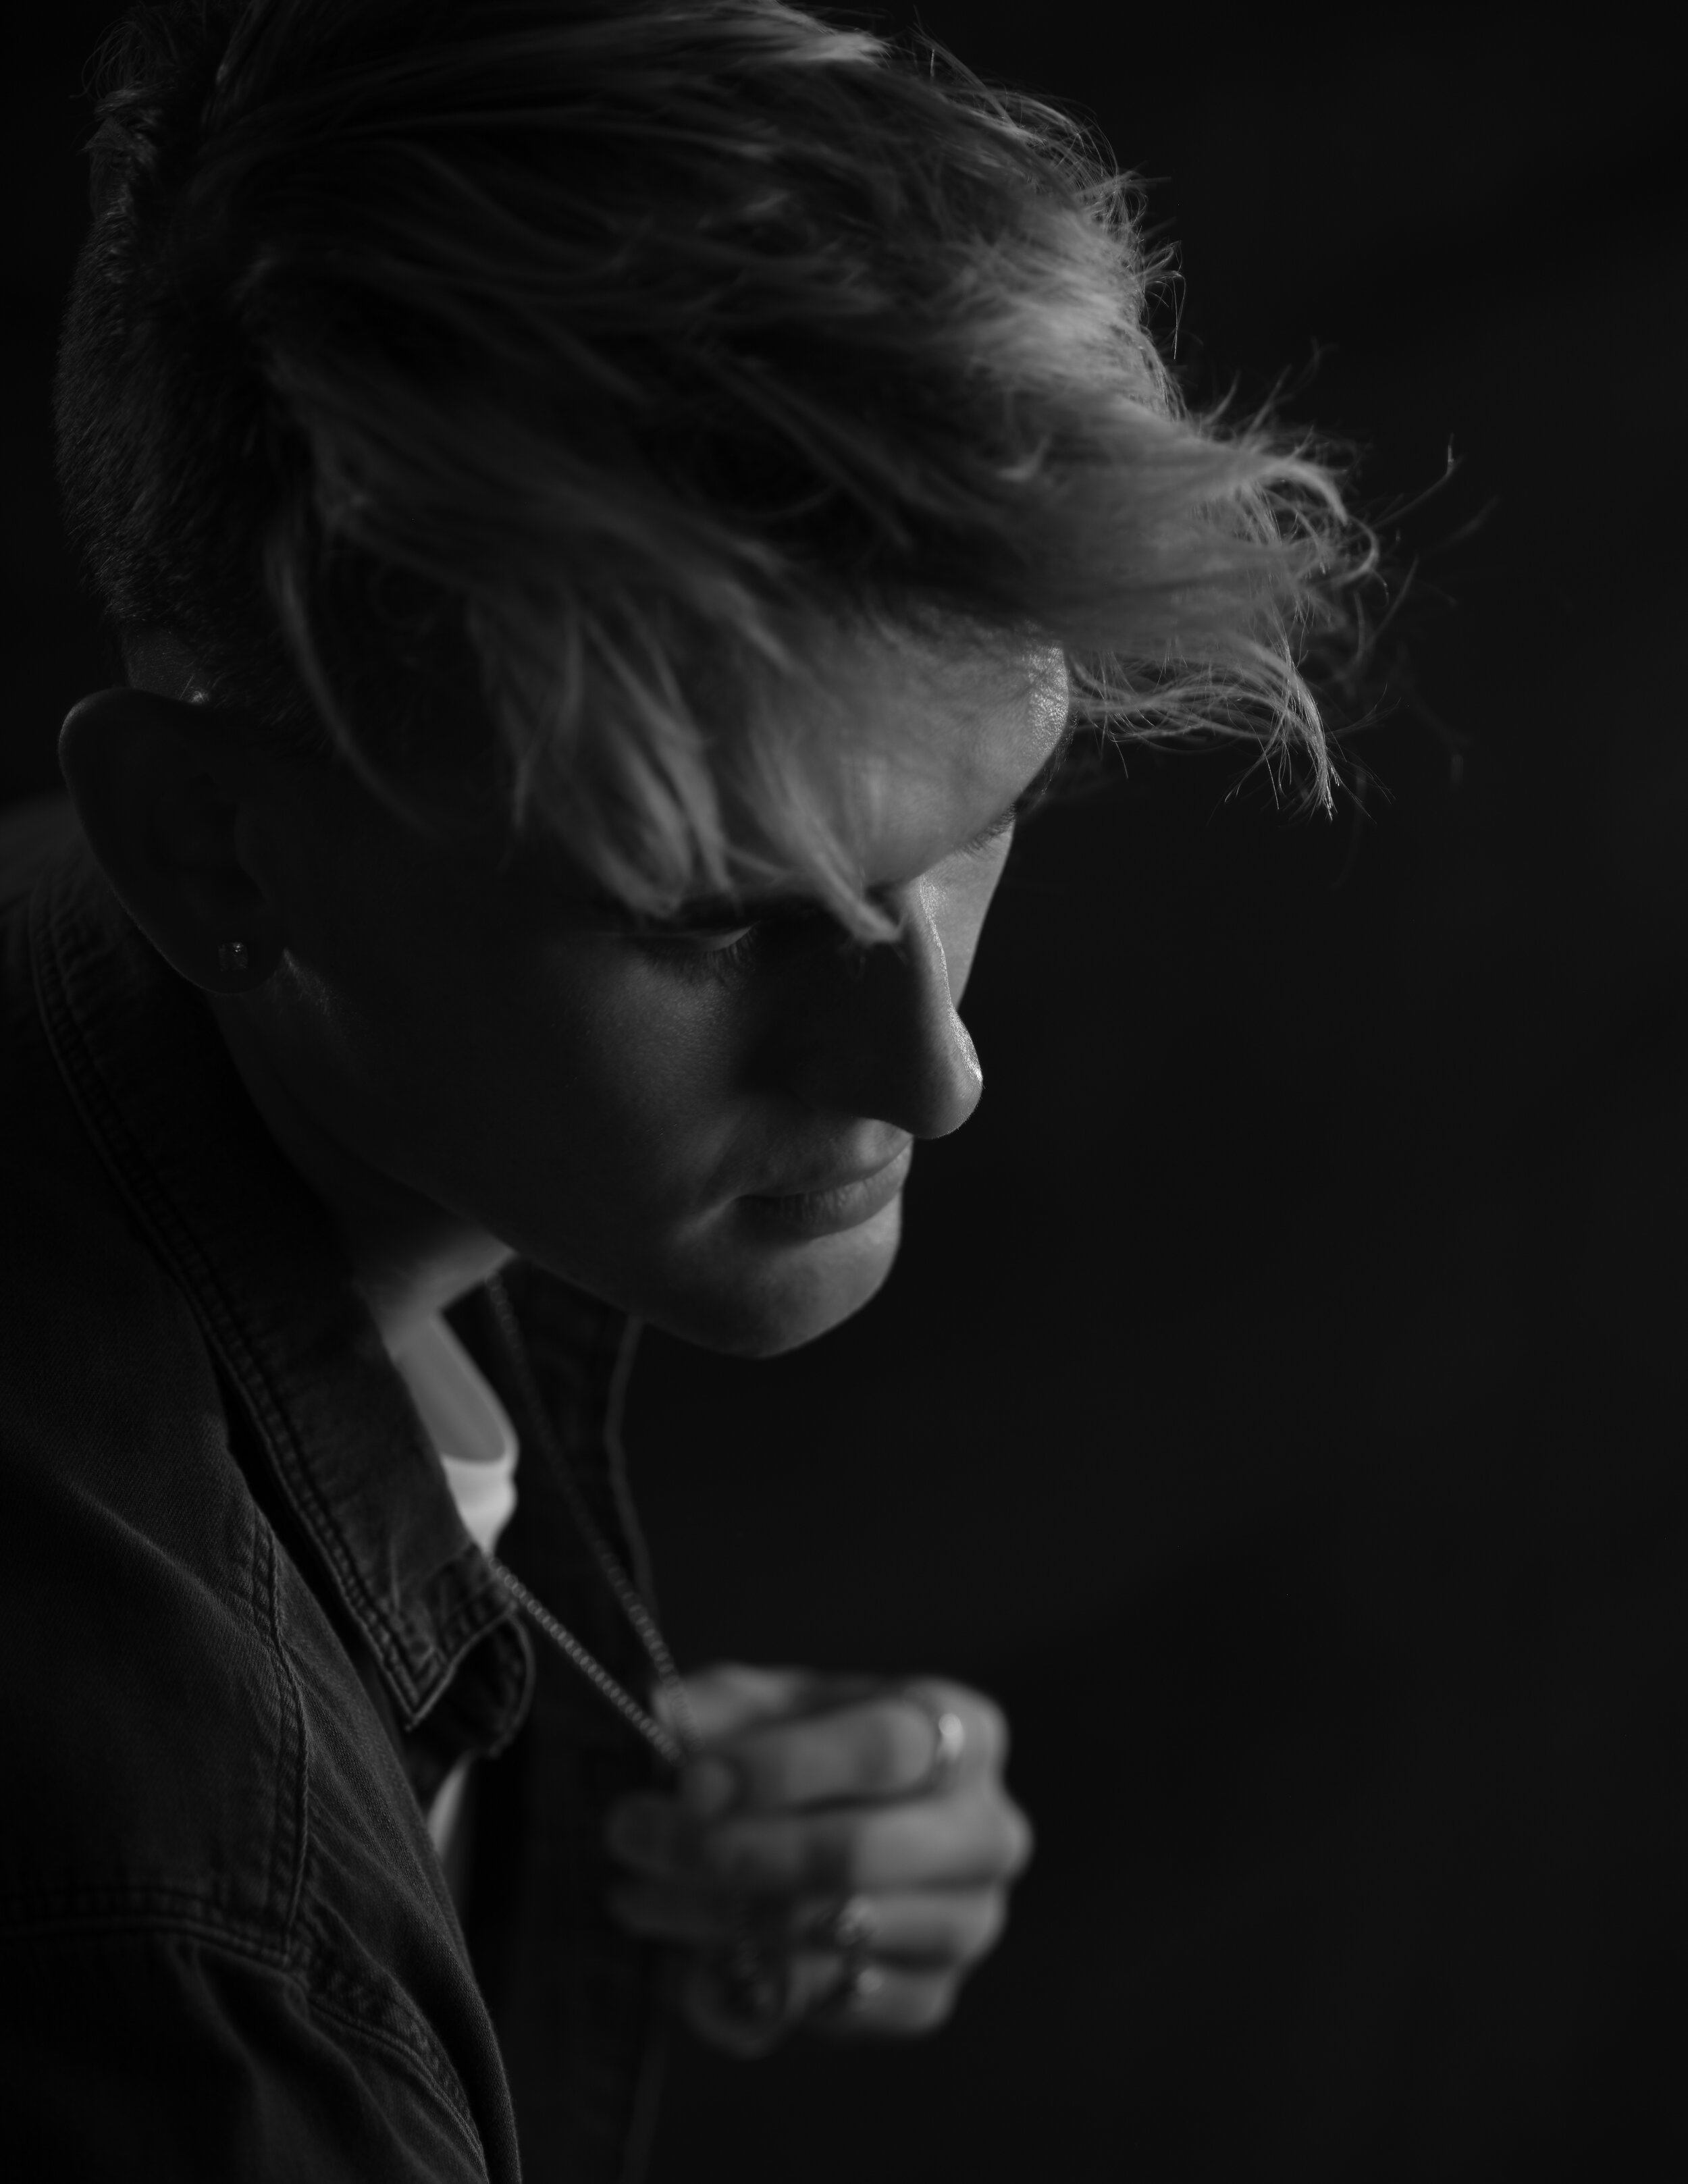
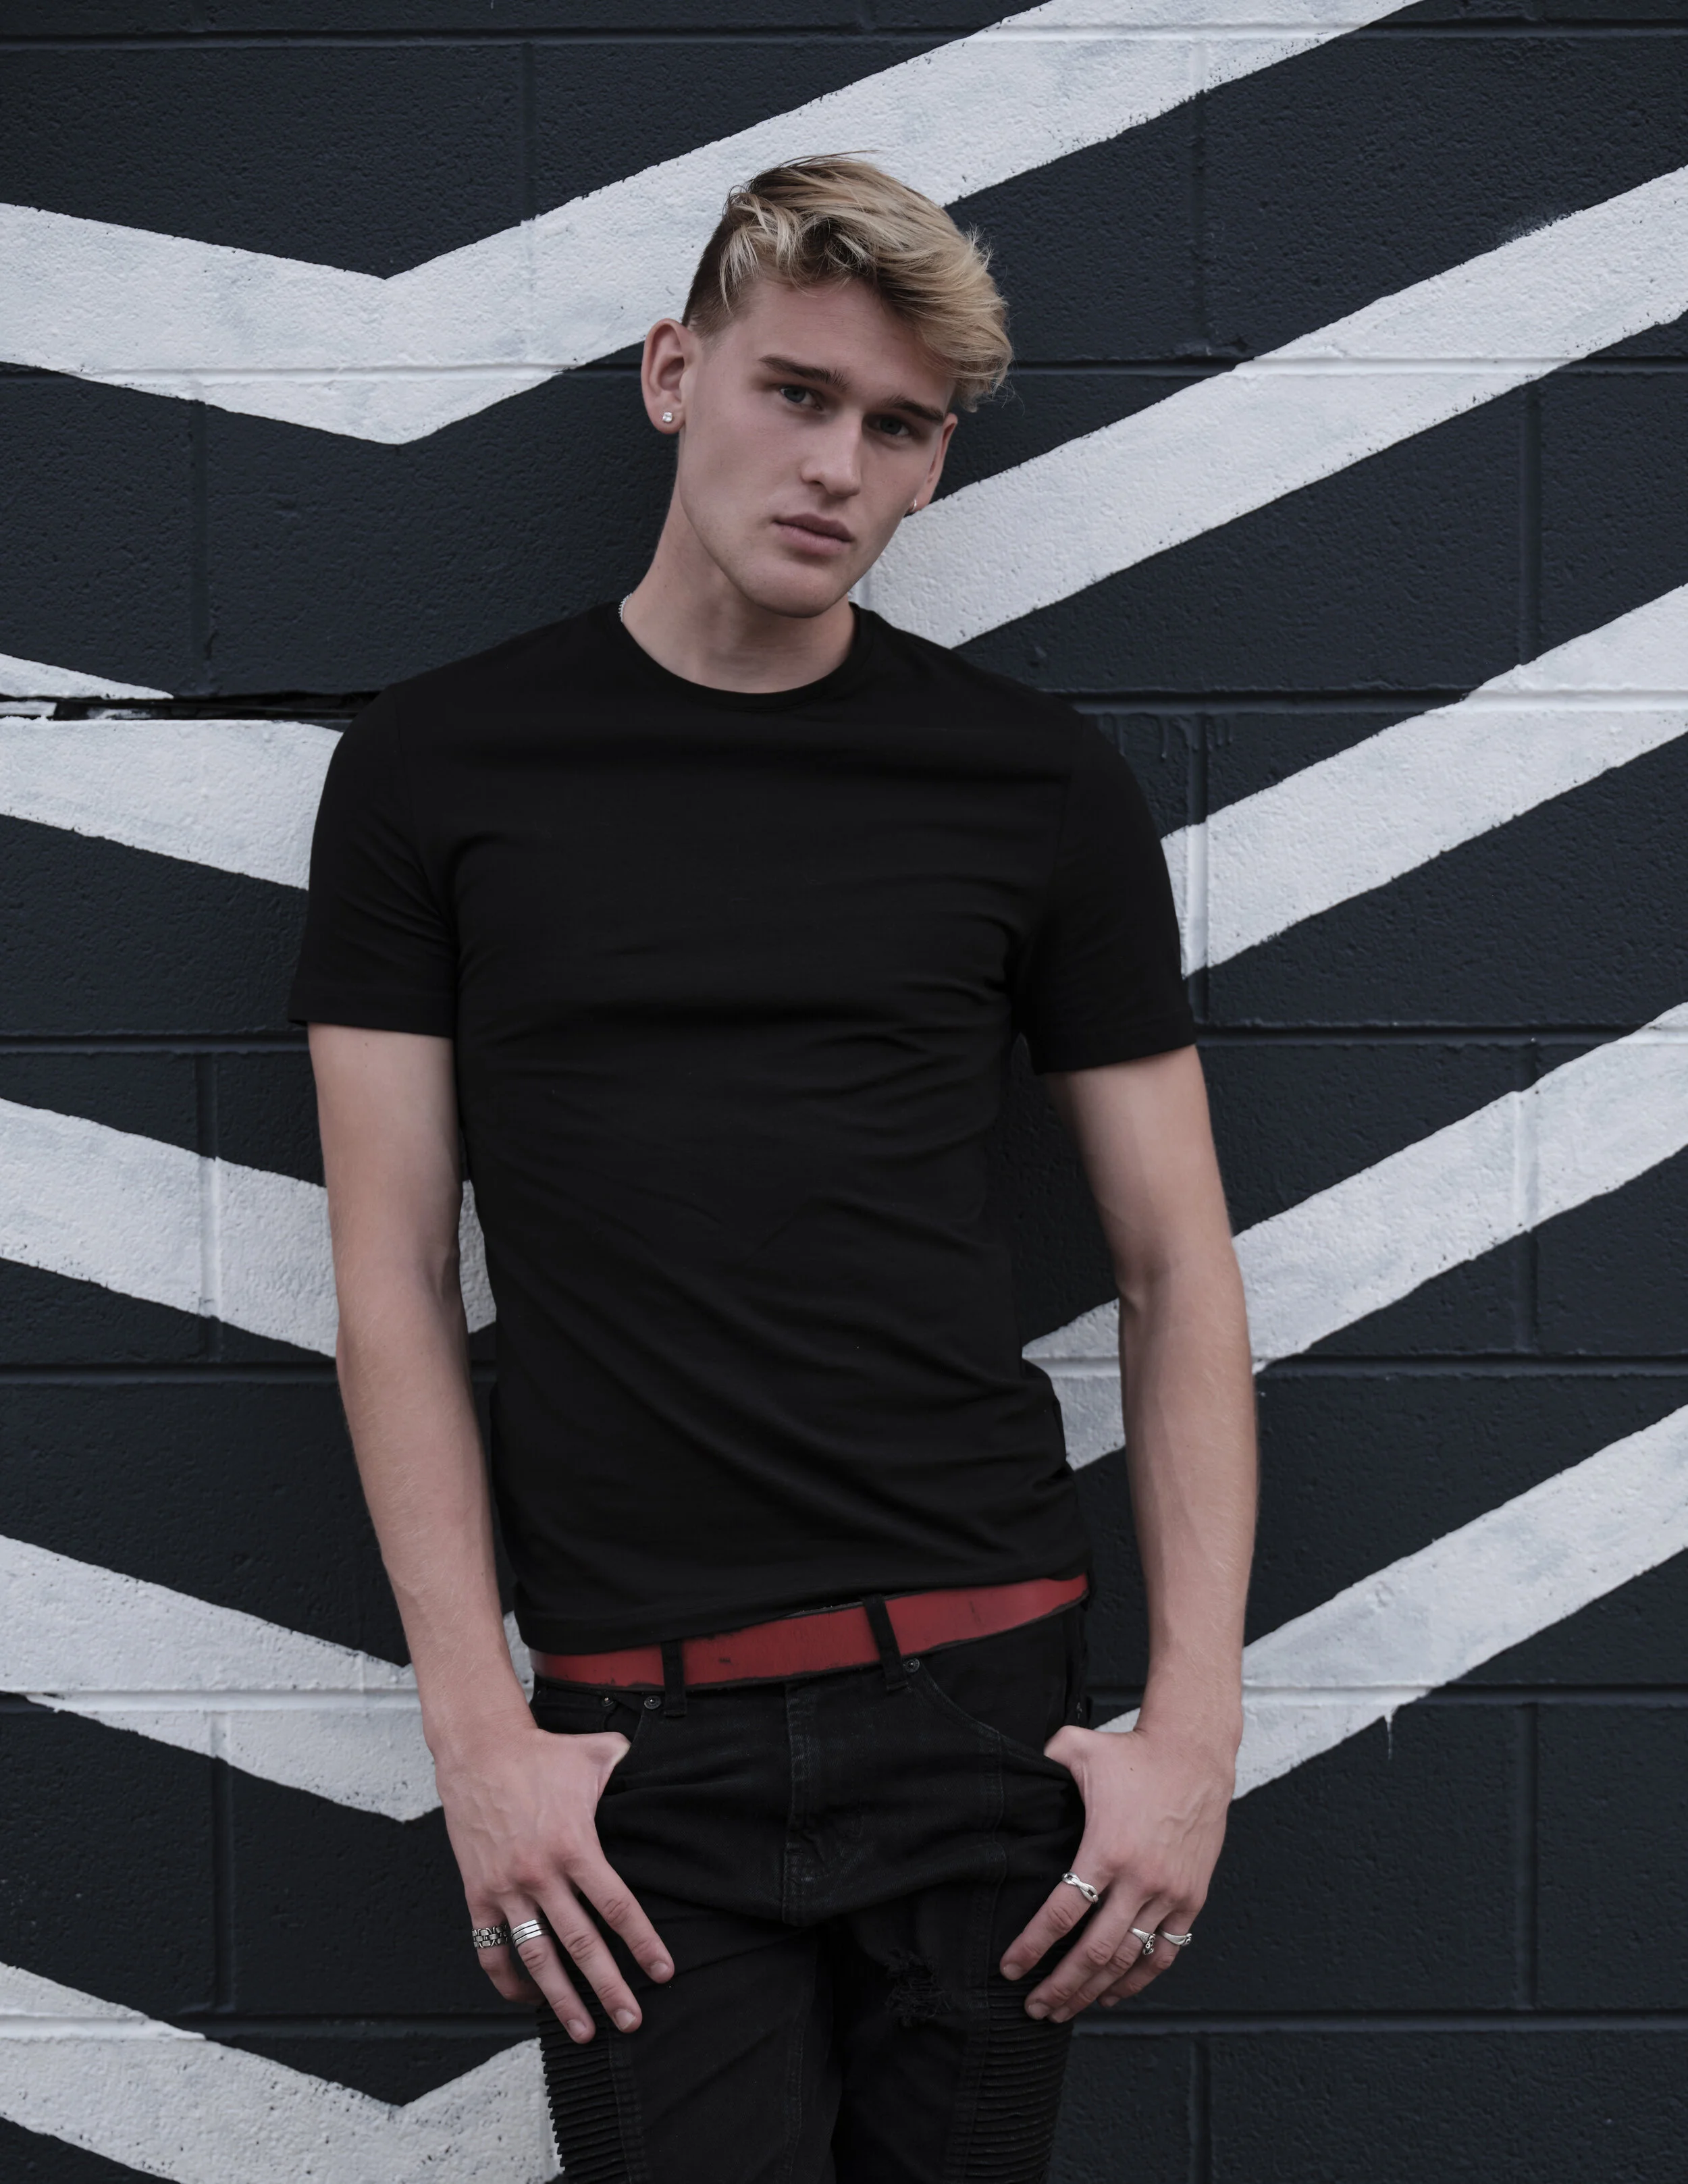
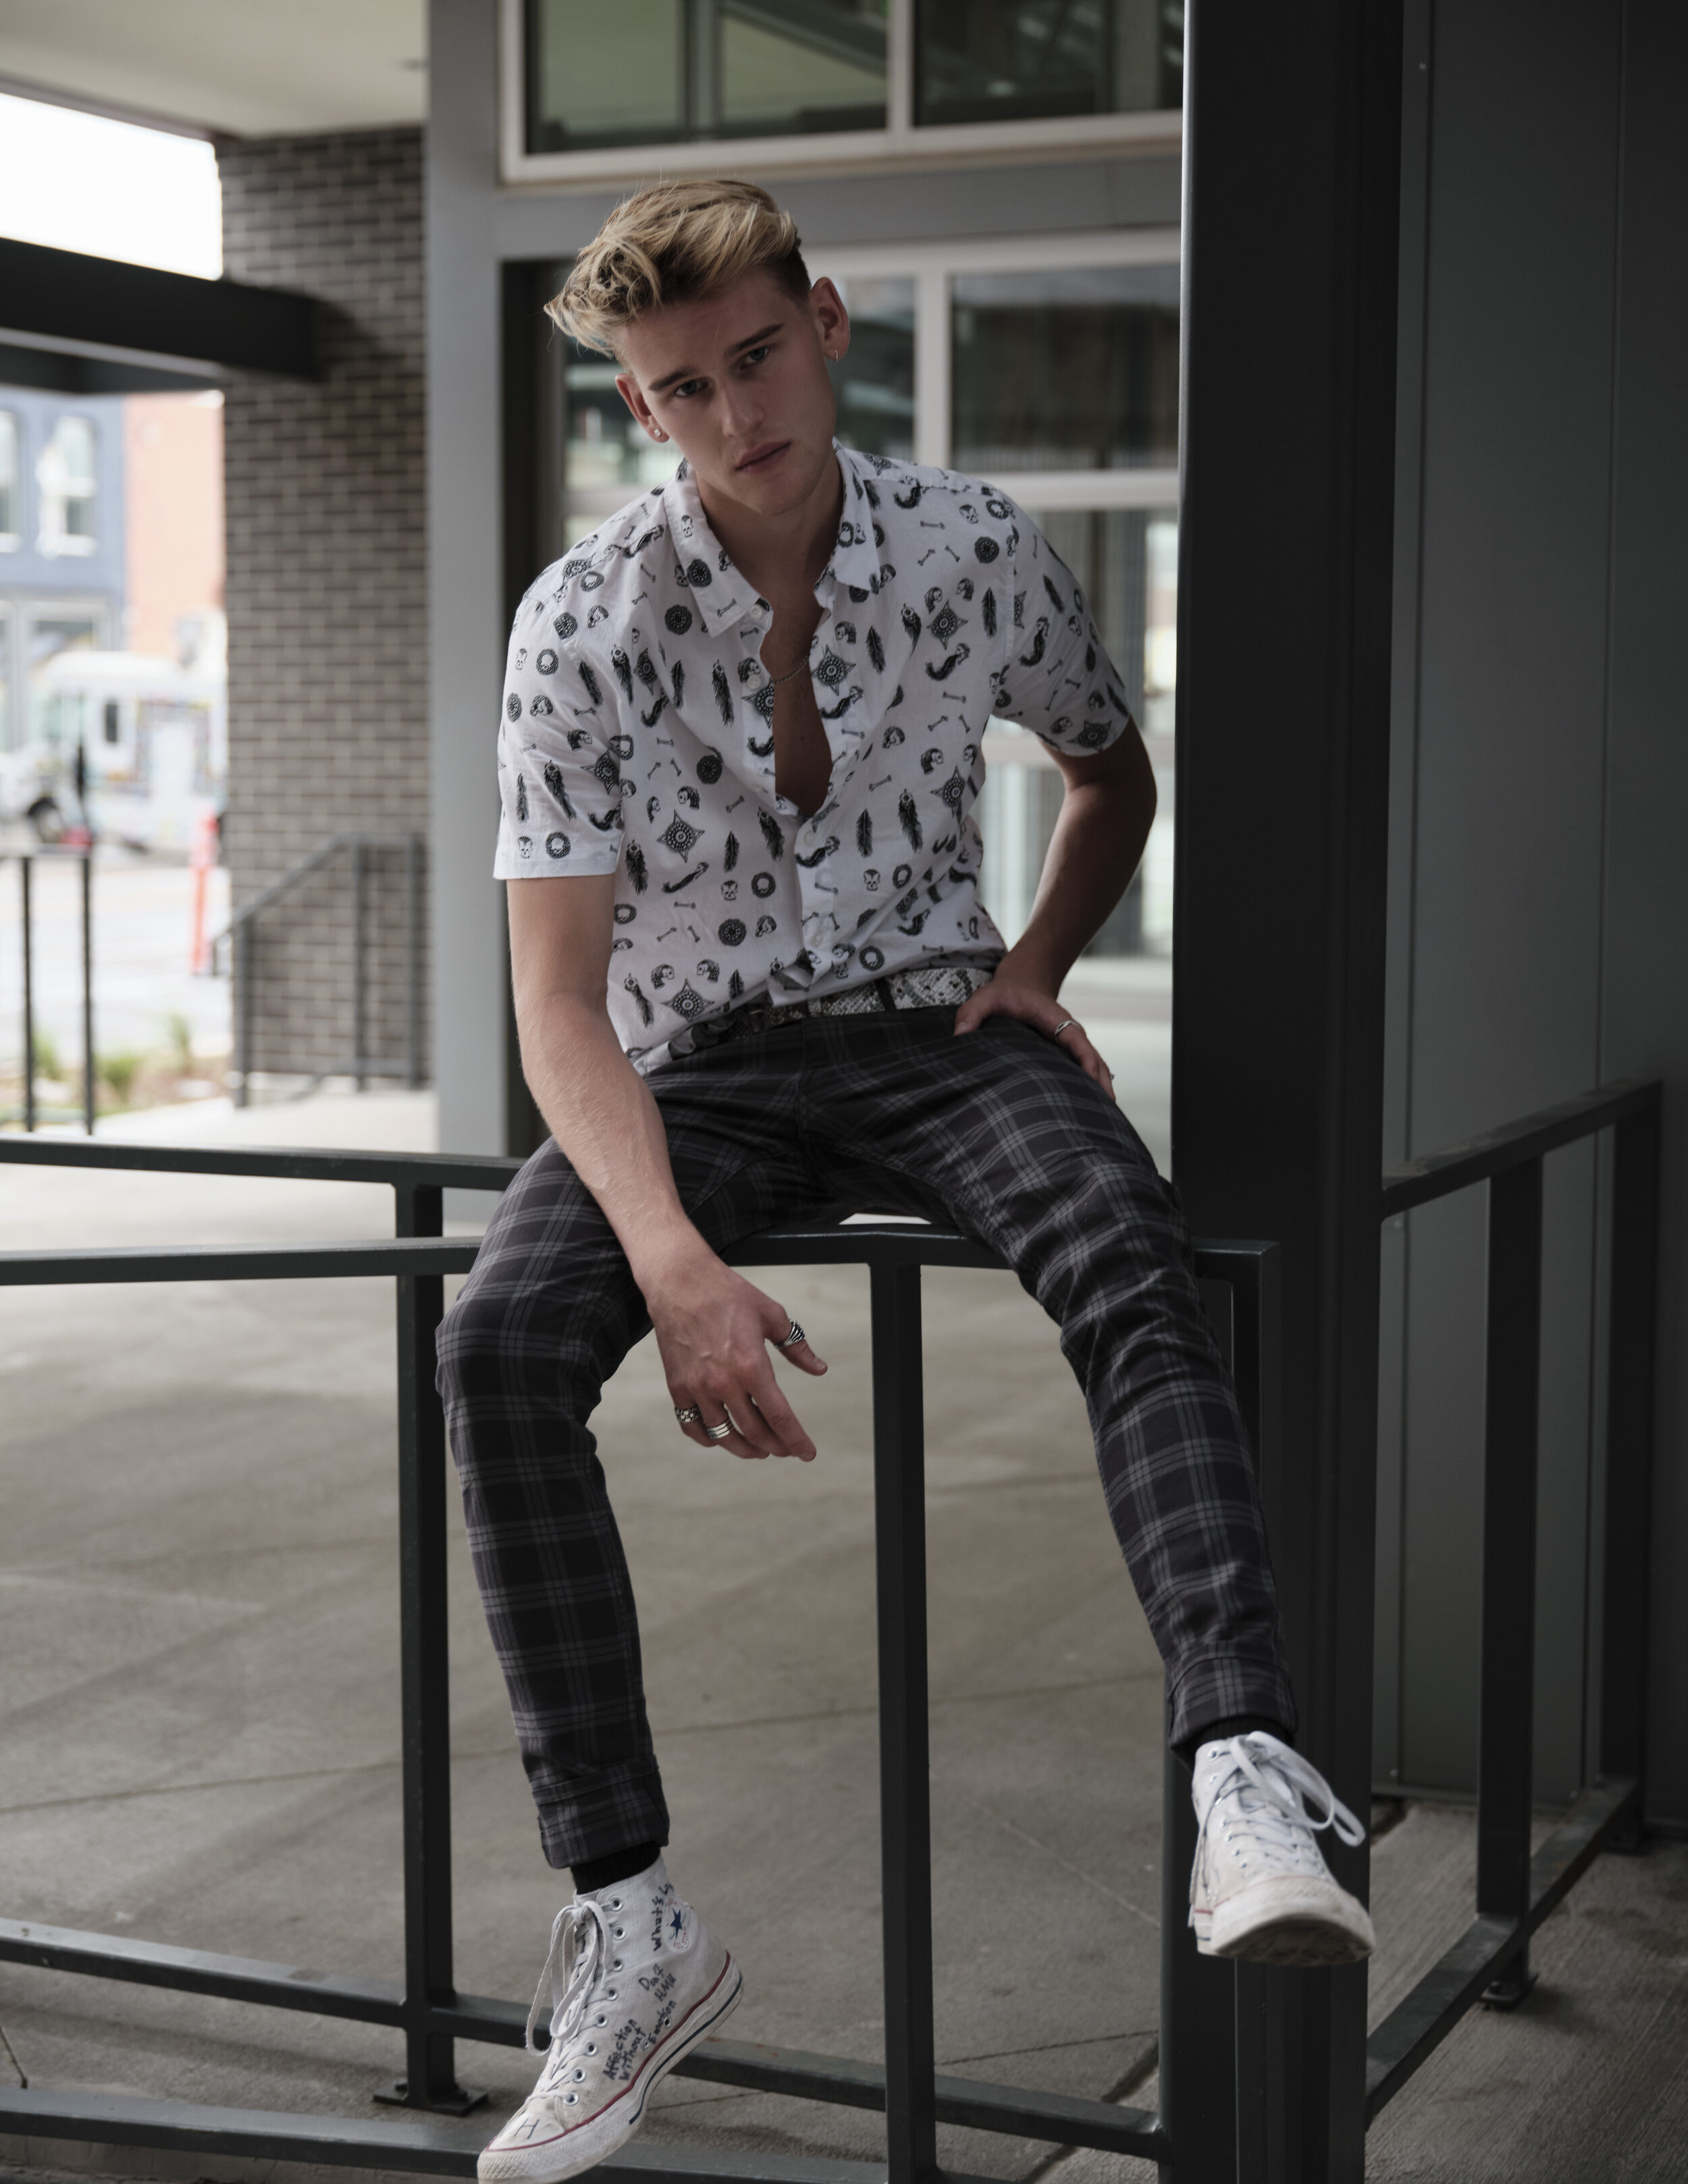
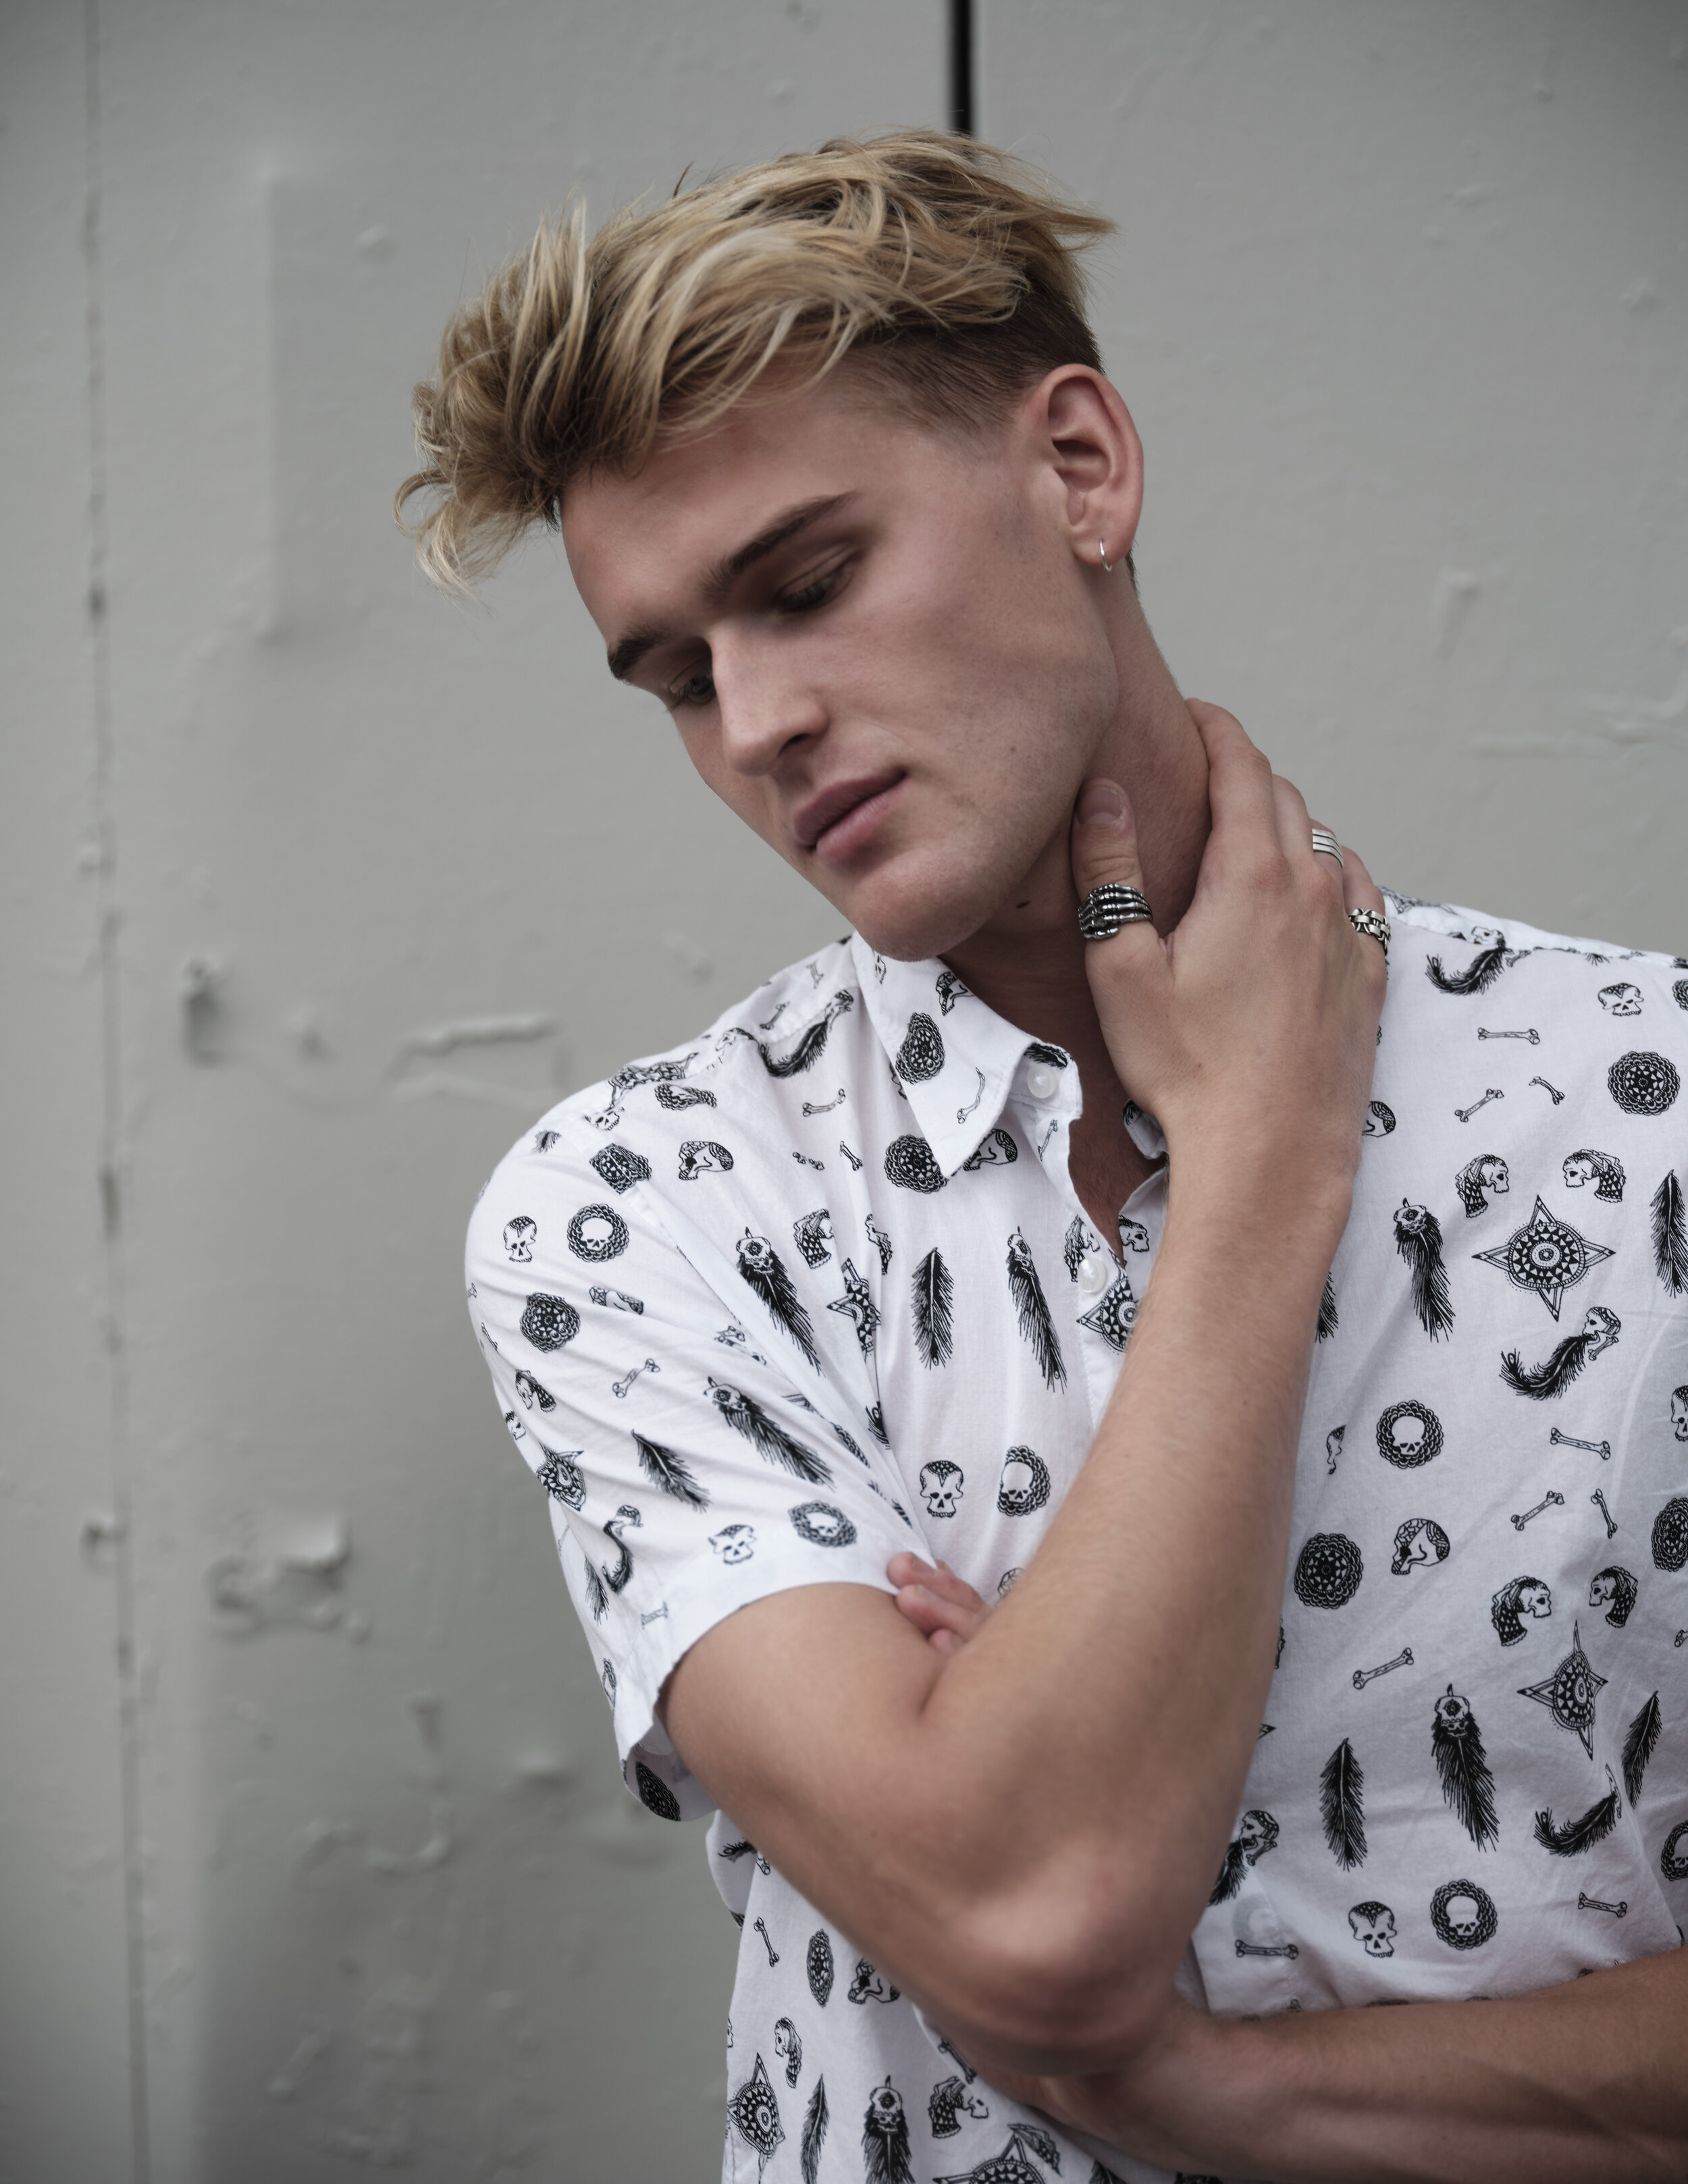
We did a test shoot with our new buddy Ansel Pierce of Wilhelmina Denver. Gillian did the styling and we shot in both studio and location in Rino district, Denver. Then stopped for Shake Shack. Shot all of these on my new digital medium format Fujifilm GFX50r and Fujifilm 45-100. I just love the image quality and usability out of this camera. The files are impeccable and superior to even higher resolution files from full frame cameras. The black and whites are also so good it’s inspired me to shoot black and white again.

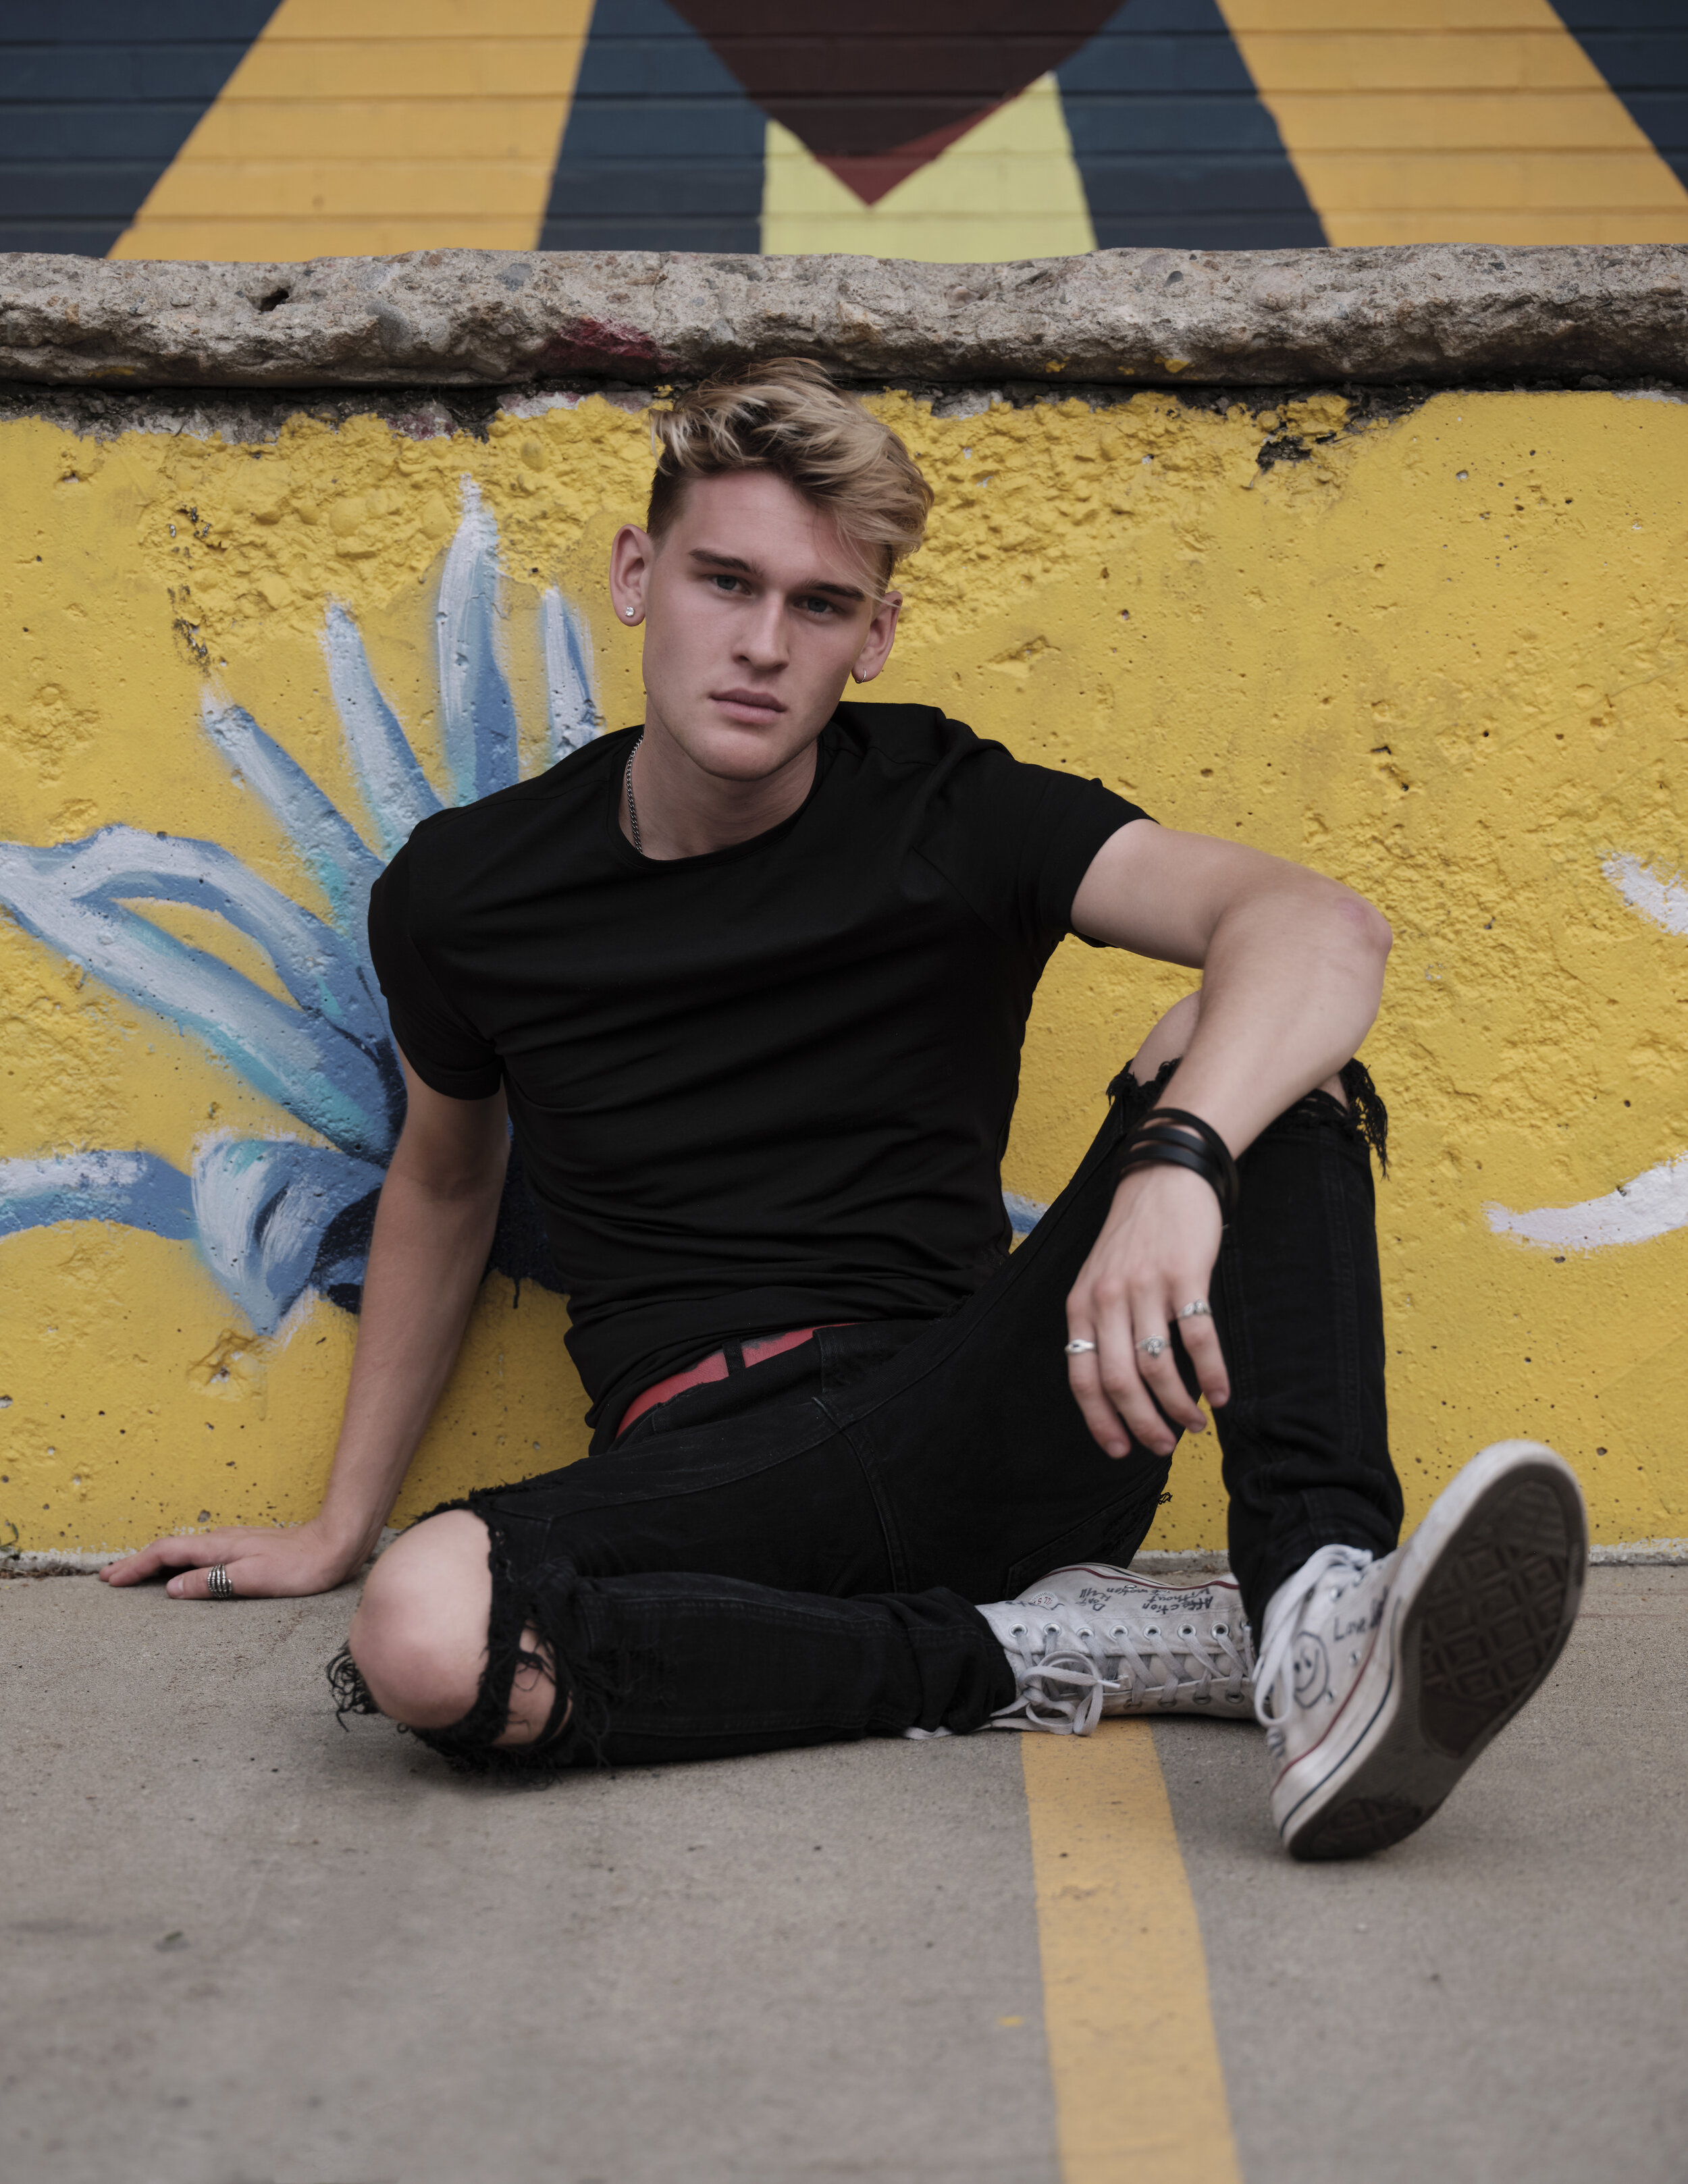
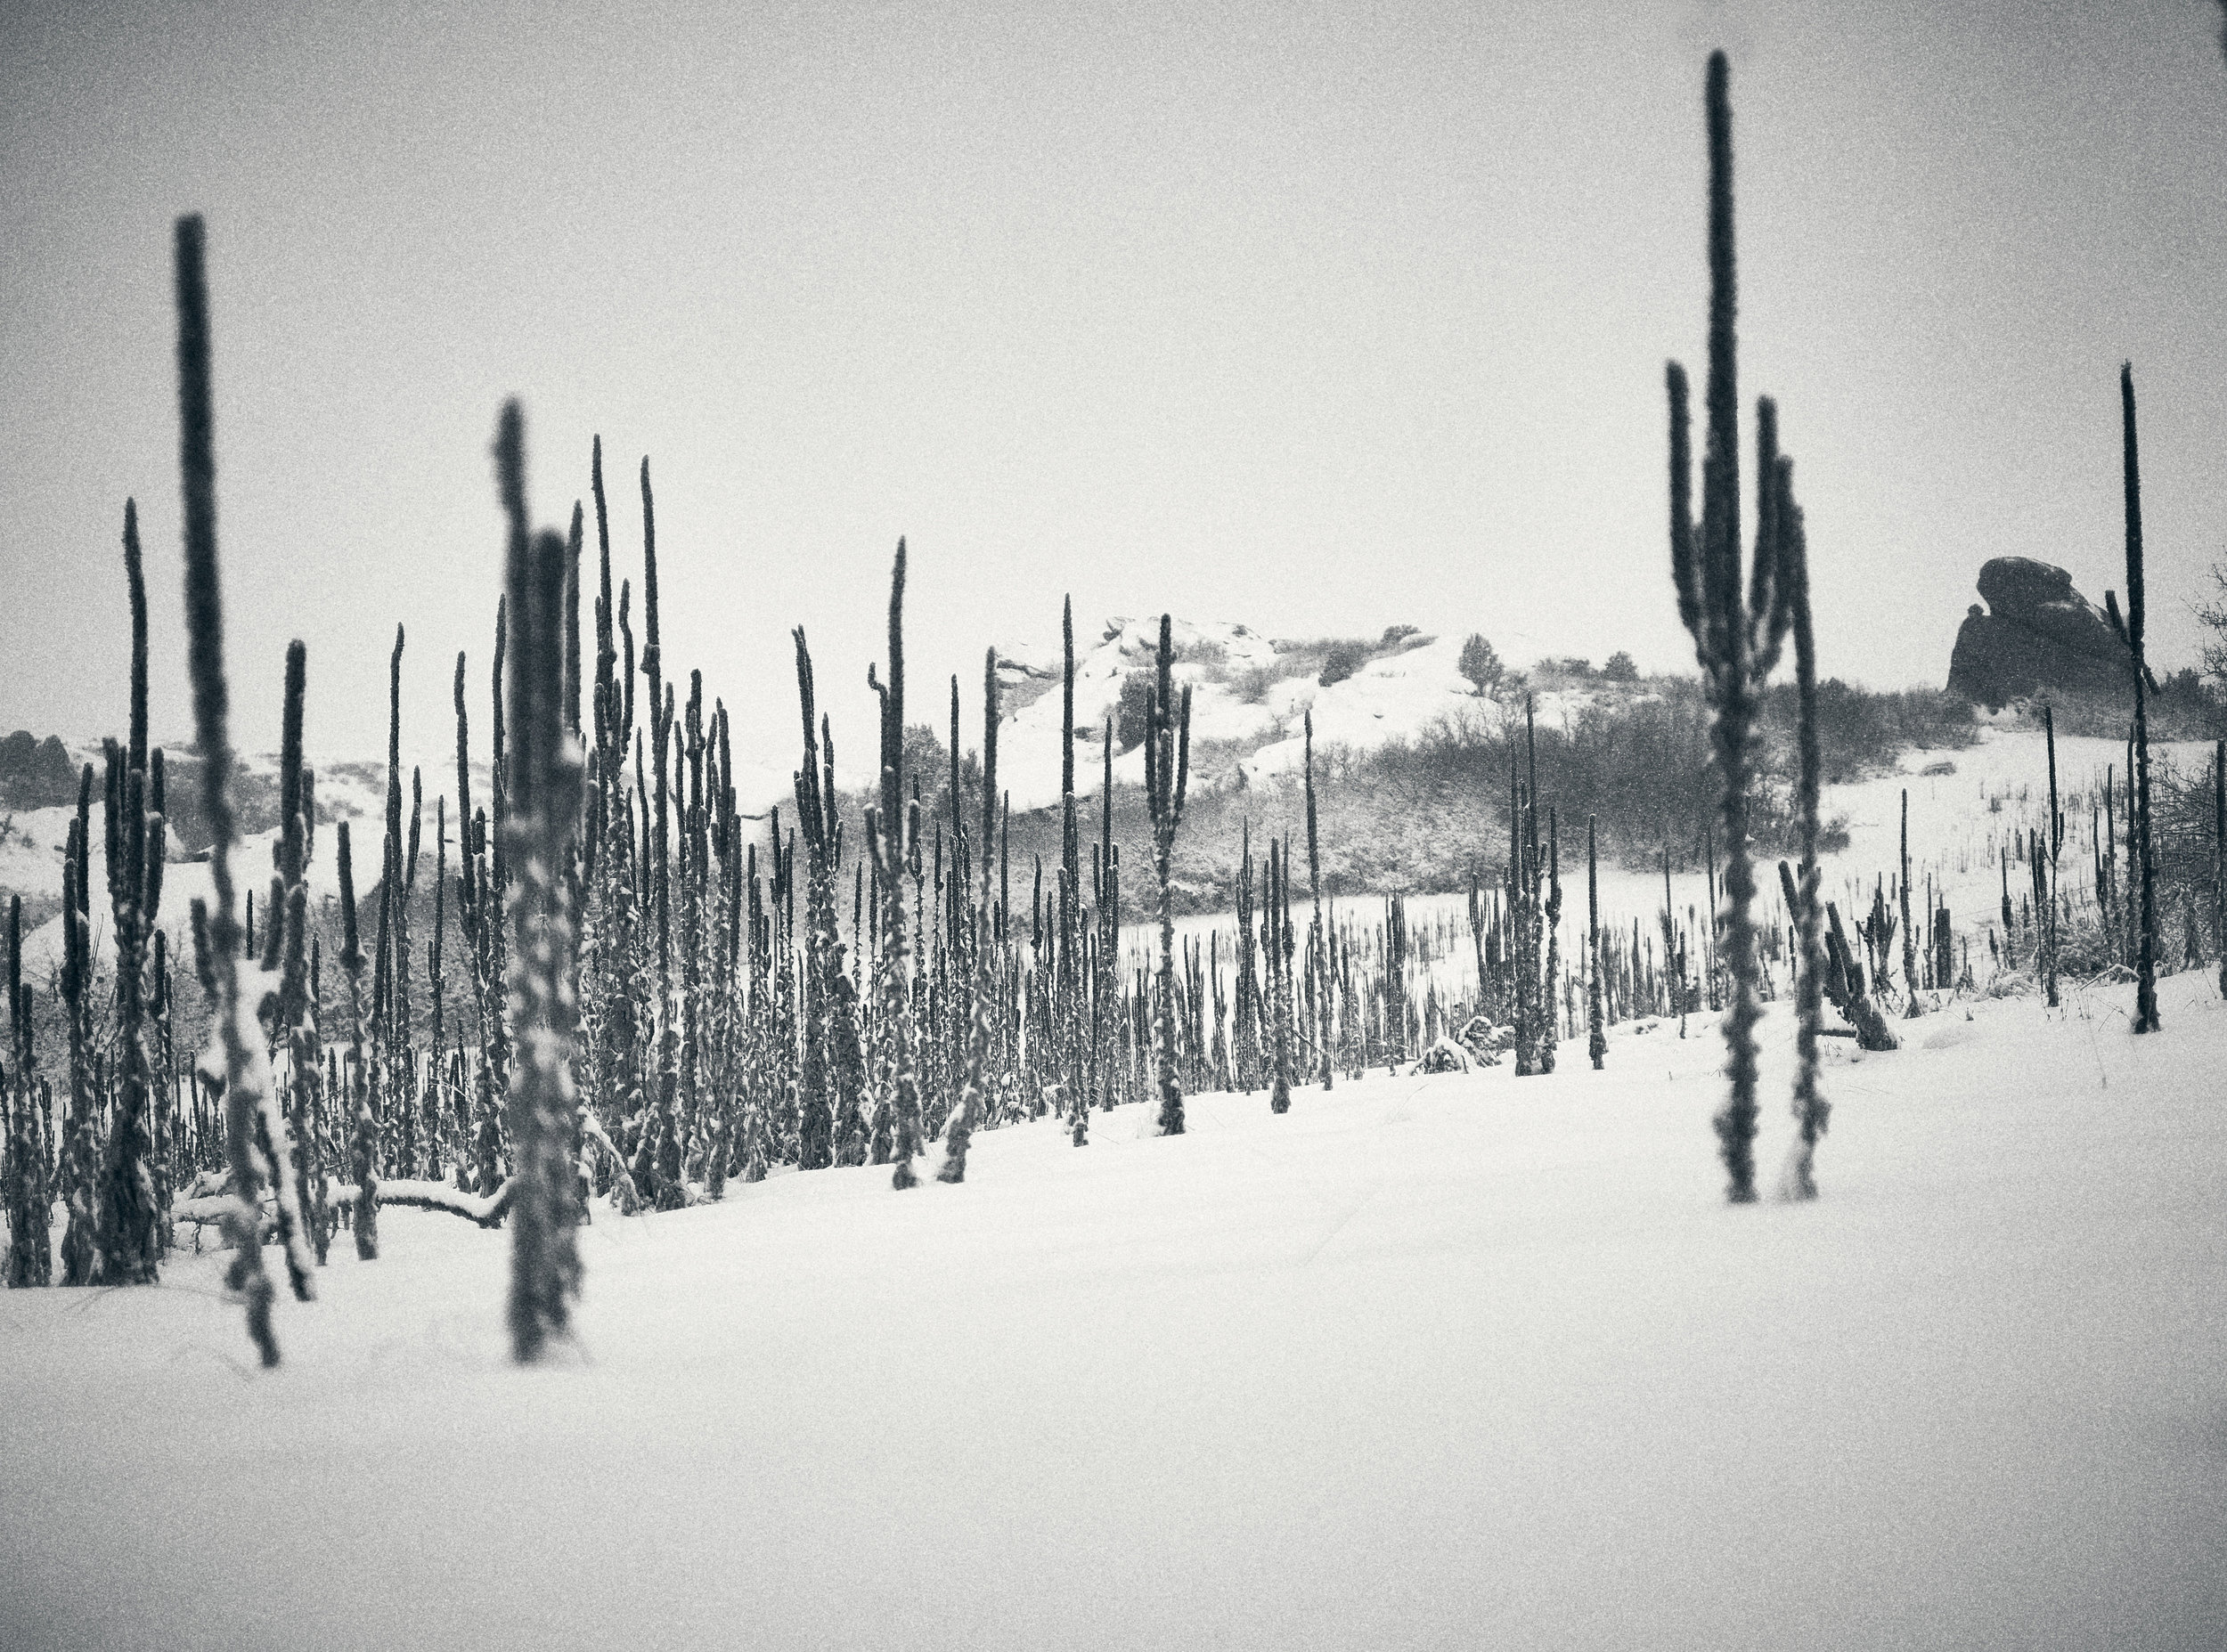
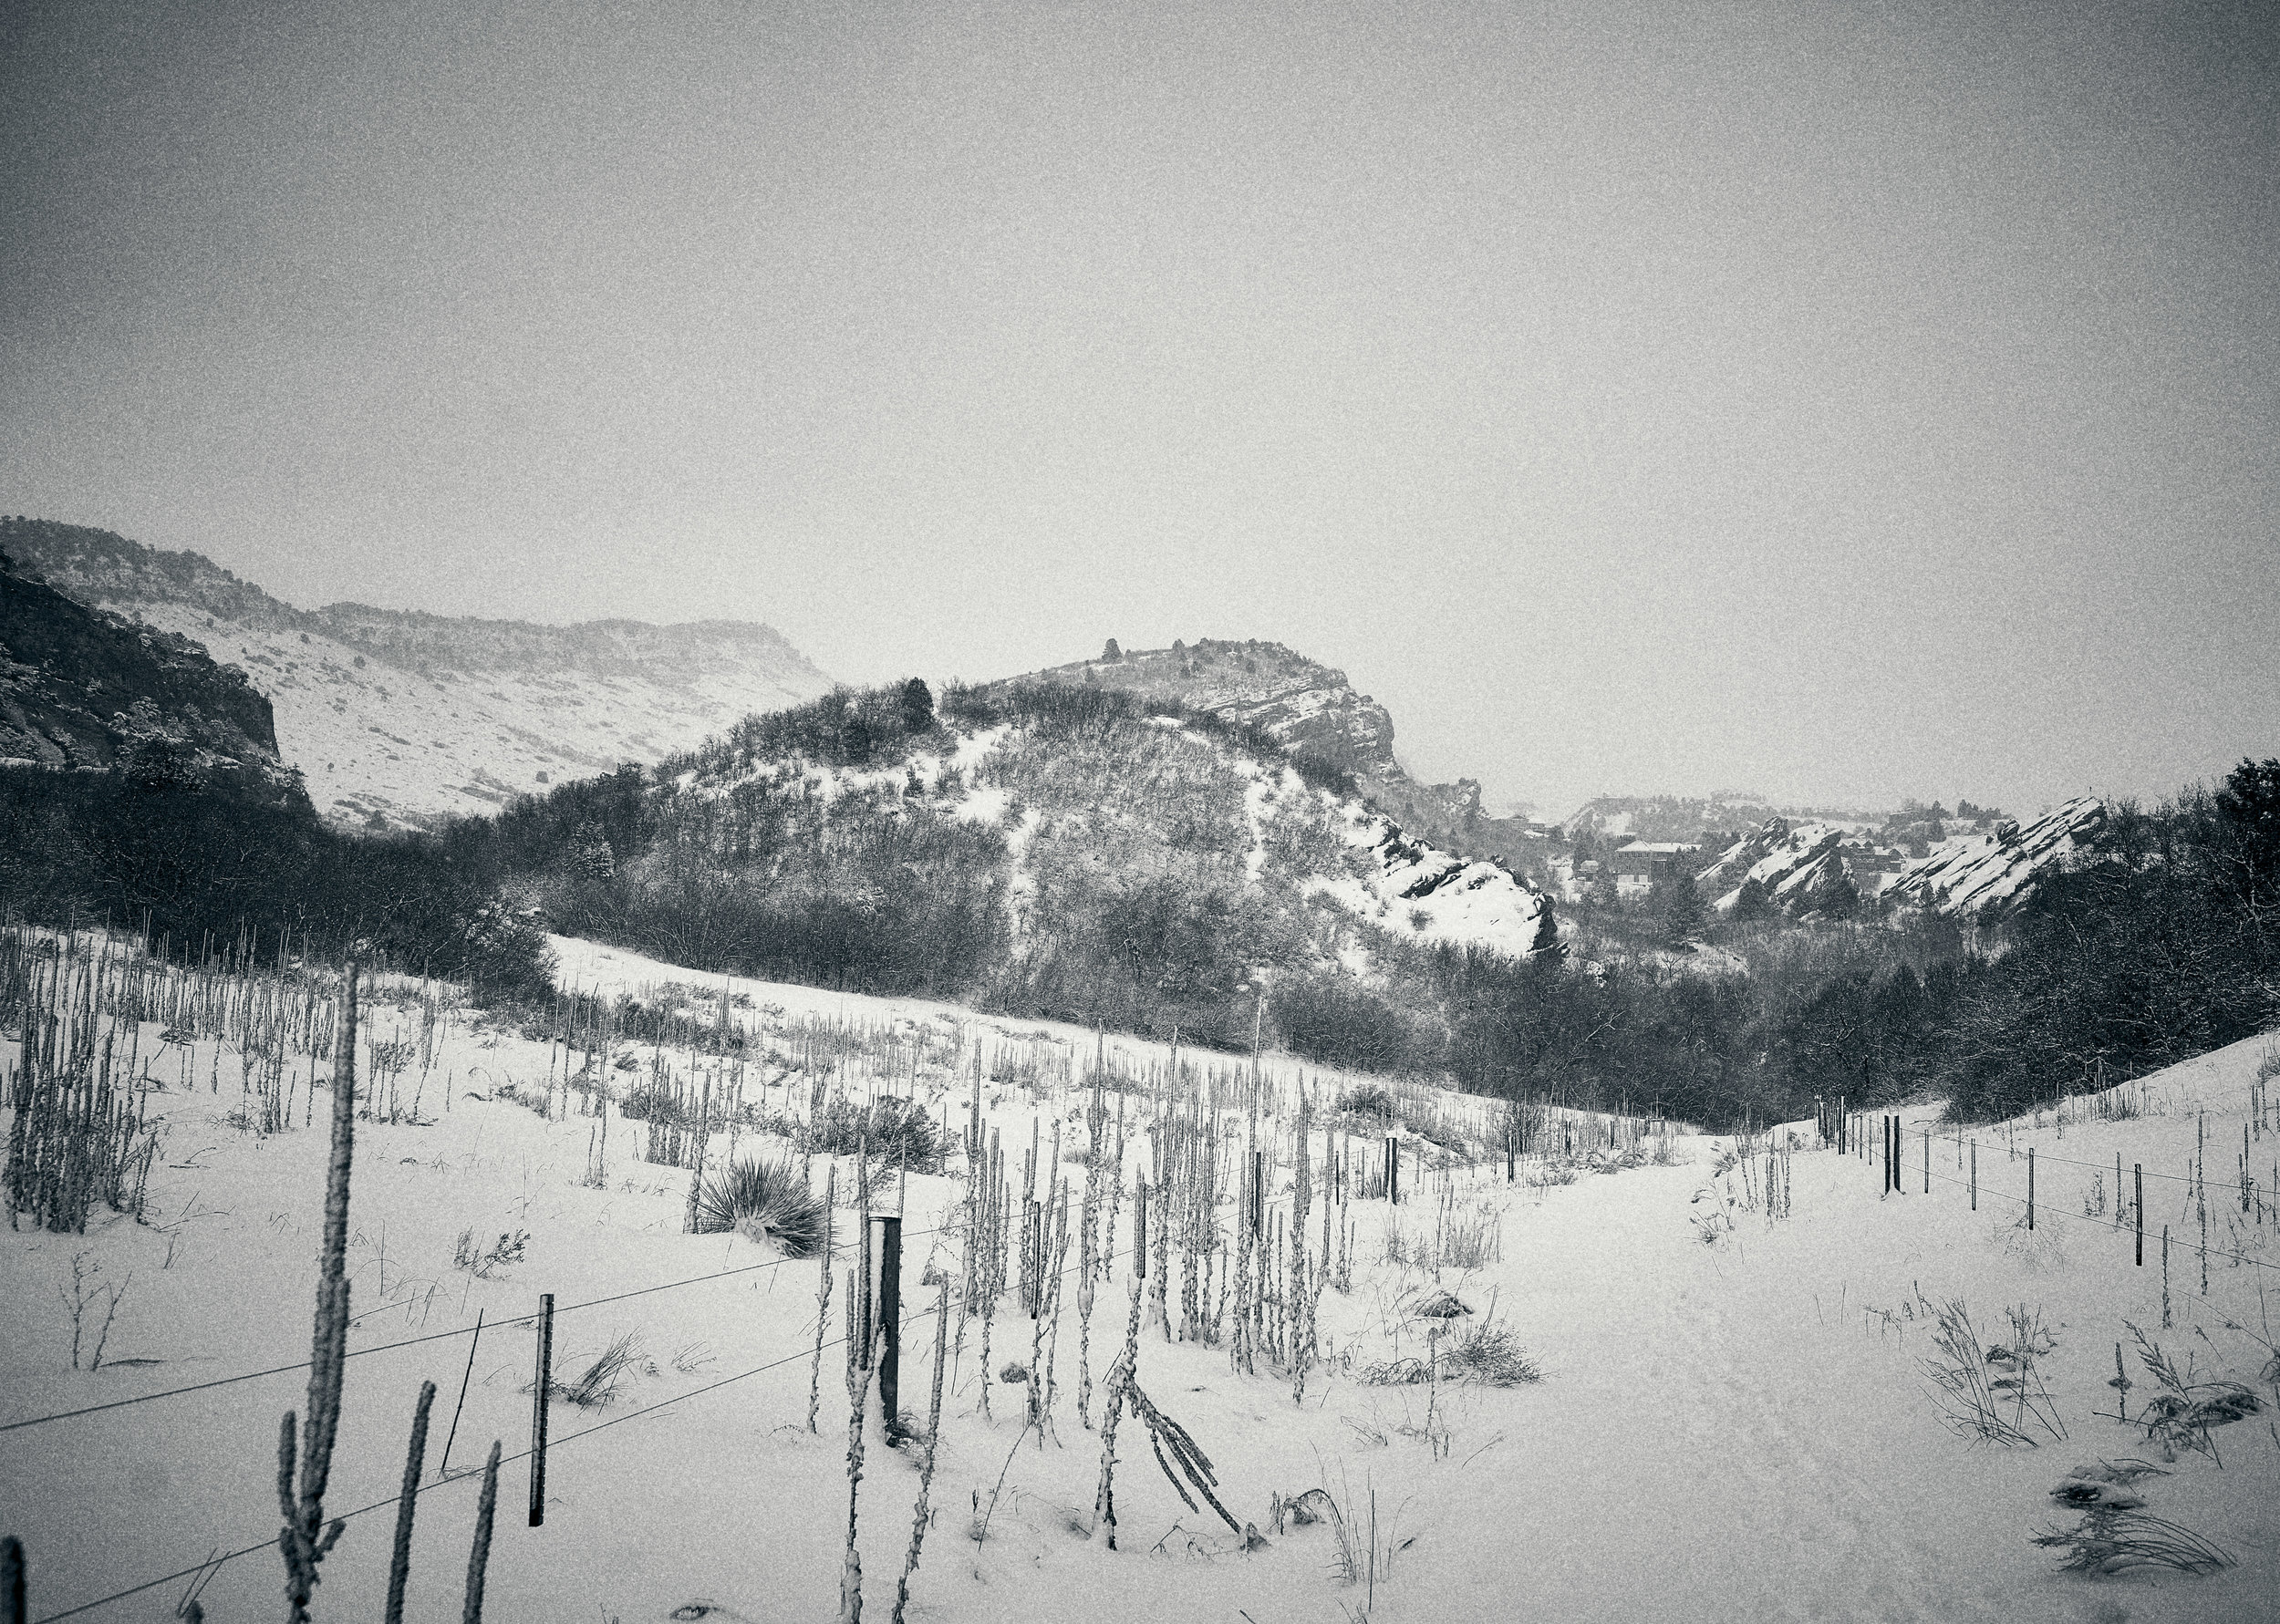
Although I took these last month I wanted to share a moody series of images. I’m a landscape lover and I’m constantly working to develop MY angle on landscapes rather than just taking pretty pictures that fall in the pol with everyone else. Though, I take those, too for my own library. I feel like it should be a bit more special to be shared publicly. Landscapes have a power to leave an impression of wonder and introspection on a viewer and as artists we should always be self analyzing to ask, “did I do it?” I also have never considered myself a black and white shooter as I love color, but recently I have been finding more and more appropriate uses for it. We’ll see where this takes me. Shot with Sony a7rII and Zeiss Loxia 35mm f/2.

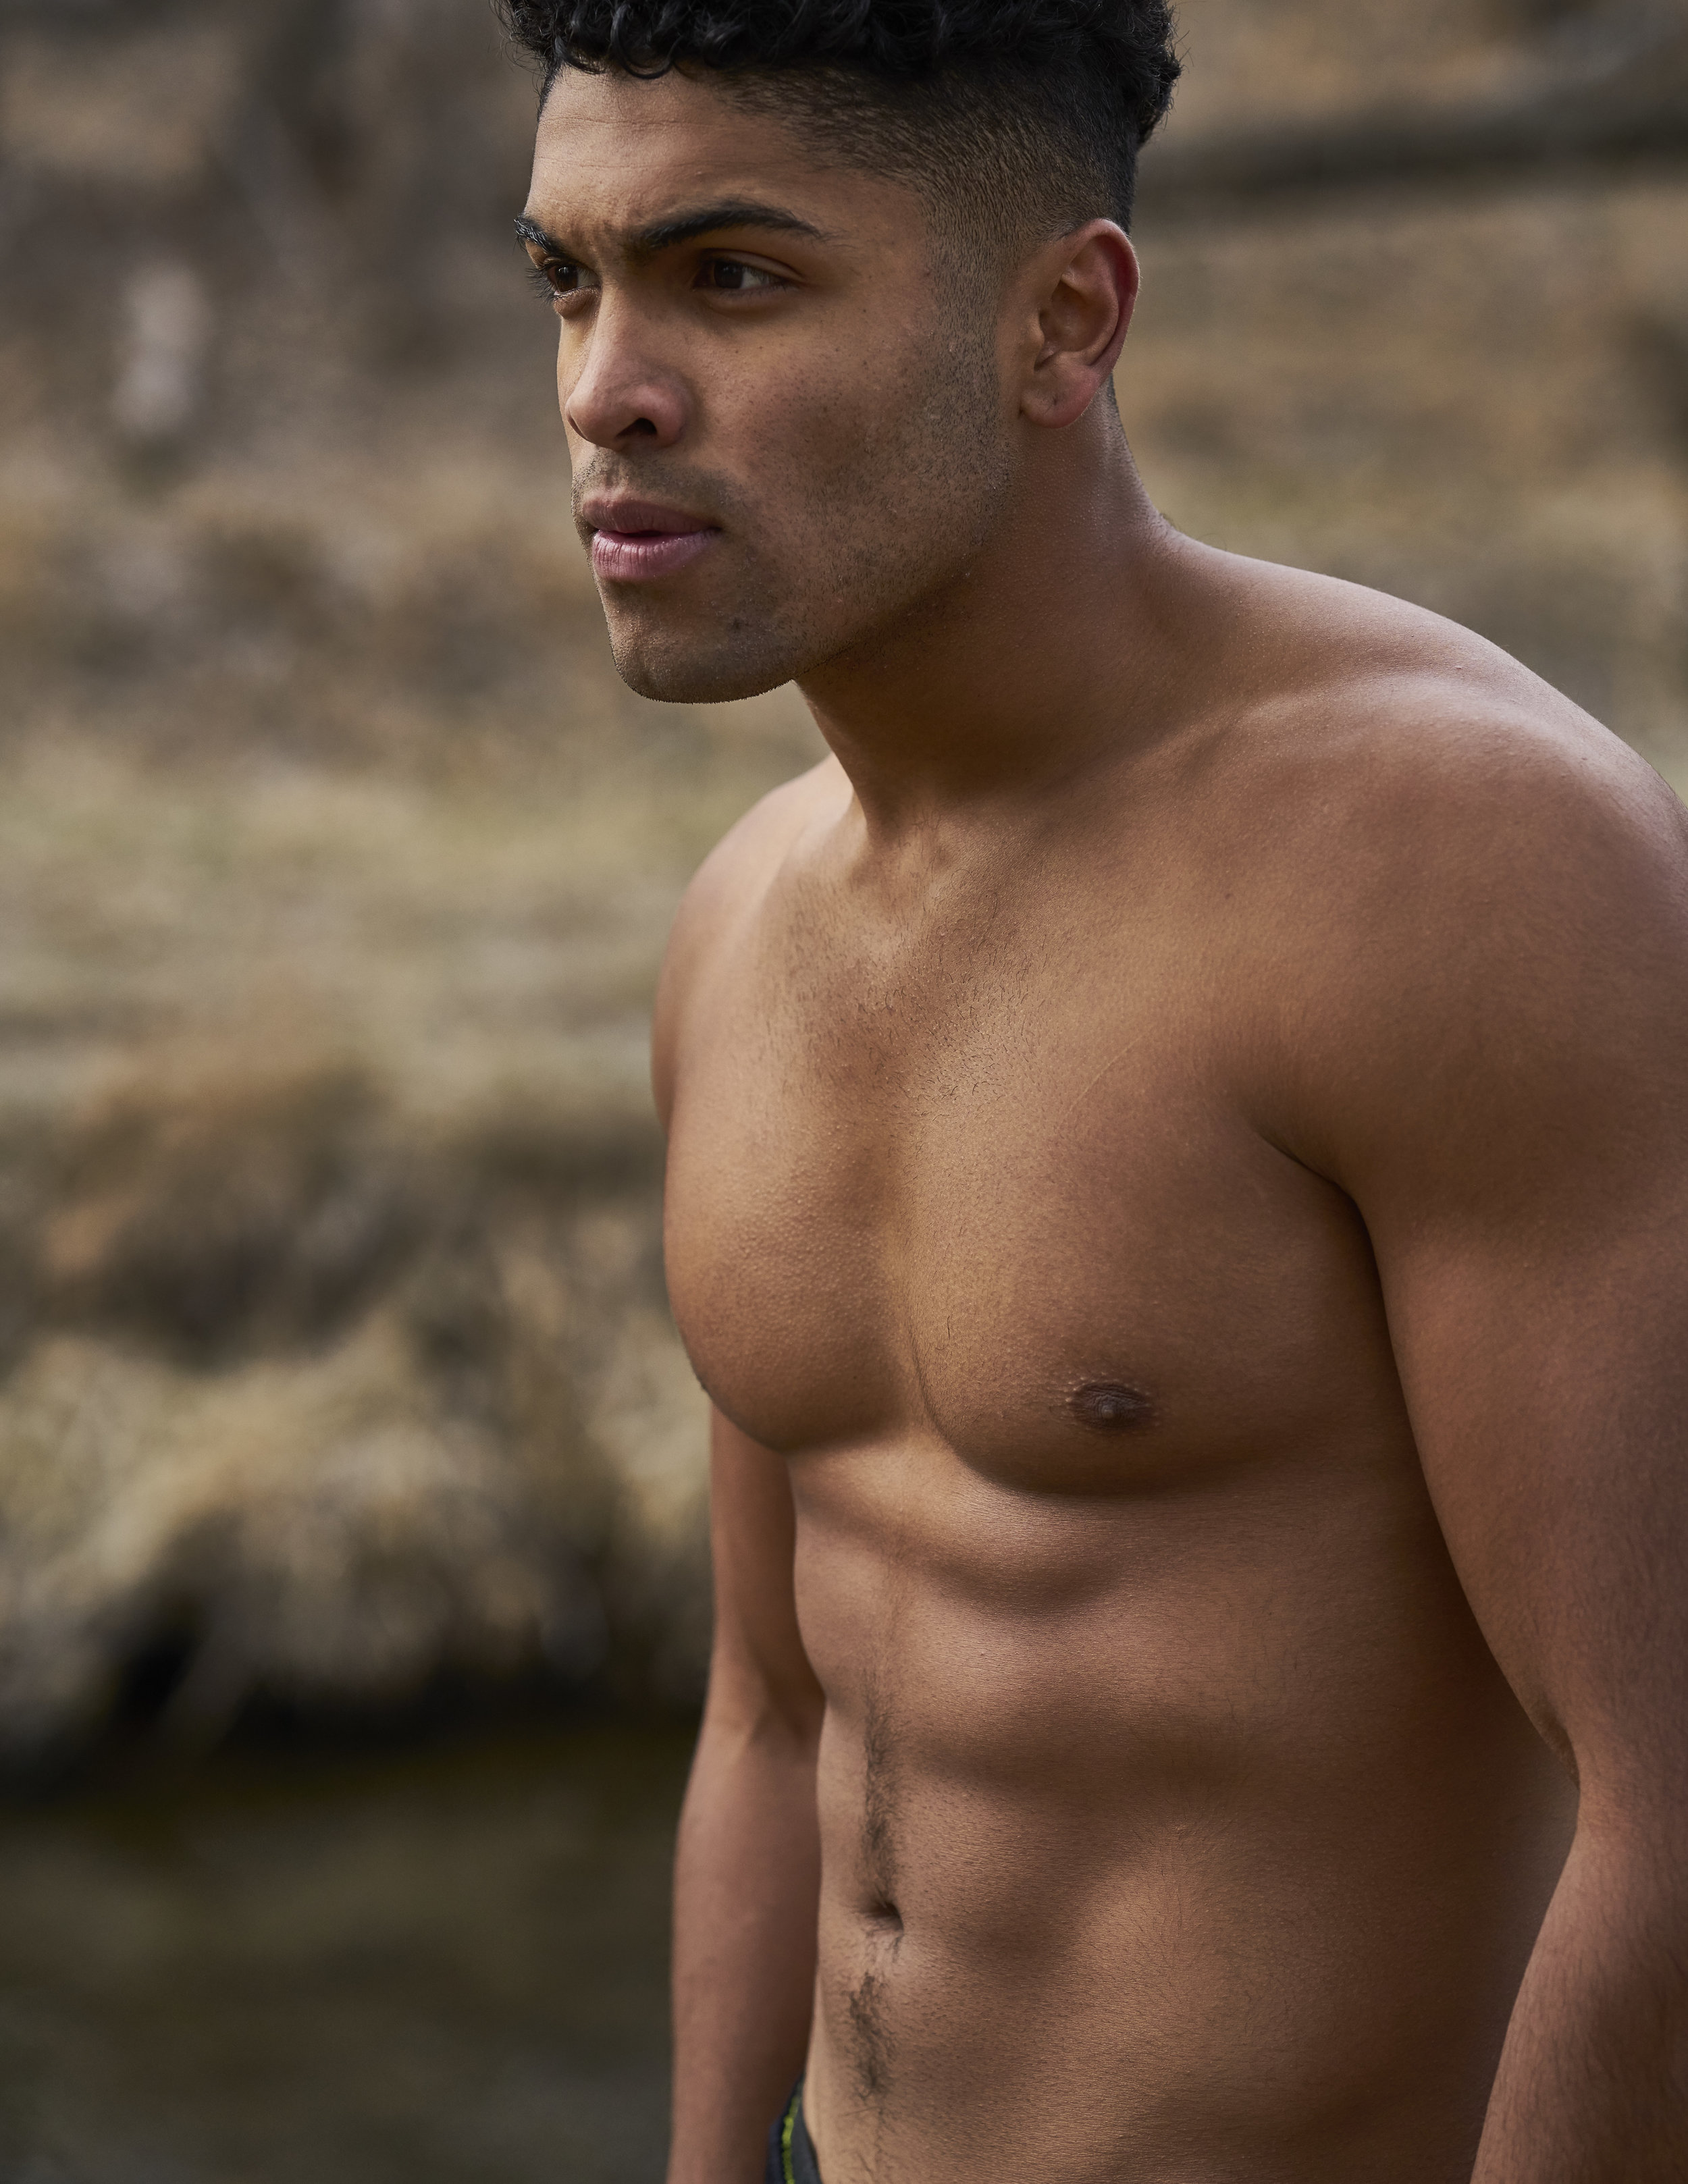
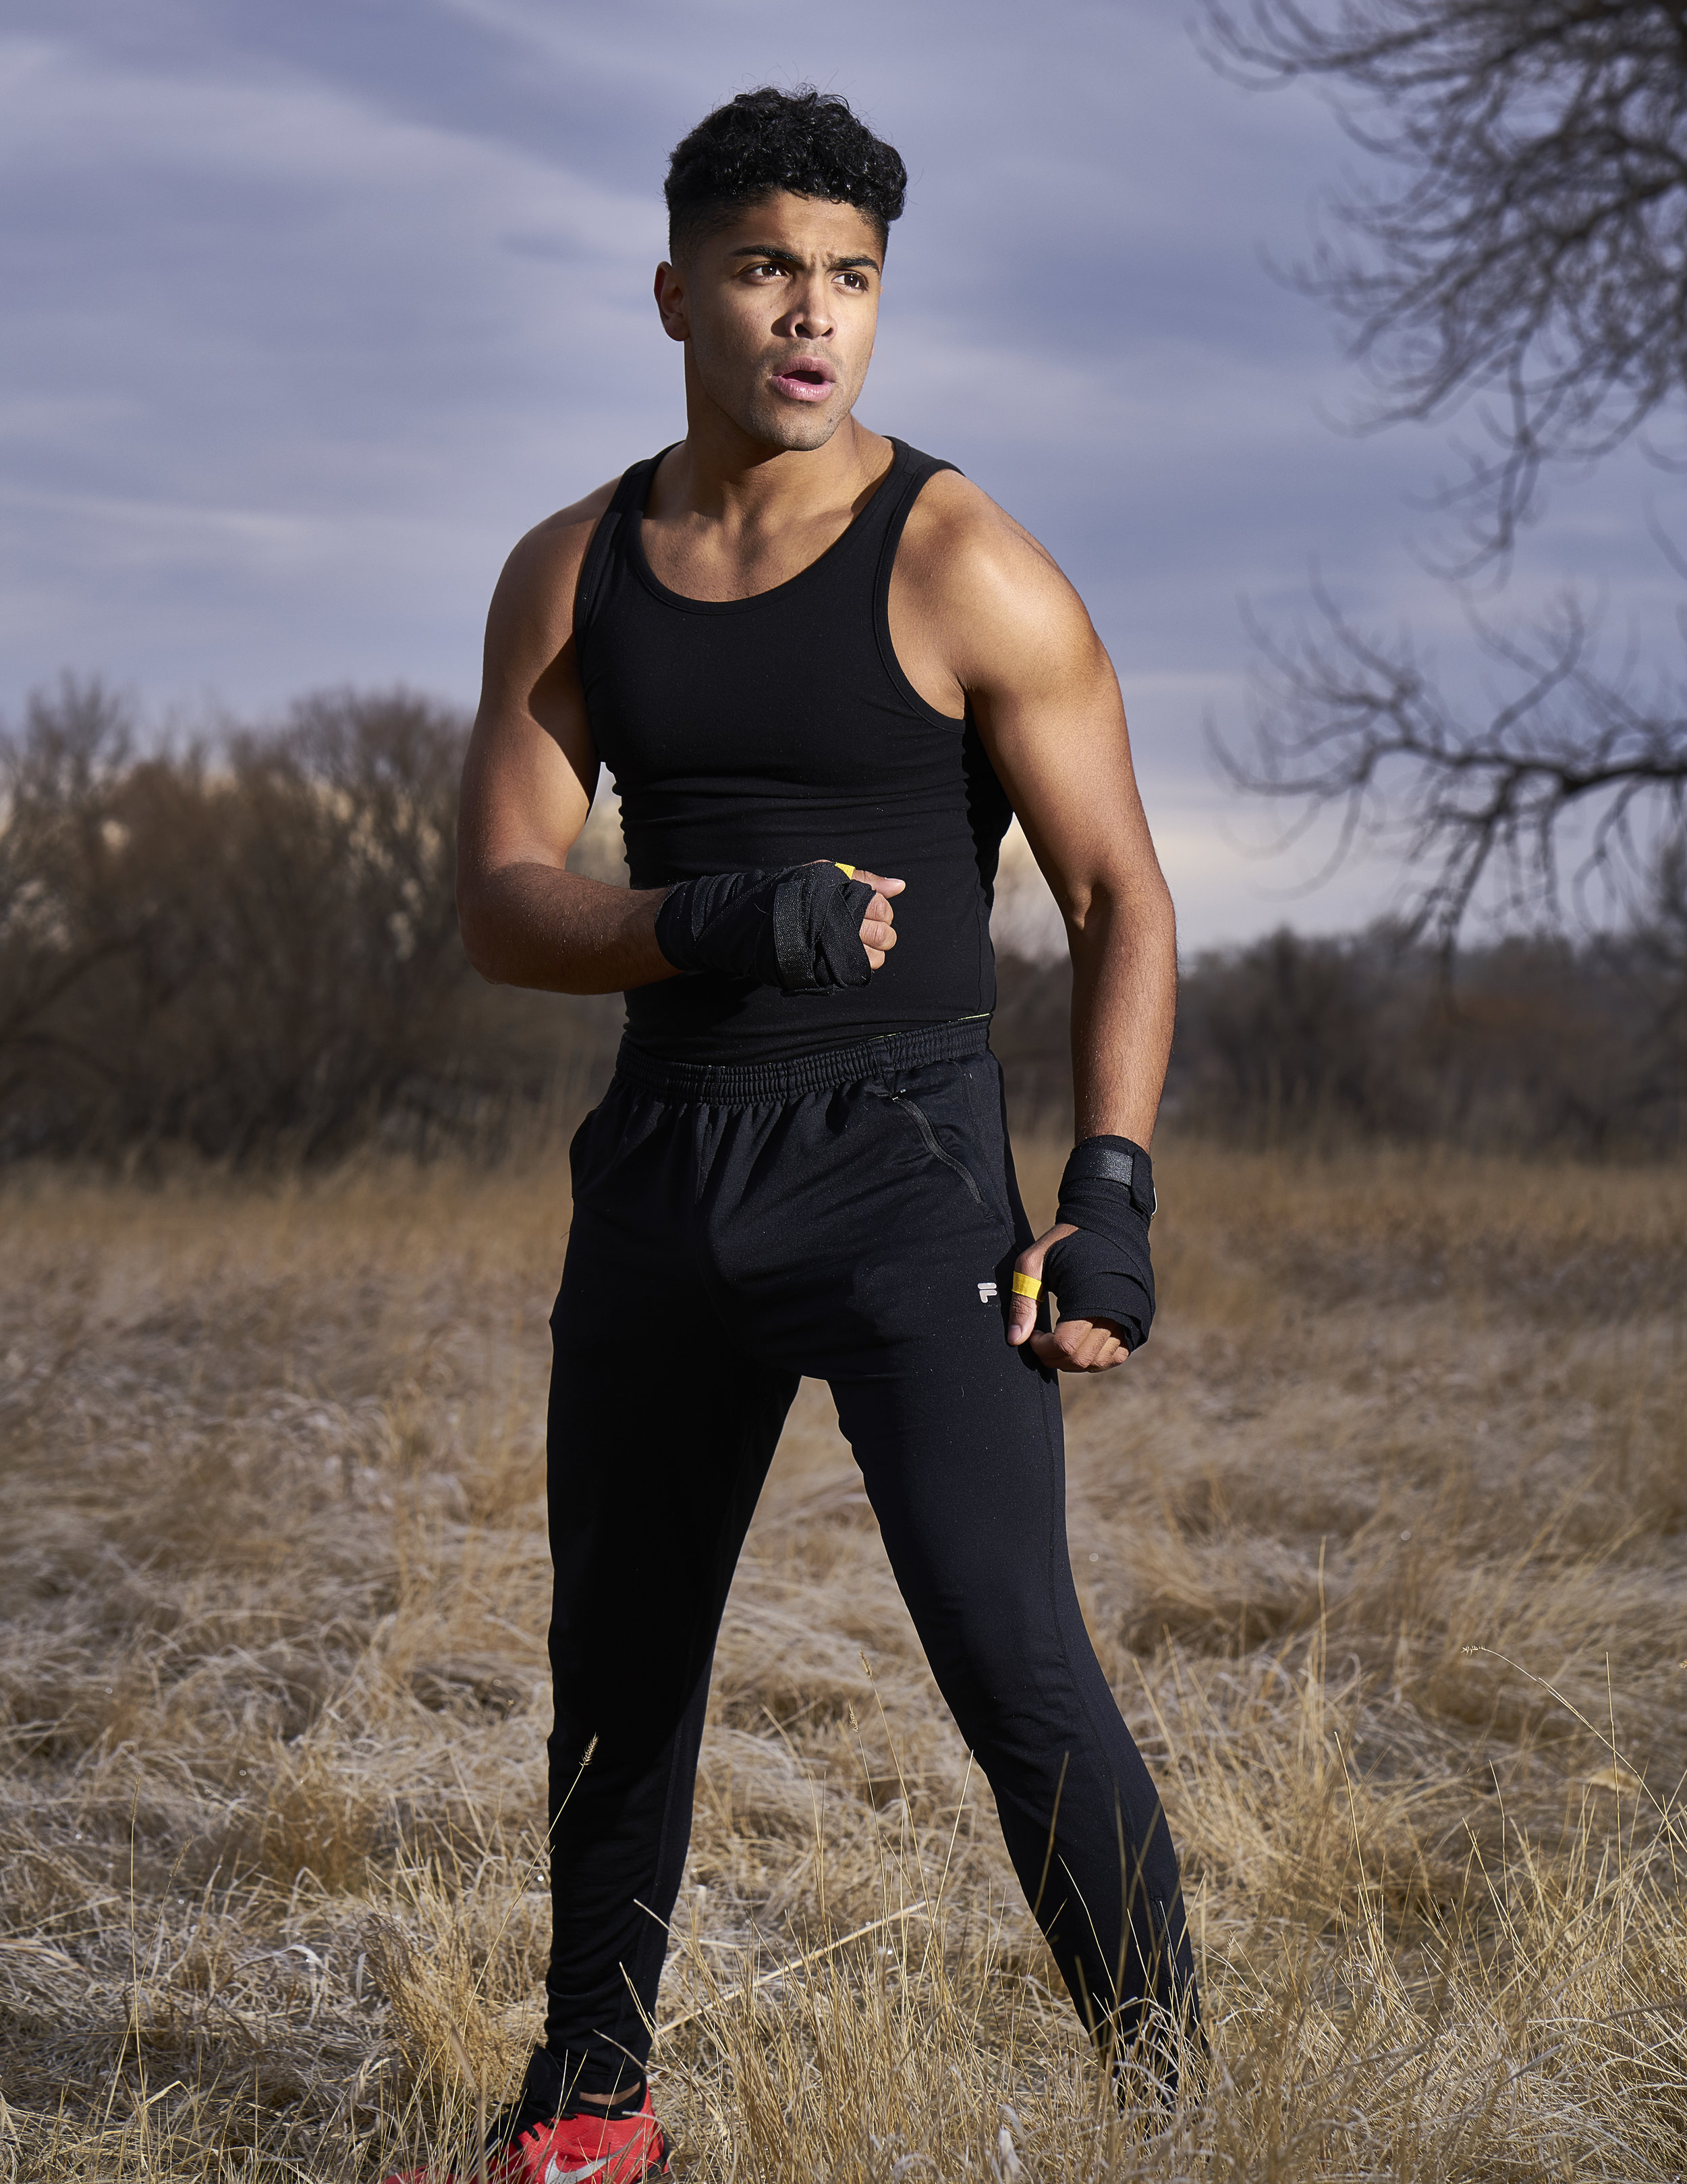
Here are some clips from a recent test shoot with Lou from Wilhelmina. He was passing through Denver and Wilhelmina asked if I wanted to do a last-minute test with him on a cold morning. We met up at a nearby park and got some pretty cool stuff!
I shot with my Sony a7RII with Zeiss Batis 85mm f1.8. Since it was overcast and there was no direction to the light I used a Canon 580EXII speedlight on a lightstand to create the side light.

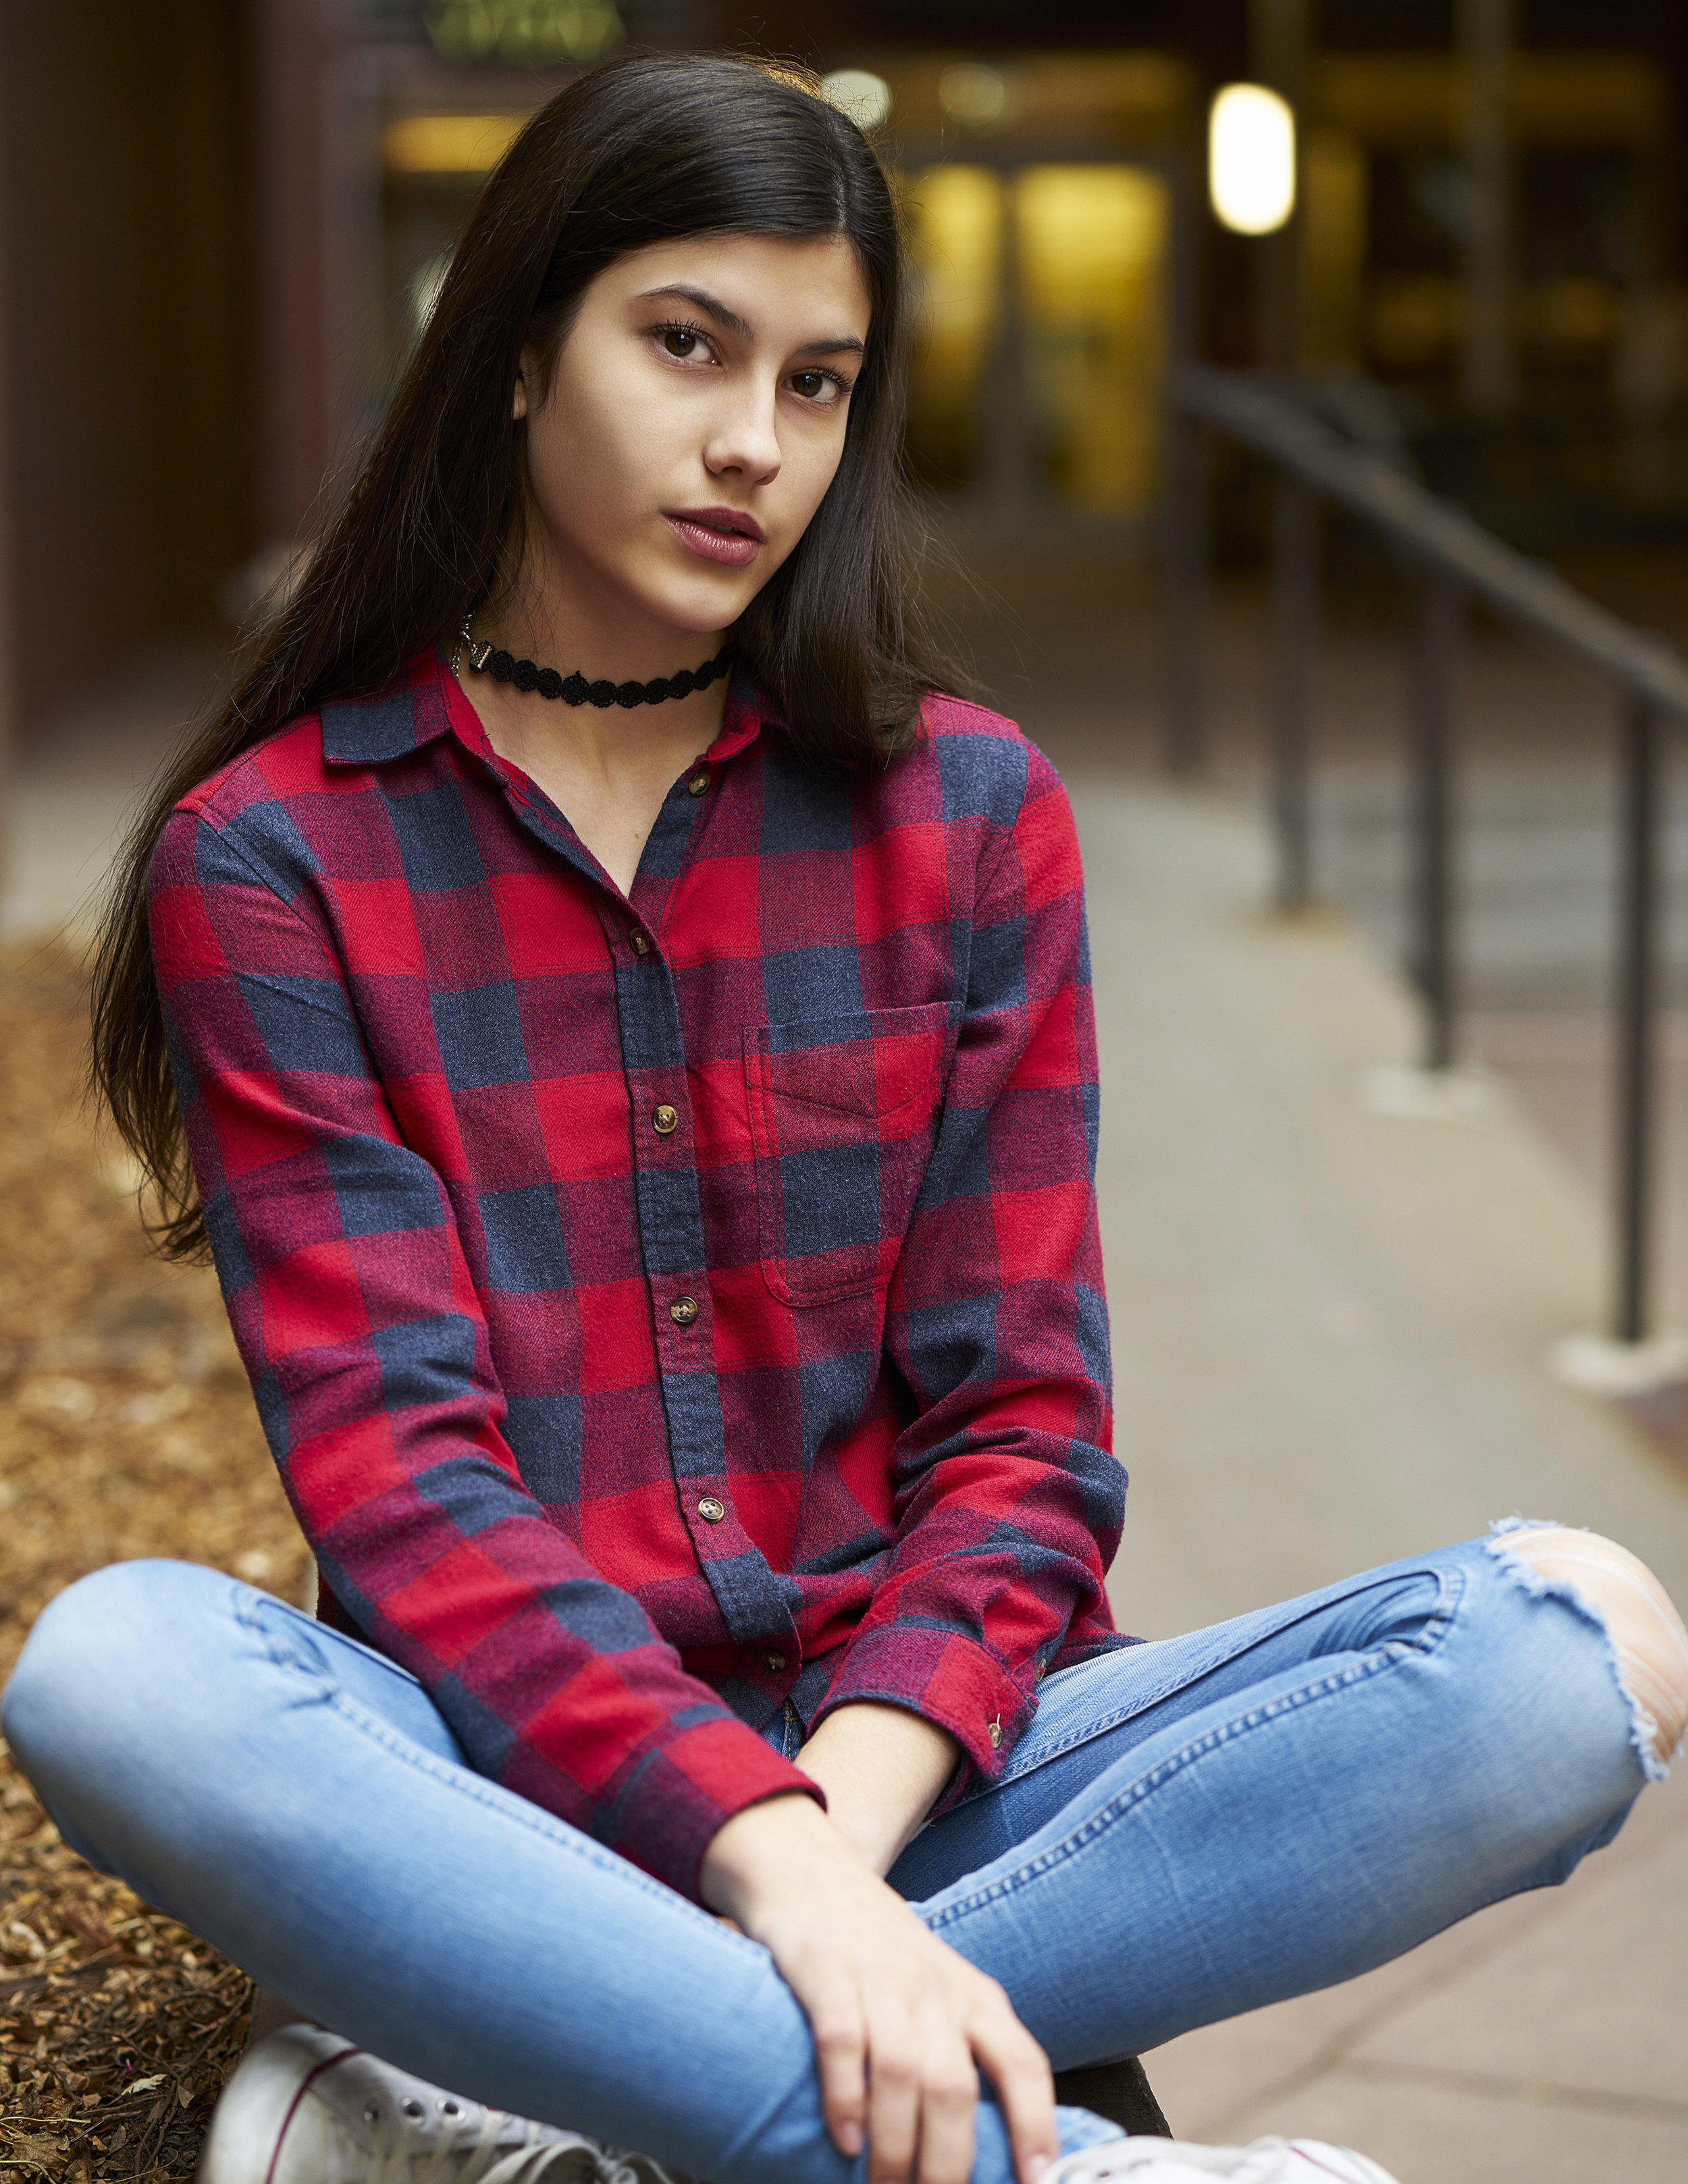
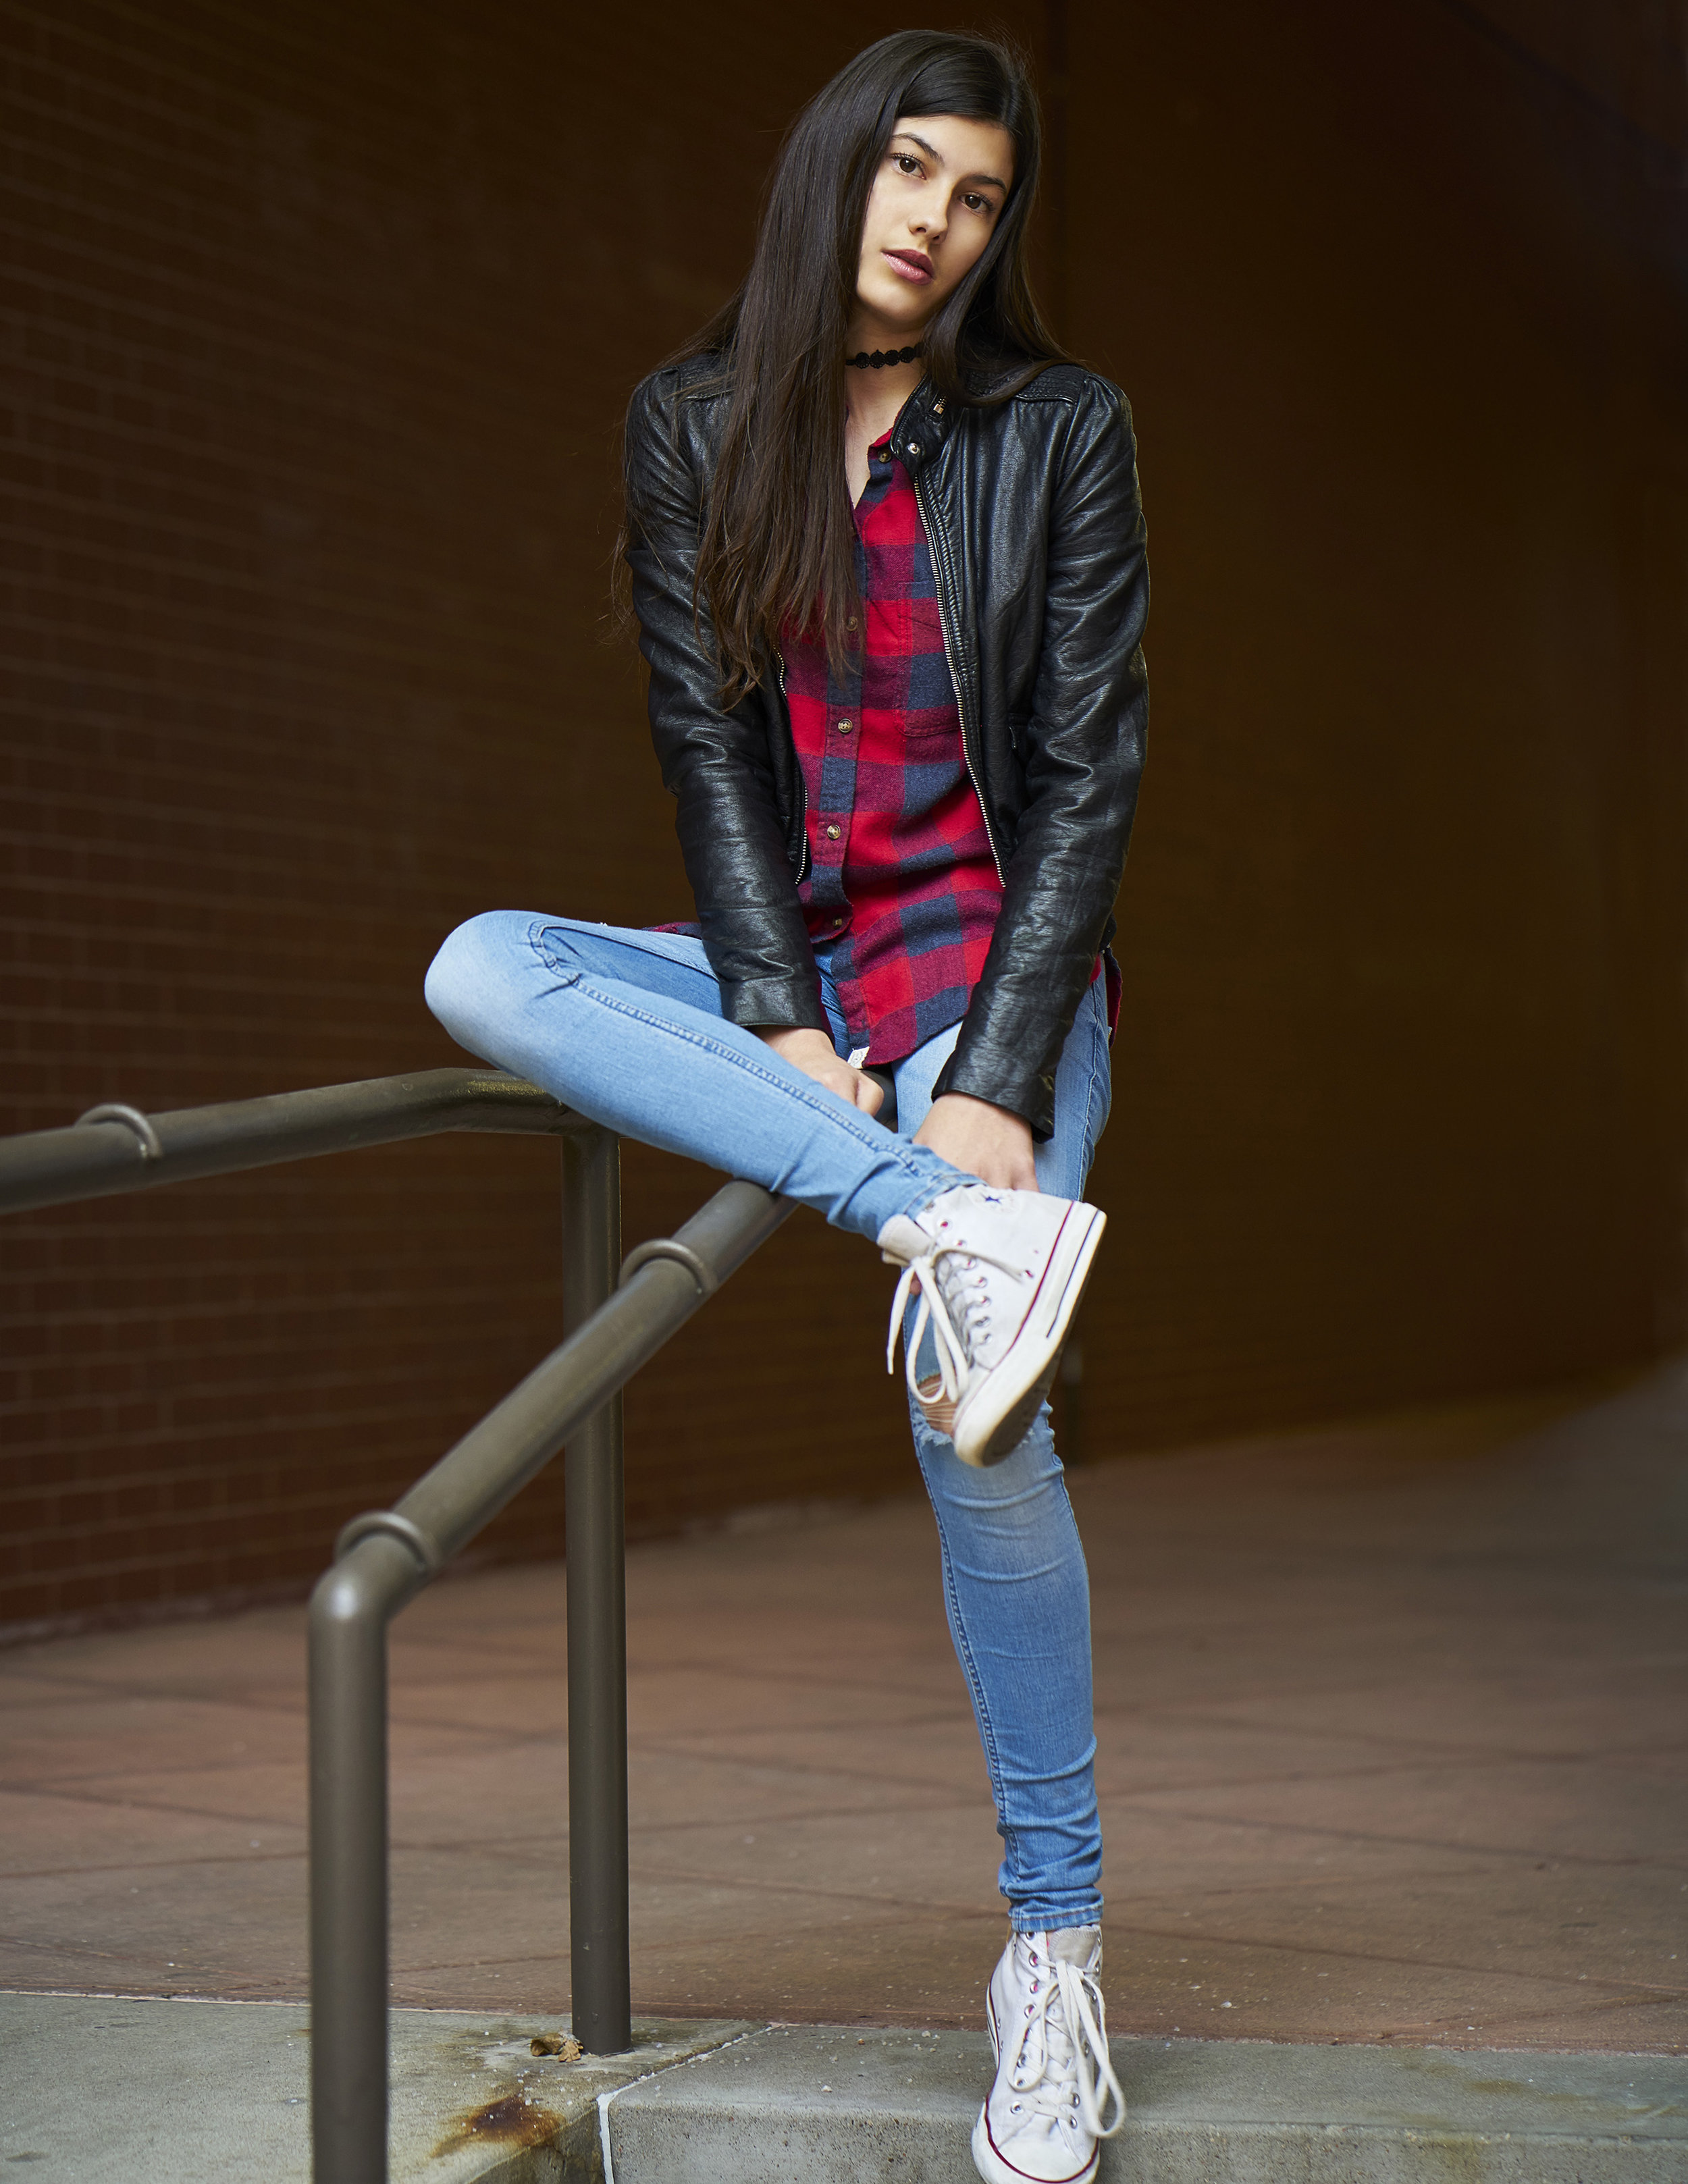
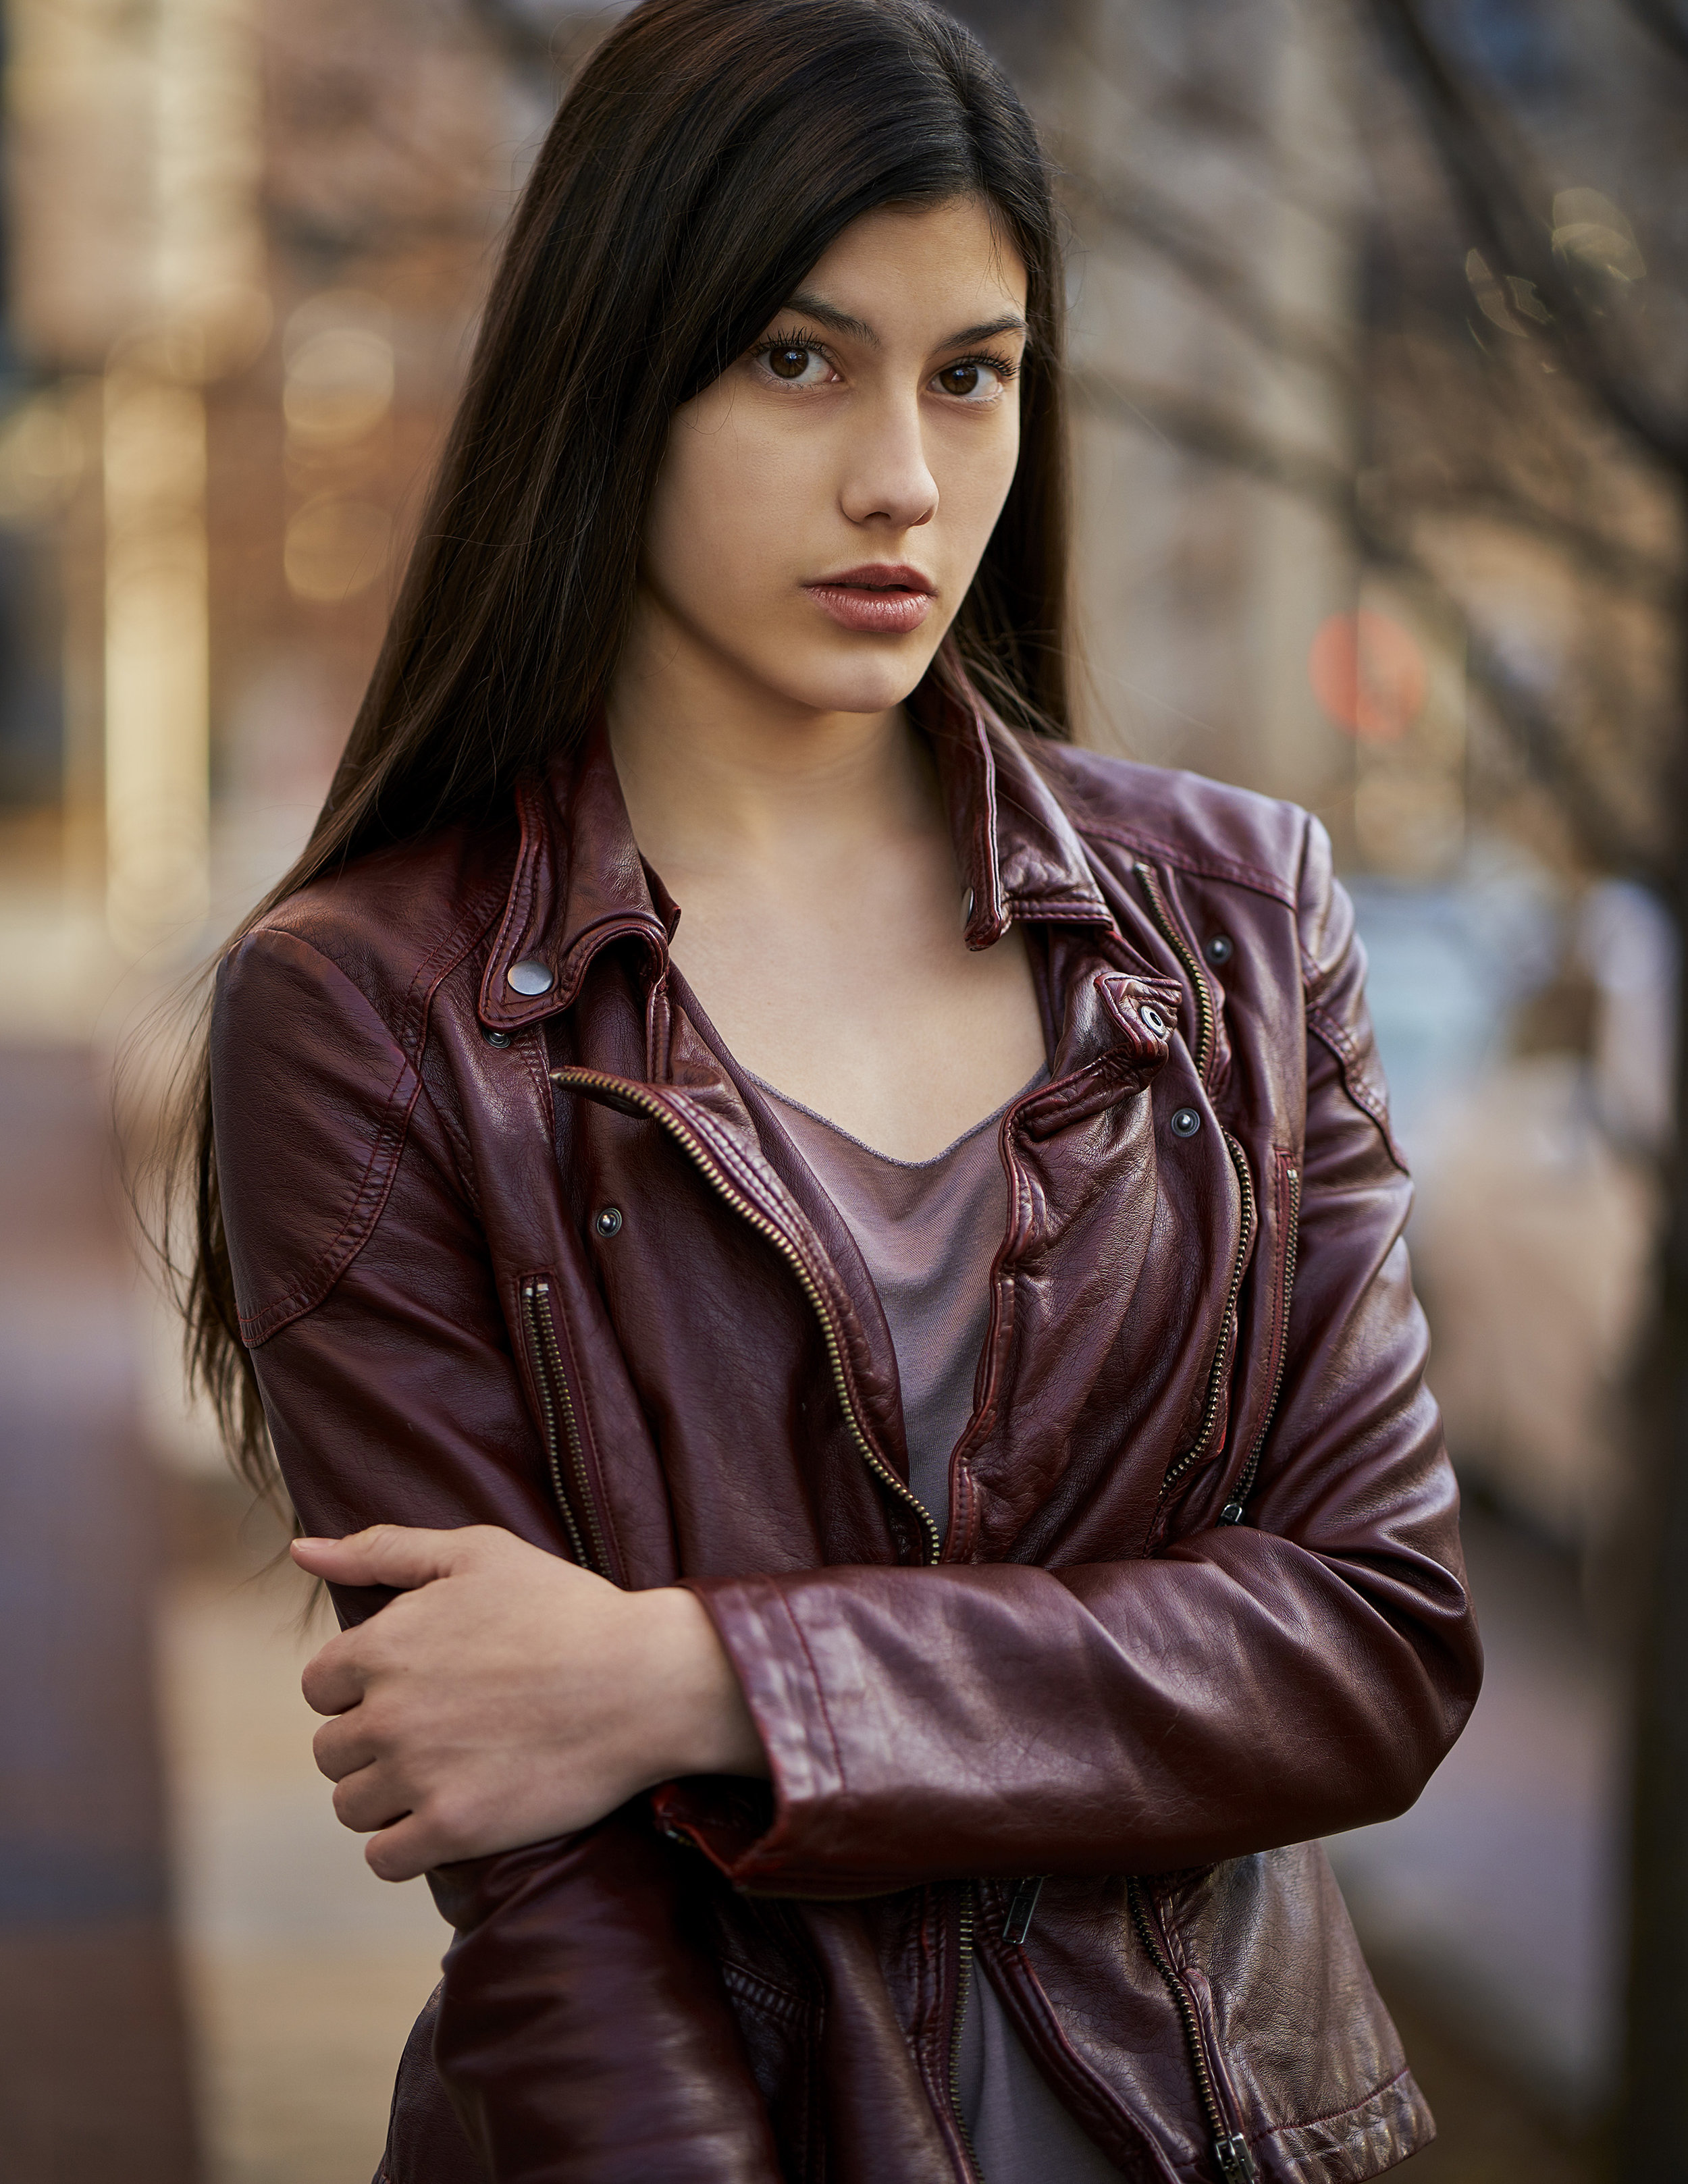
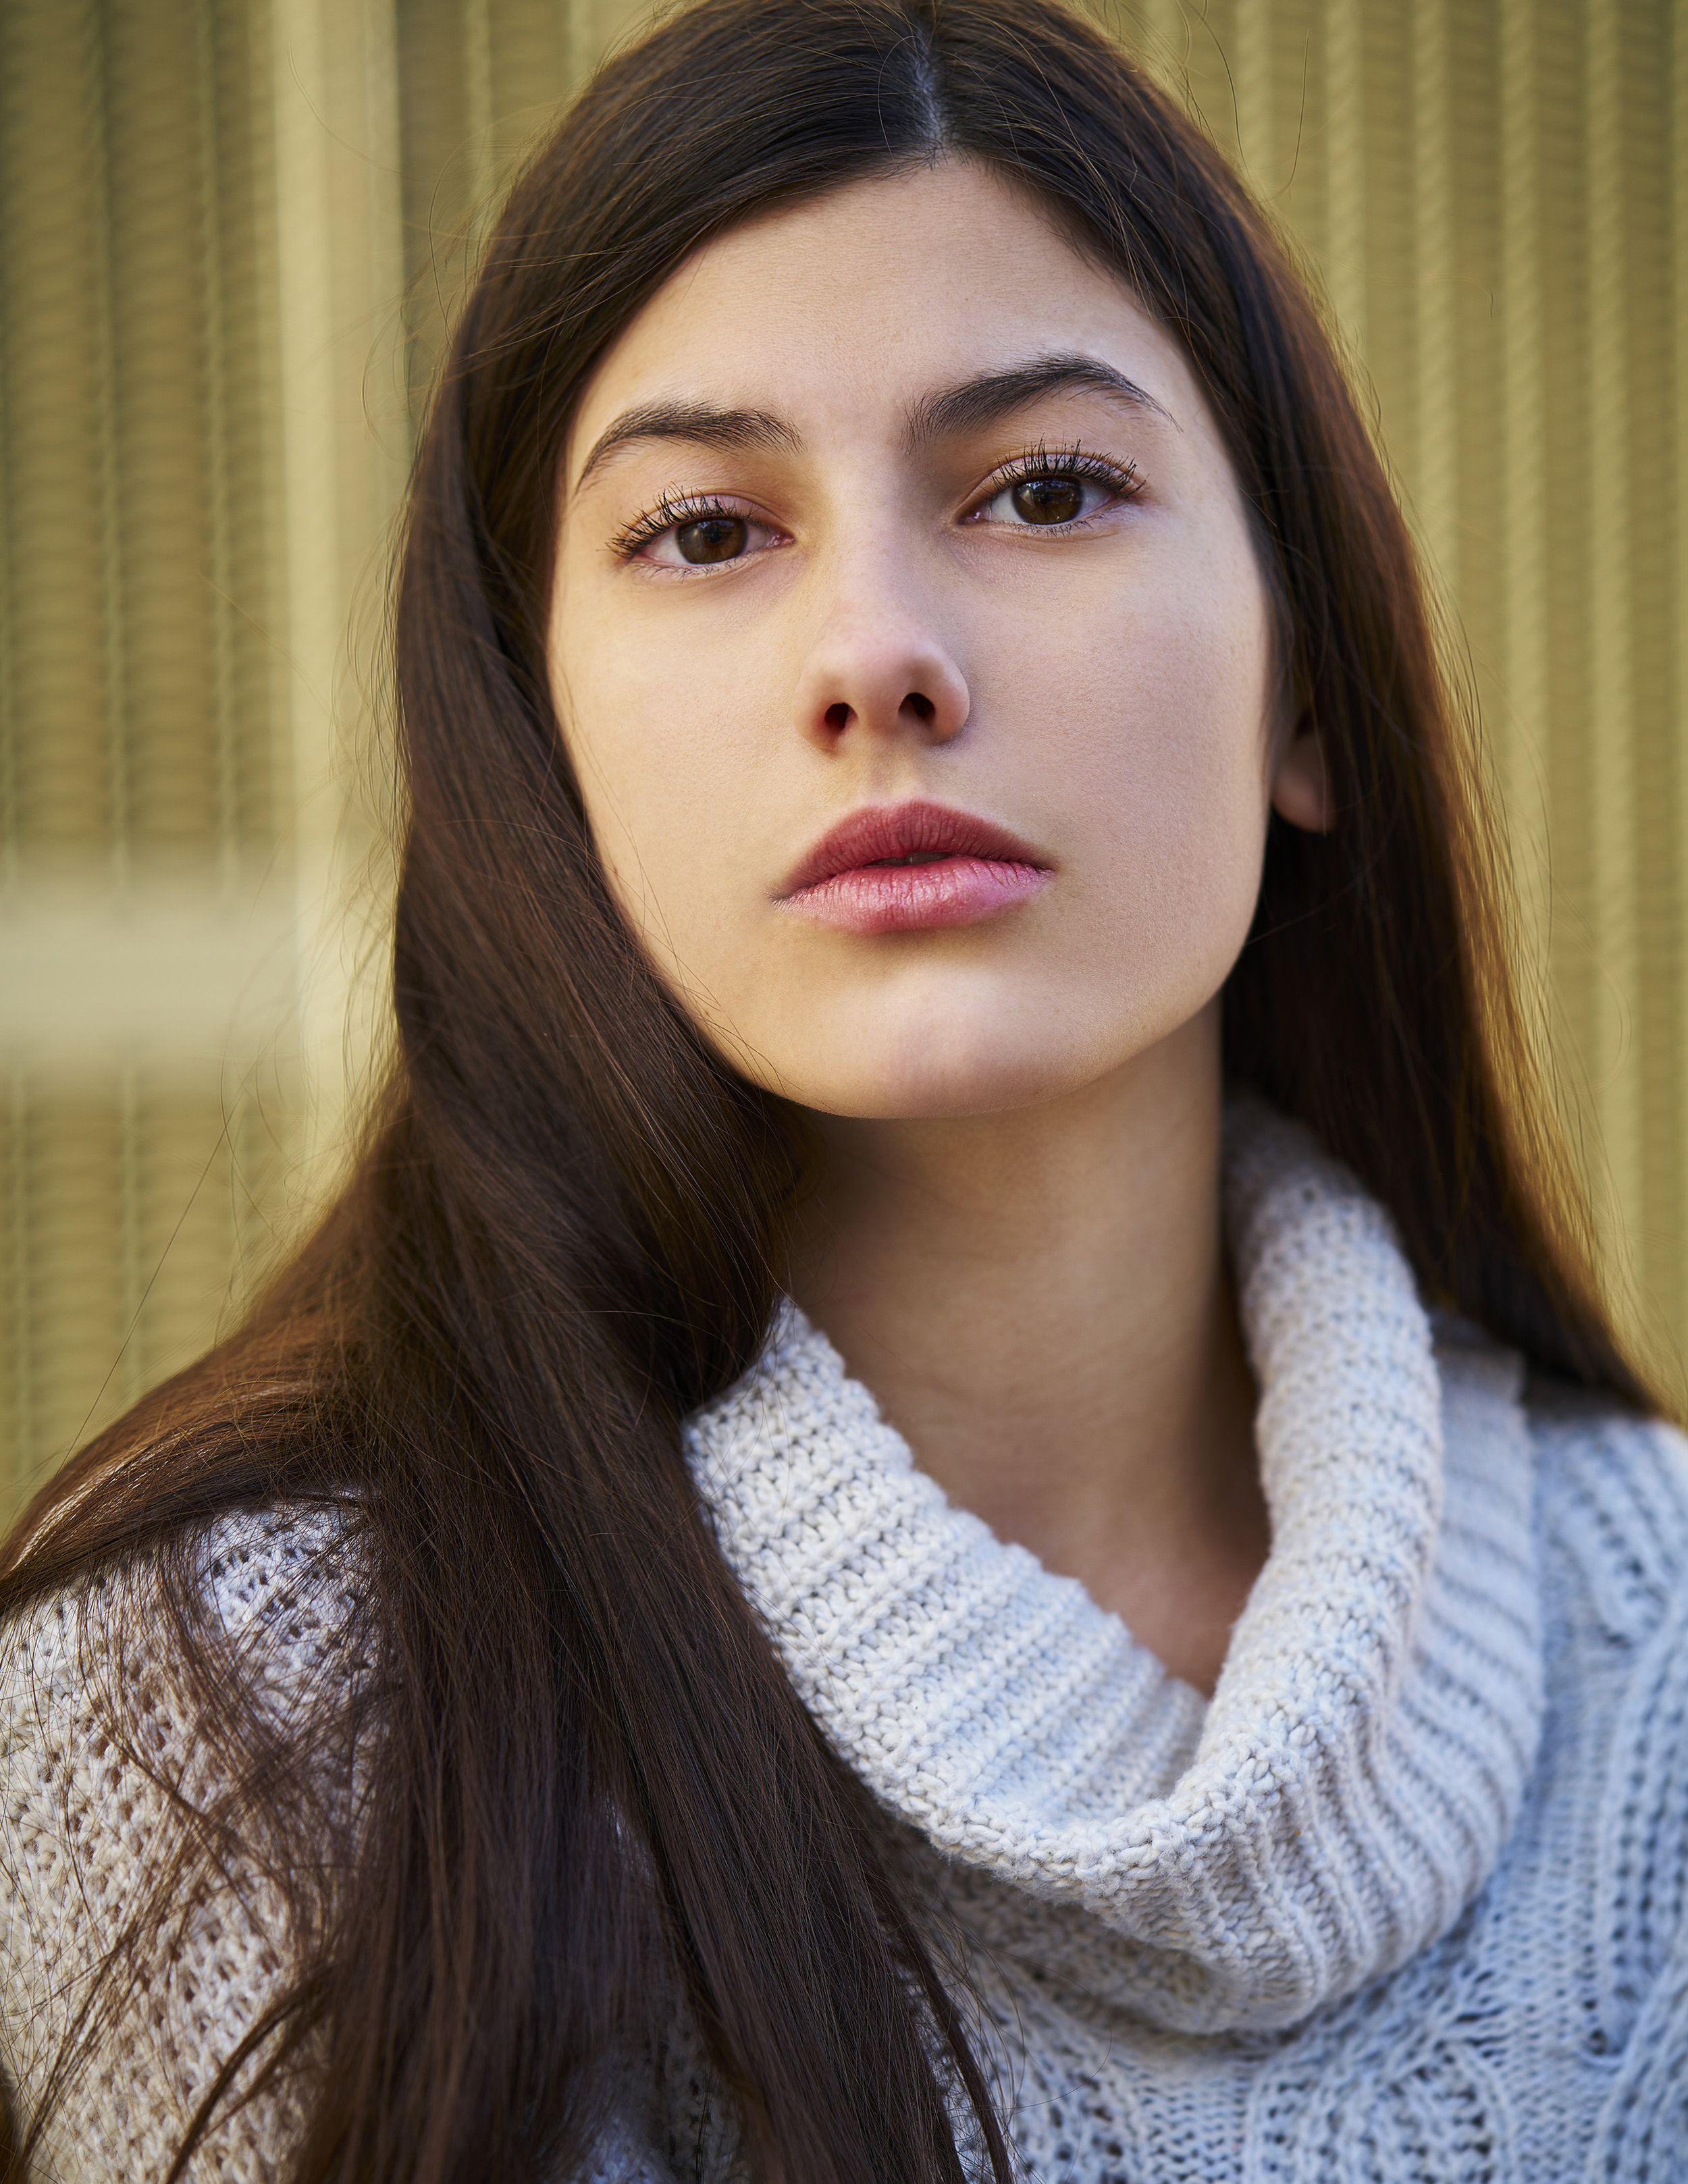
I have recently been added to the recommended photographers board by Wilhelmina Denver. Here's a few clips from a recent test with Sadie, one of their fresh and beautiful young faces.
These were all photographed with available light in Cherry Creek shopping district in Denver, CO with a Sony a7RII and Zeiss Batis 85mm.

Let's talk terms. No, not contracts, although that's important, too. I mean terminology. Language was developed so we could convey meaning and intent to one another and avoid confusion.
These are interesting times in the commercial art world. There has been a huge influx to all of the art industries in the past 15 years consisting of a broad mix of art school graduates and people moving on to a second career as graphic designers, art directors, photographers, etc. This is fine, all who have something to contribute are welcome, but this has really muddied the waters of standards. I have heard so many complaints from respected, old hands in the industry that young art directors, in particular, and clients in general just don't know what they are asking for. I heard one photographer tell a story of working with a young art director on a shoot who was trying to ask for a type of image but didn't know what to call it. He was asking for a "pan" which is when the camera swivels with a fast moving subject to keep the subject in focus while motion blurring the background. The art director called it "speed lines". If you're in the field it's not enough to describe something, you need to know the name.
Recently I was asked to send edited images. When I asked for clarification as to whether they meant retouched images I was informed that those words mean the same thing. Well, they don't. If that were true then someone should call the photo editor at the New York times and every other major publication and tell them that they are actually in charge of the retouching. Photo editors hire photographers and choose the images from the shoots that will appear in publication and send comments to the retouchers who work their magic.
This has a lot to do with the fact that clients don't know what we, as photographers, actually do. It's also further confused by the fact that in the modern industry so many people wear multiple hats. Professionals usually itemize their invoices to break down each step so the client knows where their money is going and how much time we are truly spending on the shoot. For every hour we spend on the shoot we generally spend two hours at the computer. Editing means to download your shoot, organize, catalog, "edit out" the rejects, rate your selects, make raw adjustments and output finals. Think of a copy editor who reads the piece and makes edits. They are removing the junk and refining the body of work. After the edit we retouch, which is an entirely different line item and billed at a different rate. It's not automatic that clients want to pay for retouching and it's not assumed to be included in the price of the job. Sometimes clients just want an unedited shoot which some people call a "shoot and burn", as in shoot the gig and burn raws to a DVD which the client would edit and retouch with their in-house staff. Now we just transfer everything online, so I guess we need a new name for that. "Shoot and send"?
Yes, many people do use the words "edit" and "retouch" interchangeably but that doesn't mean it's correct. Adobe Lightroom, Bridge and Capture One are photo editing software where we organize and make selects. Photoshop is an image manipulation program as it does a lot more than just retouch. Adobe is ecstatic that their program has become a verb, but let's avoid saying "can you photoshop out that power cord?". Photoshop will never appear as a line item on my invoice. Some people may think this is nit-picky and I'm just cranky. To which I say: "Guilty".
I admit, I went to art school for a graphic design degree and doubled in fine-art photography. I did not learn the proper terms there except for dark room development and camera operation. I started working professionally as a photographer's assistant at the age of 15 and I now have 19(!!) years in the industry with many years of apprenticeship under experienced professionals. This is where I really learned the craft. If I had to do it again I would completely skip college as it was an utter waste of time in terms of learning my trade, but it did pump up all of our egos and gift us with an inflated sense of self worth which was quickly crushed upon entering the job market. As a side note, not only is college way overpriced but the utter lack of content has made it irrelevant in many professions. Let's get on that! I do sympathize with new entrants to the field. For various reasons they weren't taught how to be professionals, run a business and communicate with colleagues, crew and clients. So let's make a small correction and understand that we need to respect the established standards and hold those up because without them we're just talking in circles.
Artists of all types are well known to be prickly. Even though I am an artist, I am also in the service industry and my business thrives when people recommend me and I get repeat business from happy clients. Yes, of equal importance is being a master of my craft but a lot of the details that I as a filmmaker and photographer obsess over may never be noticed by the client. In reality, will anyone notice that the color temperature is slightly off? Or that stray bit of makeup that I retouched from my 42 megapixel image when displayed on a website? No, probably not. But those details are picked up in totality which separates the true professionals from the crowd.
What they do notice is that I show up prepared, on time and the way in which I deal with unexpected problems. All too often I show up to shoots to find out that the subject I was supposed to film was unable to make it due to a last minute conflict. Instead, I find out, we will be shooting something else entirely. Or, the location we had reserved has unexpected maintenance so now we need to shoot in a tiny windowless office because that's all that is available. Oh, and we need to be out by 2pm. Further, we still need the look we are going for so we will need to move some furniture and press up against the wall to get the angle we need.
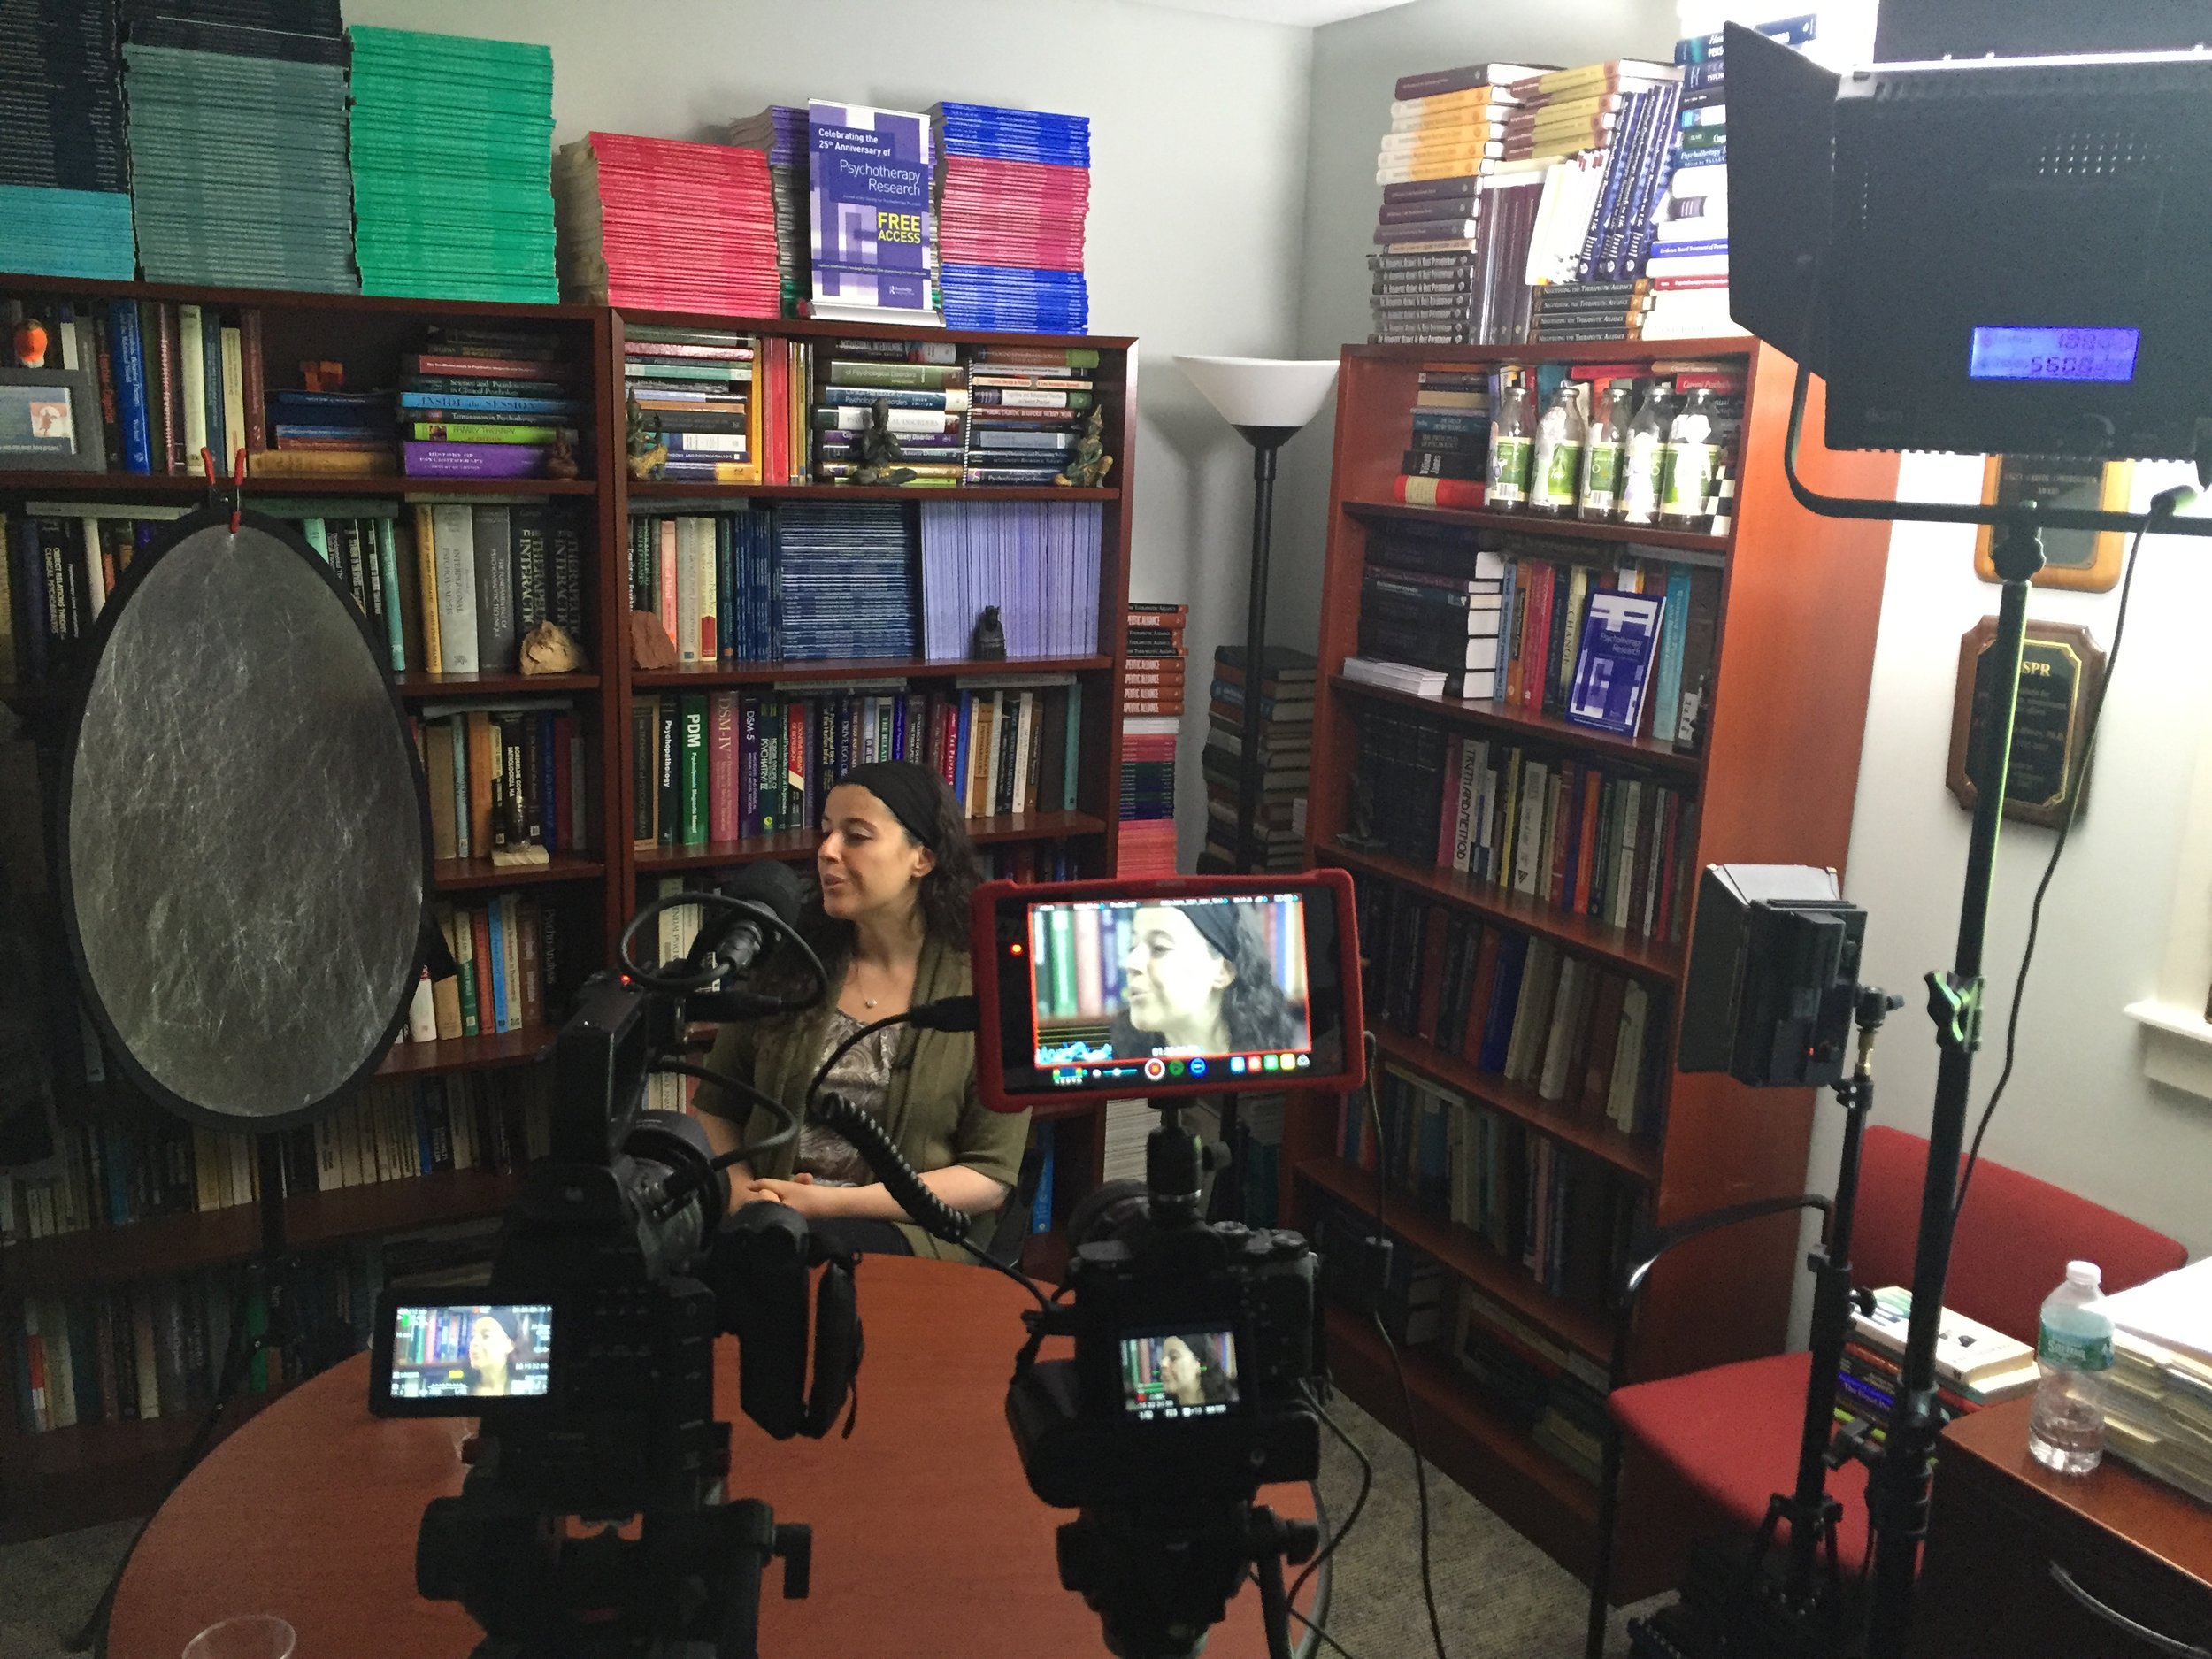
Two camera shoot with lighting in a windowless office.
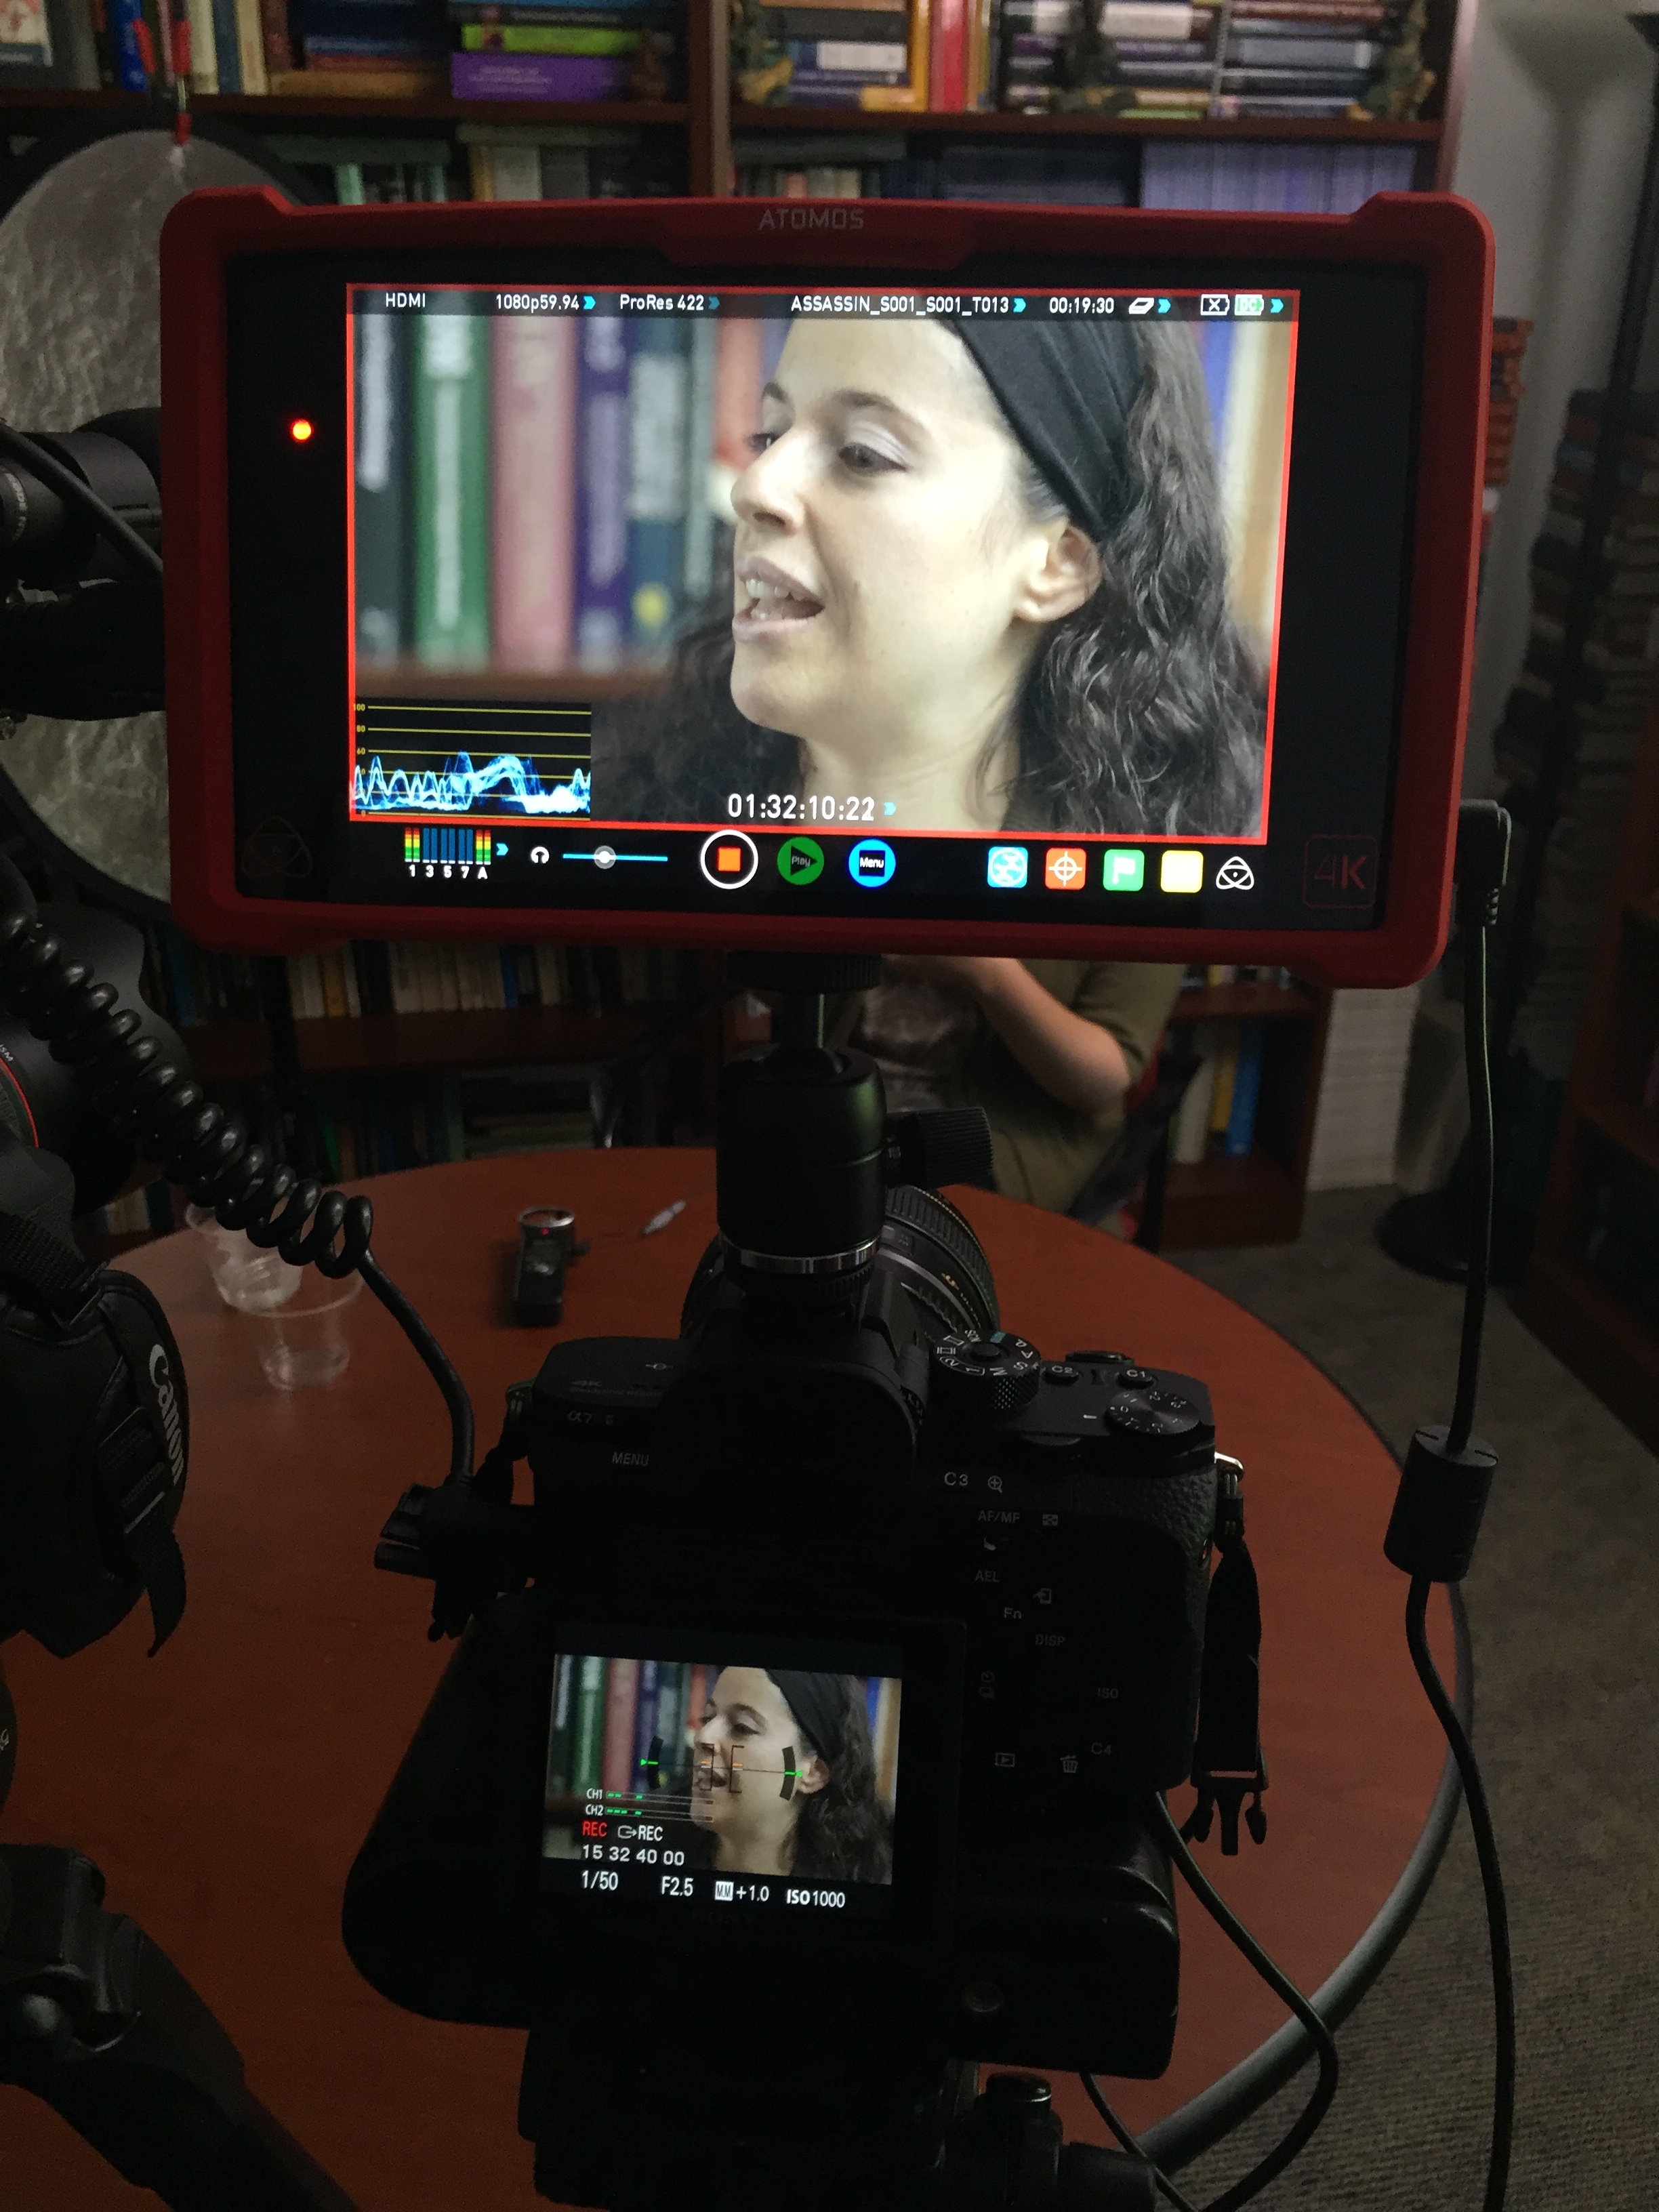
Atomos Ninja Assassin, 4k recorder/monitor.
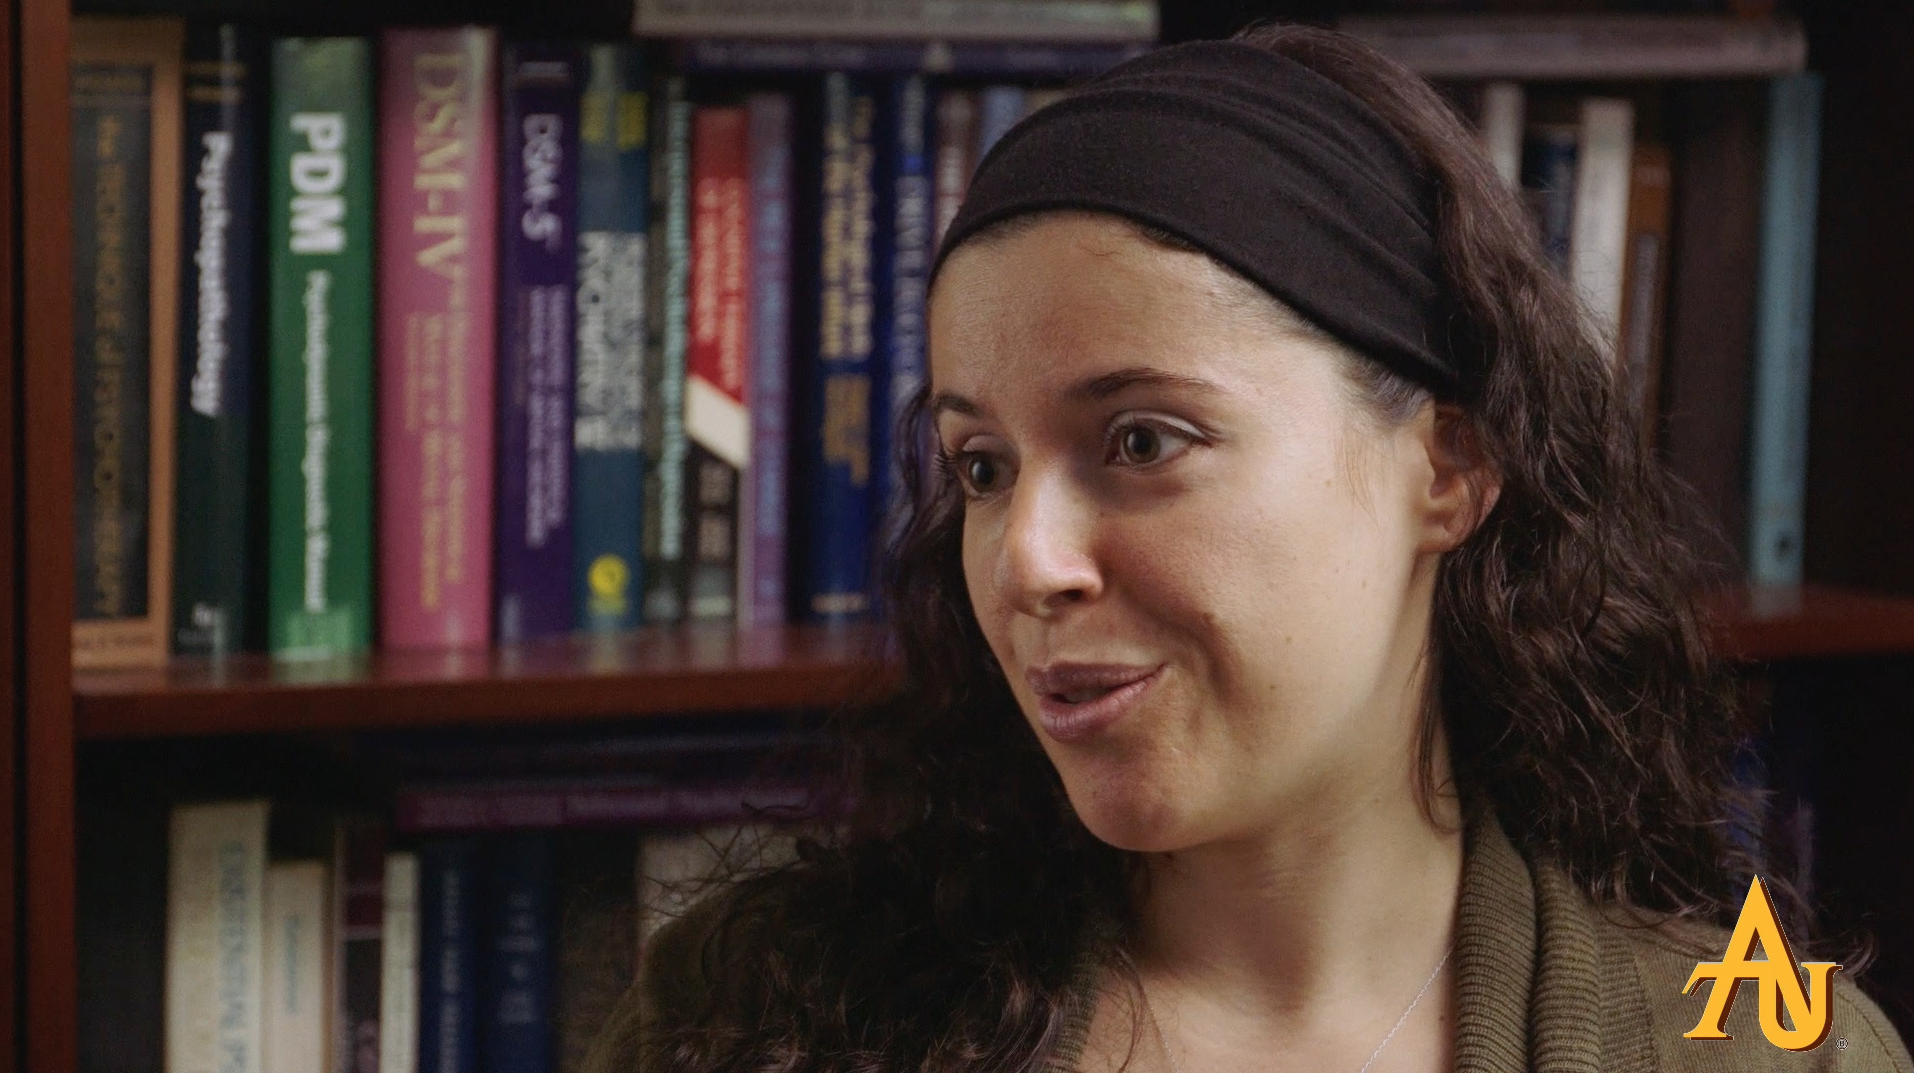
Final graded result with moody, natural looking lighting.
A diva responds to these problems with indignation and is thrown off their game because things are not as expected. "I can't work in these conditions" would be the stereotypical response. In fact, I can and will work in these conditions and I will do the best job that is possible. Work is expected and work will be delivered. Yes, there are times when a job is quoted and then reality throws that quote out of the window, but as long as expectations are realigned and all costs are covered then there is no reason why we can't produce something despite the rain, jackhammers, or time crunch.
I can't tell you how many times a client has said how happy they were with how easy I was to work with, which to me is shocking. It is hard for me to imagine that someone would have a bad attitude on set or in any professional environment. Nevertheless, I'm ok with it, because it's just another way that I can outshine the competition without spending a dollar.
Like any filmmaker or photographer I want to bring the kitchen sink with me when I go to a job because I want all the flexibility possible. What if we want to do a walking shot, do I need a stabilizer? What if we shoot an interview outside? It's possible to paralyze myself by thinking about all the infinite possibilities, especially when traveling. When traveling we have case size and weight limitations, not to mention I can only handle so much when walking through the airport.
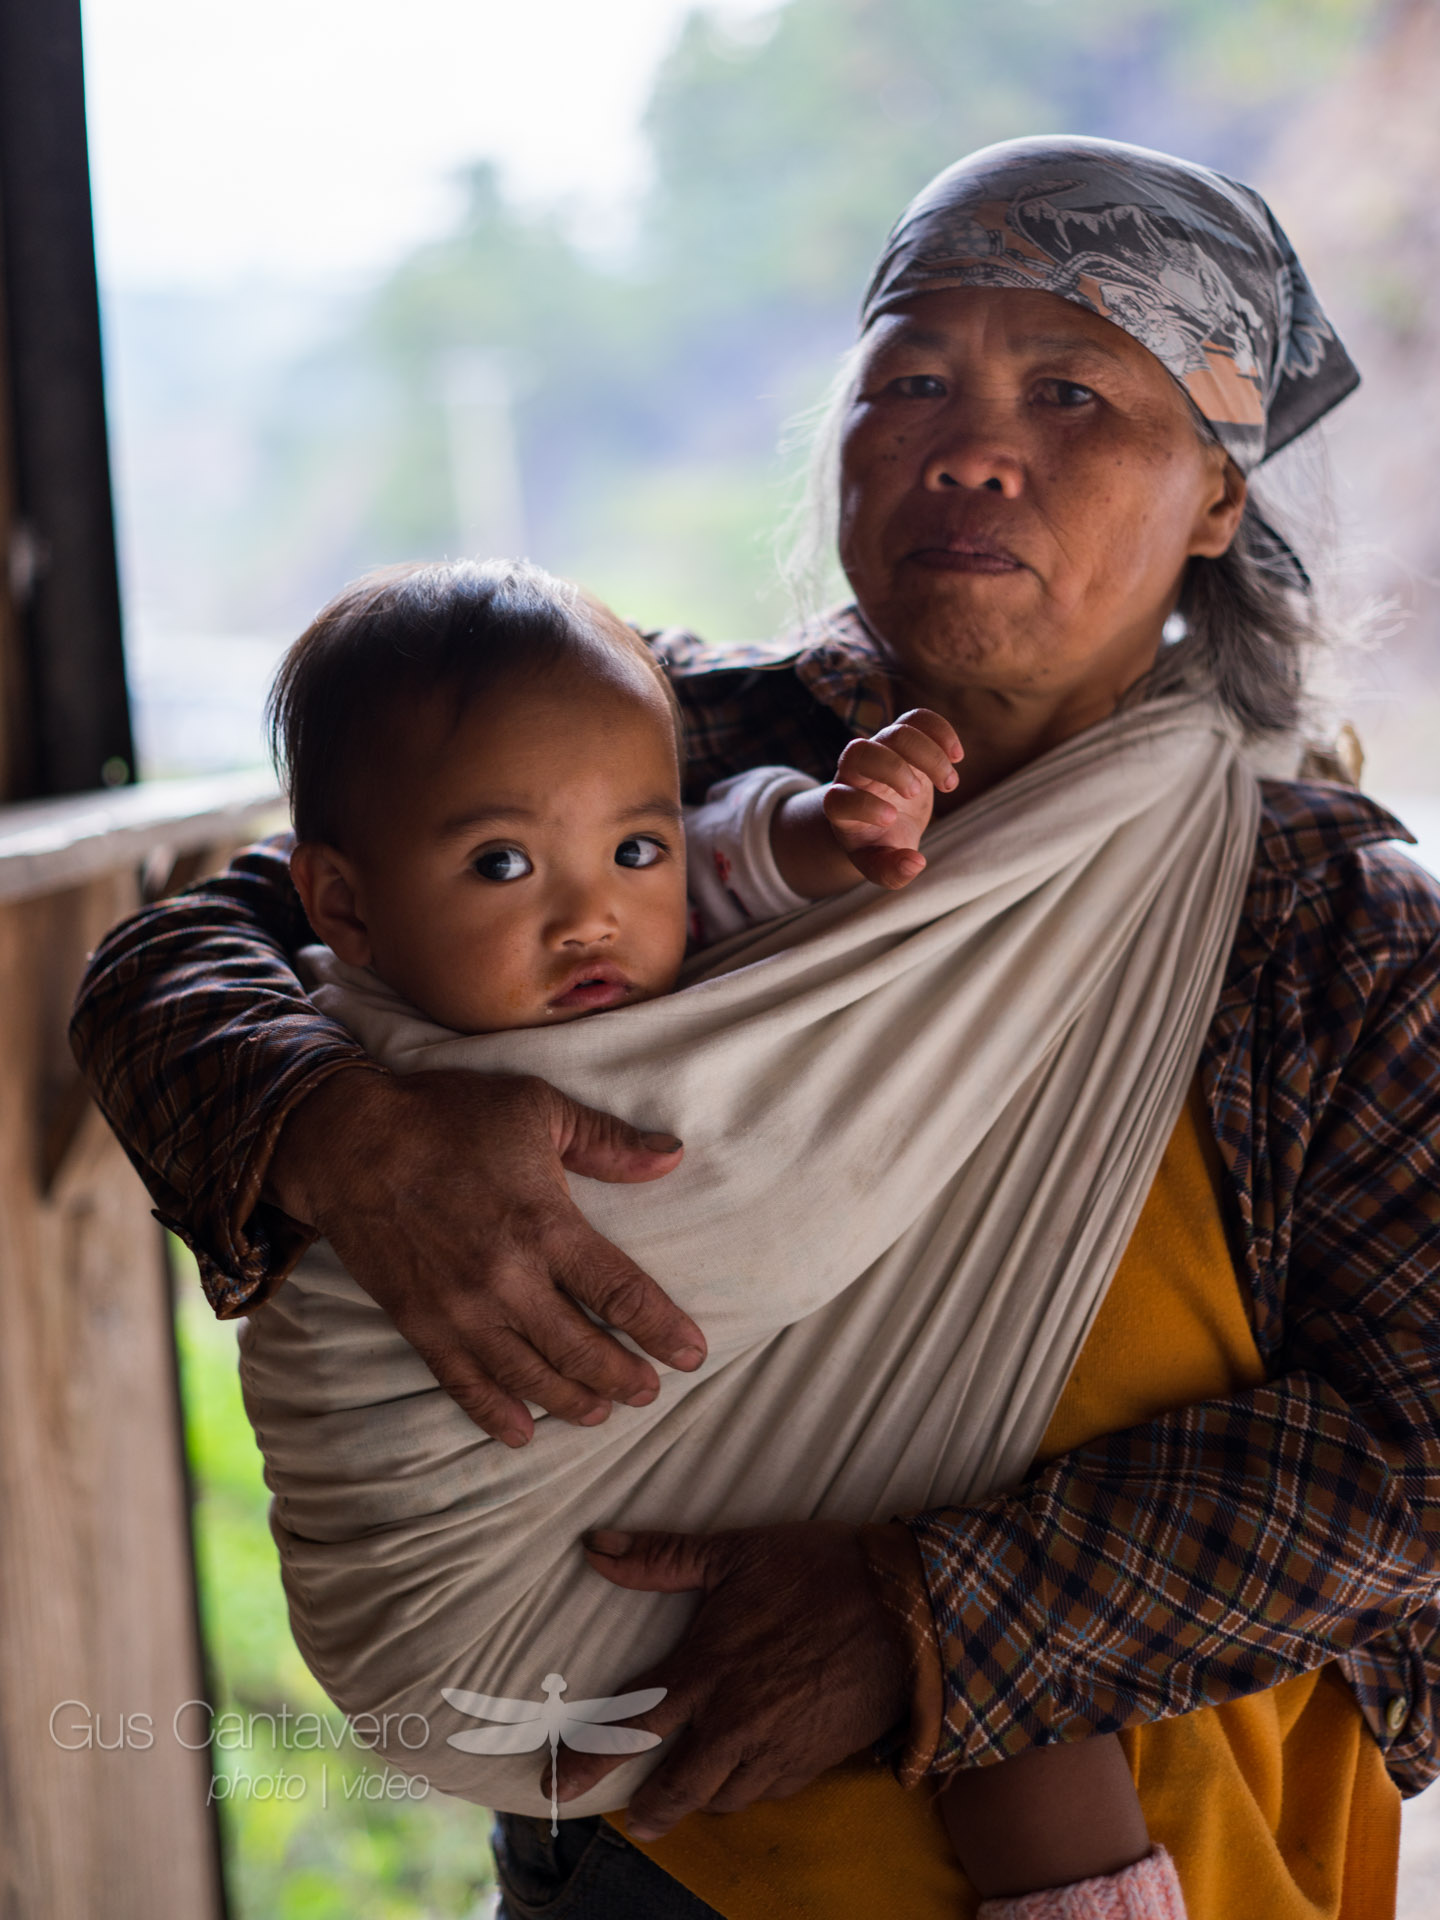
Small cameras are very disarming to many subjects who would otherwise be very shy in front of an intimidating DSLR and large lens.
Planning, preparation and practice is key. At a certain point you have to call it. You need to just say, "enough is enough" and take what you can fit in your bag and just leave the office knowing that you've practiced with the equipment you have and know how to get the best results with what you have. However, I've made some conscious decisions in the past year to make my kit as travel friendly as possible while still giving me maximum flexibility and output.
First, I tackled my camera system and ditched the heavy and bulky Canon DSLRs for lightweight and thin Sony a7r mark II and a7s mark II. I still have my Canon c100 for when I need it. Additionally I got rid of my heavy f2.8 zoom lenses in favor of the lighter and smaller f4 versions. Yes, I am losing a stop of light but the incredibly clean high ISO performance of the camera bodies easily compensates for that. I can even power the Sony cameras through cheap and readily available USB cell phone chargers so I don't have to worry about the smaller battery capacity. Using the a7s II with internal stabilizer, coupled with Sony's outstanding stabilized lenses and continual auto focus I am able to attach a couple lightweight aluminum handles to my Varavon Zeus cage and with some practice I can deliver very stabilized shots which eliminates the need for a gimbal or steadicam in many situations.

Carrying a small package is valuable in third world countries where you often have long days of shooting and you need to keep your gear on you at all times. First, it's unpredictable and you need to be ready to get the shot. Second, there is no security.
Next I reevaluated my support system and rid myself of the heavy aluminum tripods and sliders and got a Really Right Stuff carbon fiber tripod and Rhino carbon fiber slider. The weight savings here is significant and means I can take my slider with me more often thereby allowing me a higher quality production value on those smaller shoots when I normally wouldn't have brought it with me.
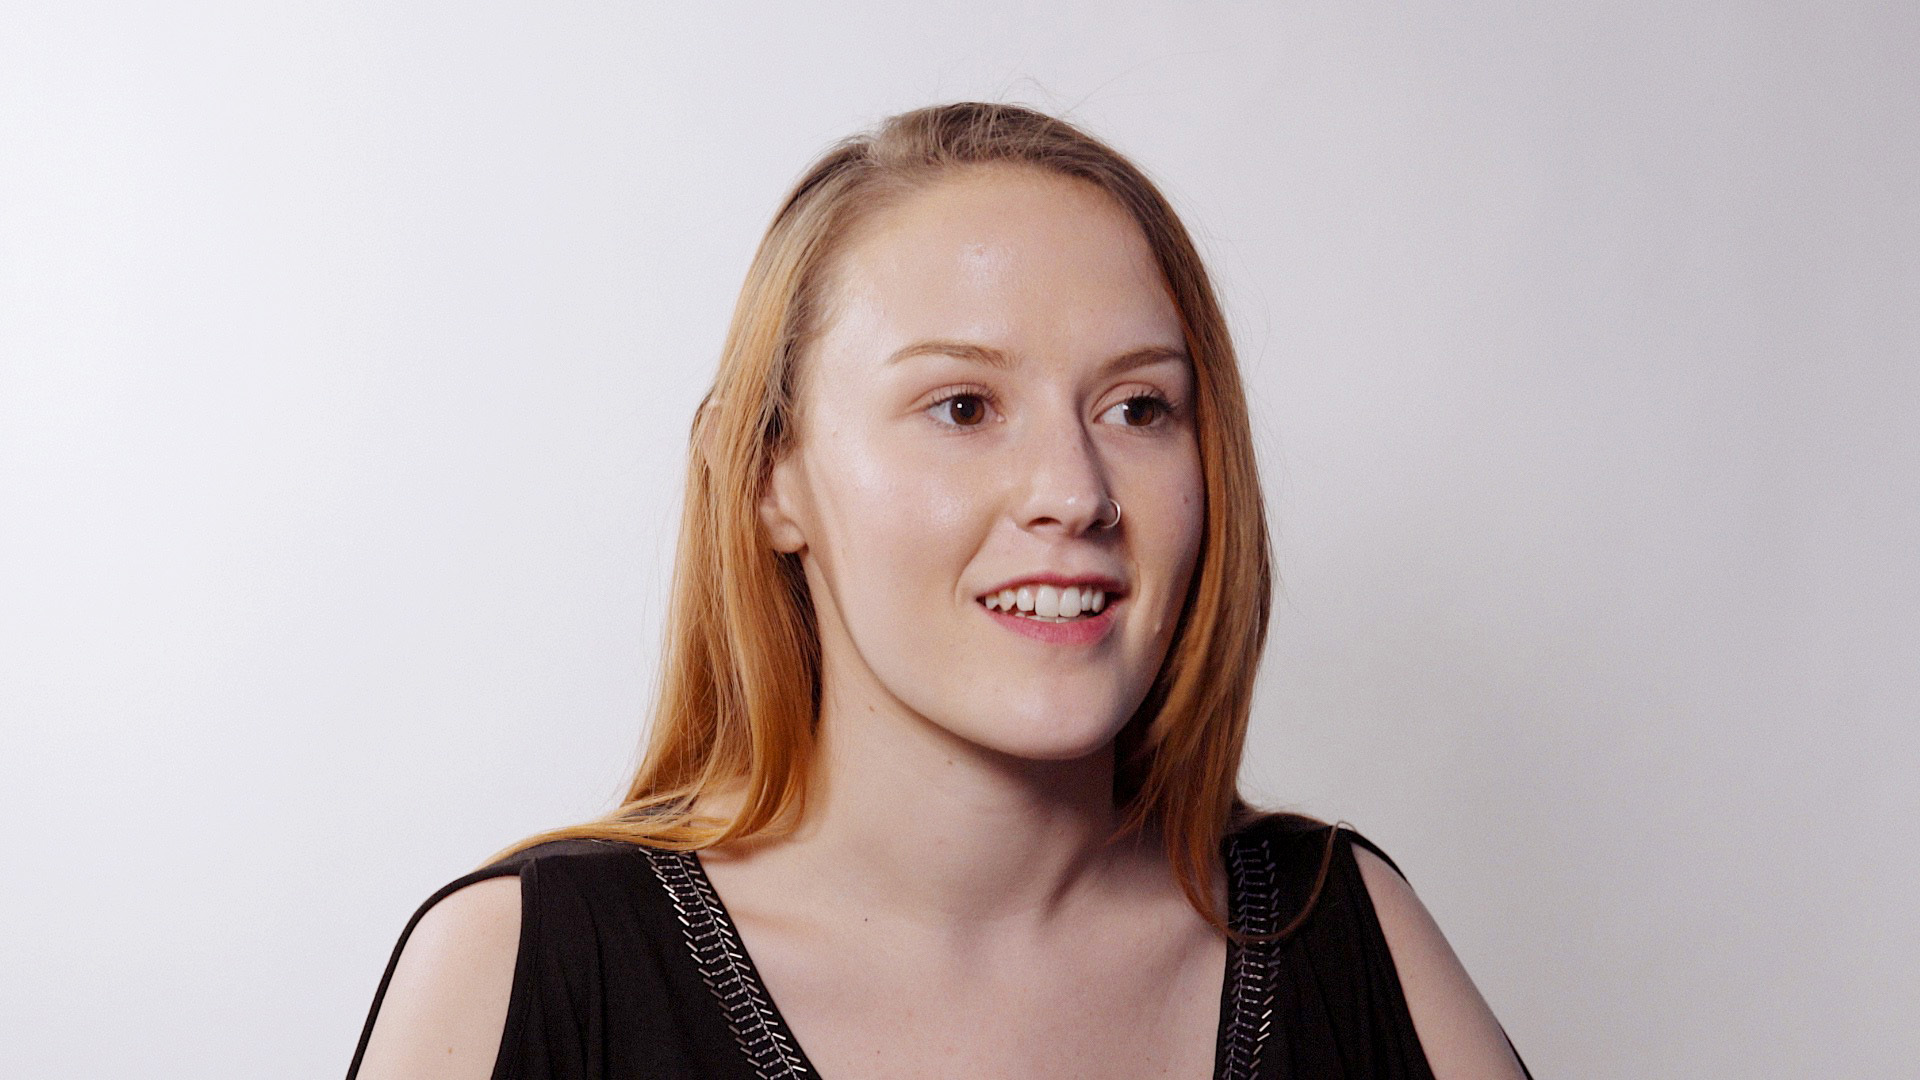
A still frame from the first interview I lit with the Westcott flex panels. There's only two lights being used in this shot at 40% power.
Equally as important as camera or support was my lighting approach as sometimes you just don't have a good source of light on location. Years ago when I switched from tungsten hot lights to LED it was a big step and made shooting on battery power in remote locations a real possibility for filmmakers like me. But now I'm unloading my lightpanels for the next wave which is Westcott's amazing flex panels which way mere ounces and are a 1/4" thick. This lets me pack my lights in my camera case and bring my full studio production on the airplane and in to my client's office.
No, none of this stuff is cheap. In fact it's all very expensive, but that doesn't mean you have to buy it all at once. I am a believer in buying quality items over time to make it more affordable and obtainable and selling the things you don't use. High quality products will make your work better and in the end make you more successful as you continually bring up your production value and deliver better results to your clients.
I don't want to leave people with the impression that it's all about the equipment, because it's not. A great photographer or filmmaker will make something great no matter what they're given because they have the talent to make use of the tools. So the first thing that you need to do is just shoot and edit with a careful eye to study your mistakes. Then study the technology to perfect your craft to make the best of what you have. Then, when you do add something nice to your kit you'll excel even more.