
When we built the studio last year one side was intended for photo and video and the other side was intended to be used as my workshop. In addition to my photography and filmmaking I love working with wood. I’ve made many picture frames and boxes and recently I started experimenting more with cedar which in the past I’ve used for fencing. But I discovered the Japanese technique of shou sugi ban, which is applying heat to cedar to make it permanently insect and weather resistant. I used that technique to do the siding on the studio which looks really cool. If you just give cedar wood a quick blast of high heat it won’t char but the color will change, adding more depth to the wood. So I thought it would look really cool when used on various applications like boxes, or even a vase like this which can hold more colorful bouquets.
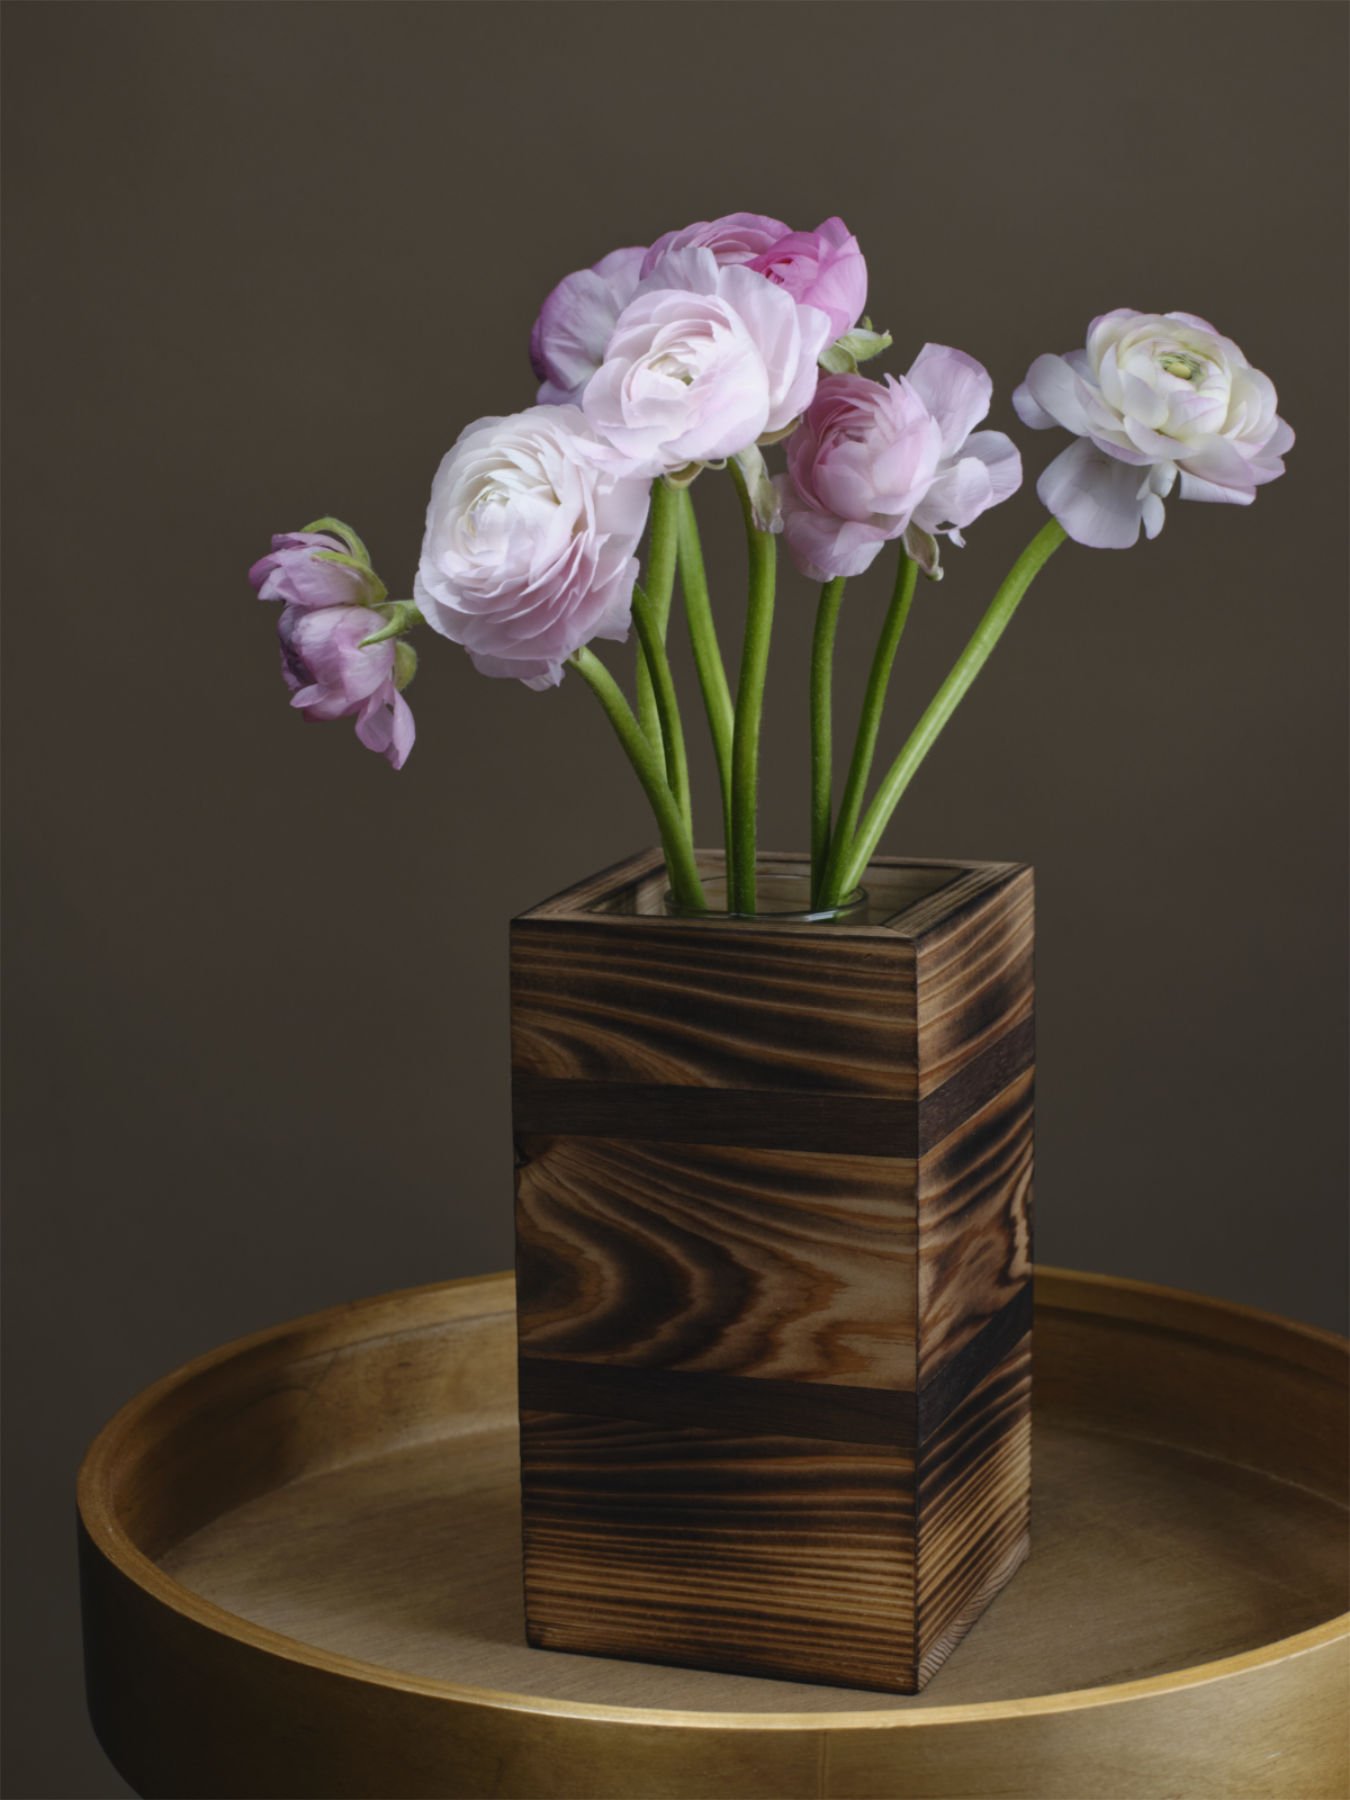
A handmade cedar and walnut vase.
Whenever I make physical art I like to take beautiful photographs of it in the studio. Since we have a daylight studio Gillian will get to work styling it and then I’ll set up the lighting and we finish off the process. I’m really attracted to soft natural light and reflected light. So we used natural window light and some simple studio tools.
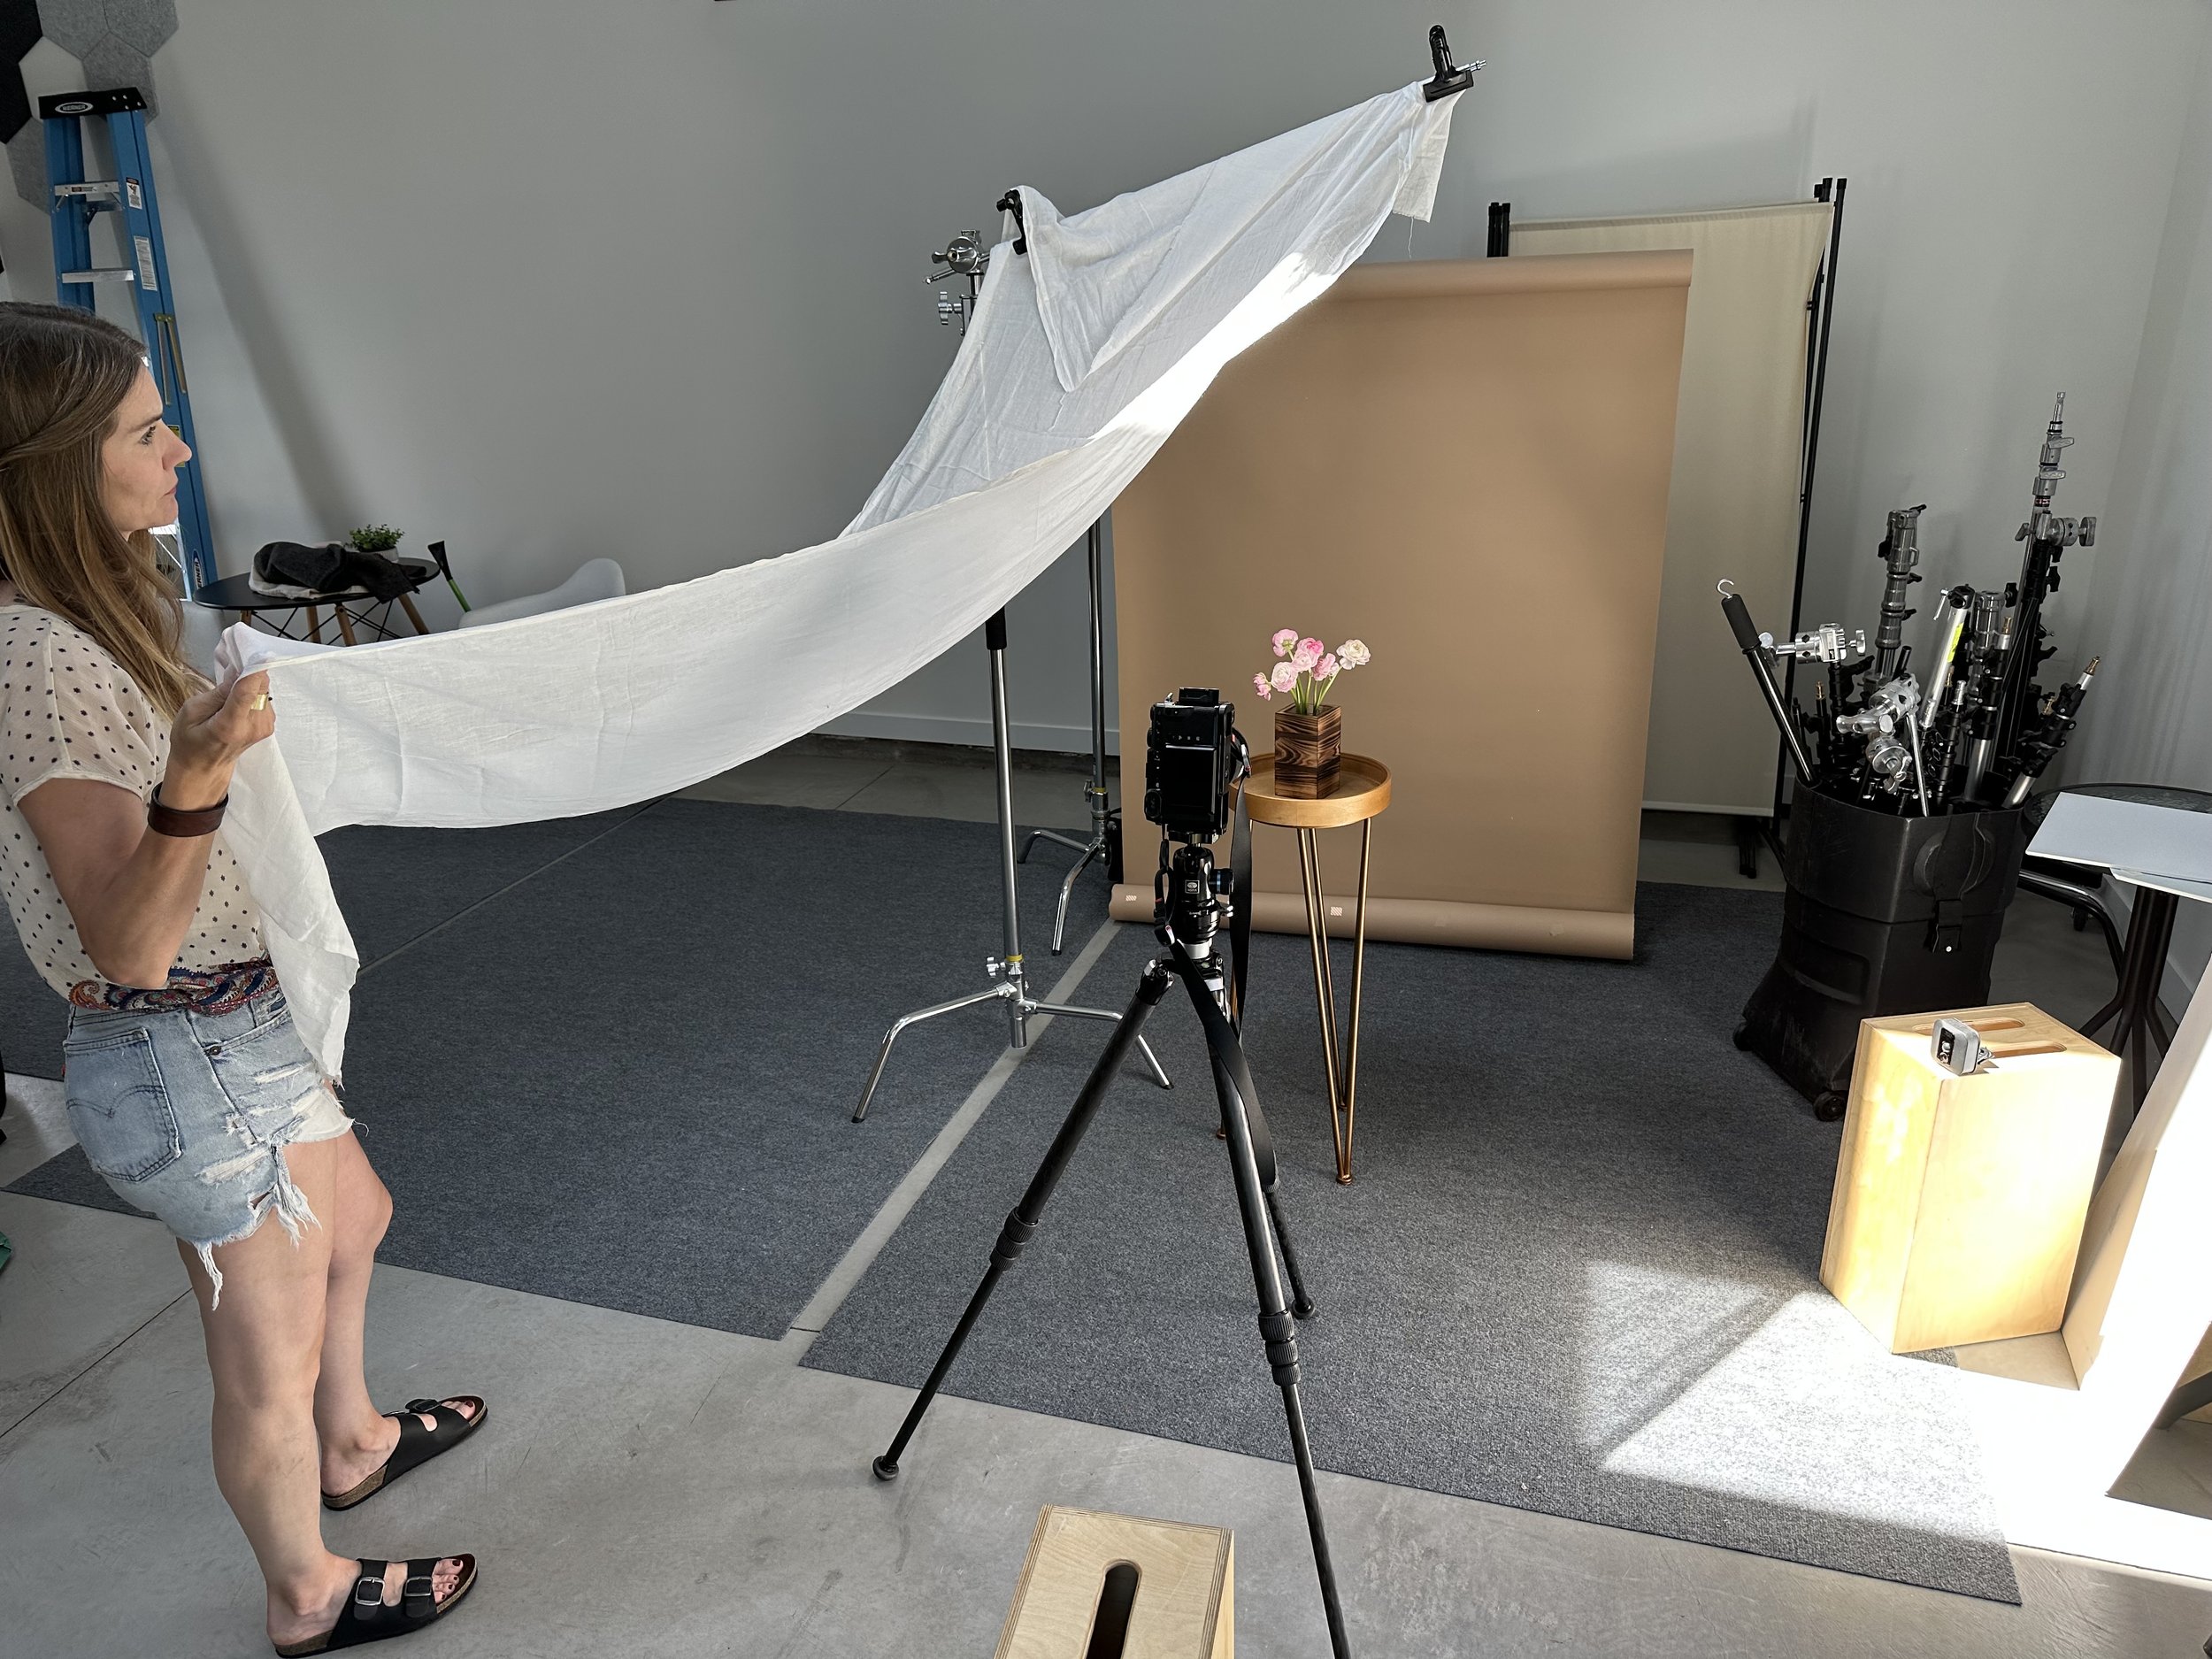
This is such a simple shot if you want to execute something similar. We used natural light coming in from the skylight which I bounced from a white foam core card available from any crafts store. Then we used a thin white cotton piece of scrap fabric to diffuse the overhead light.
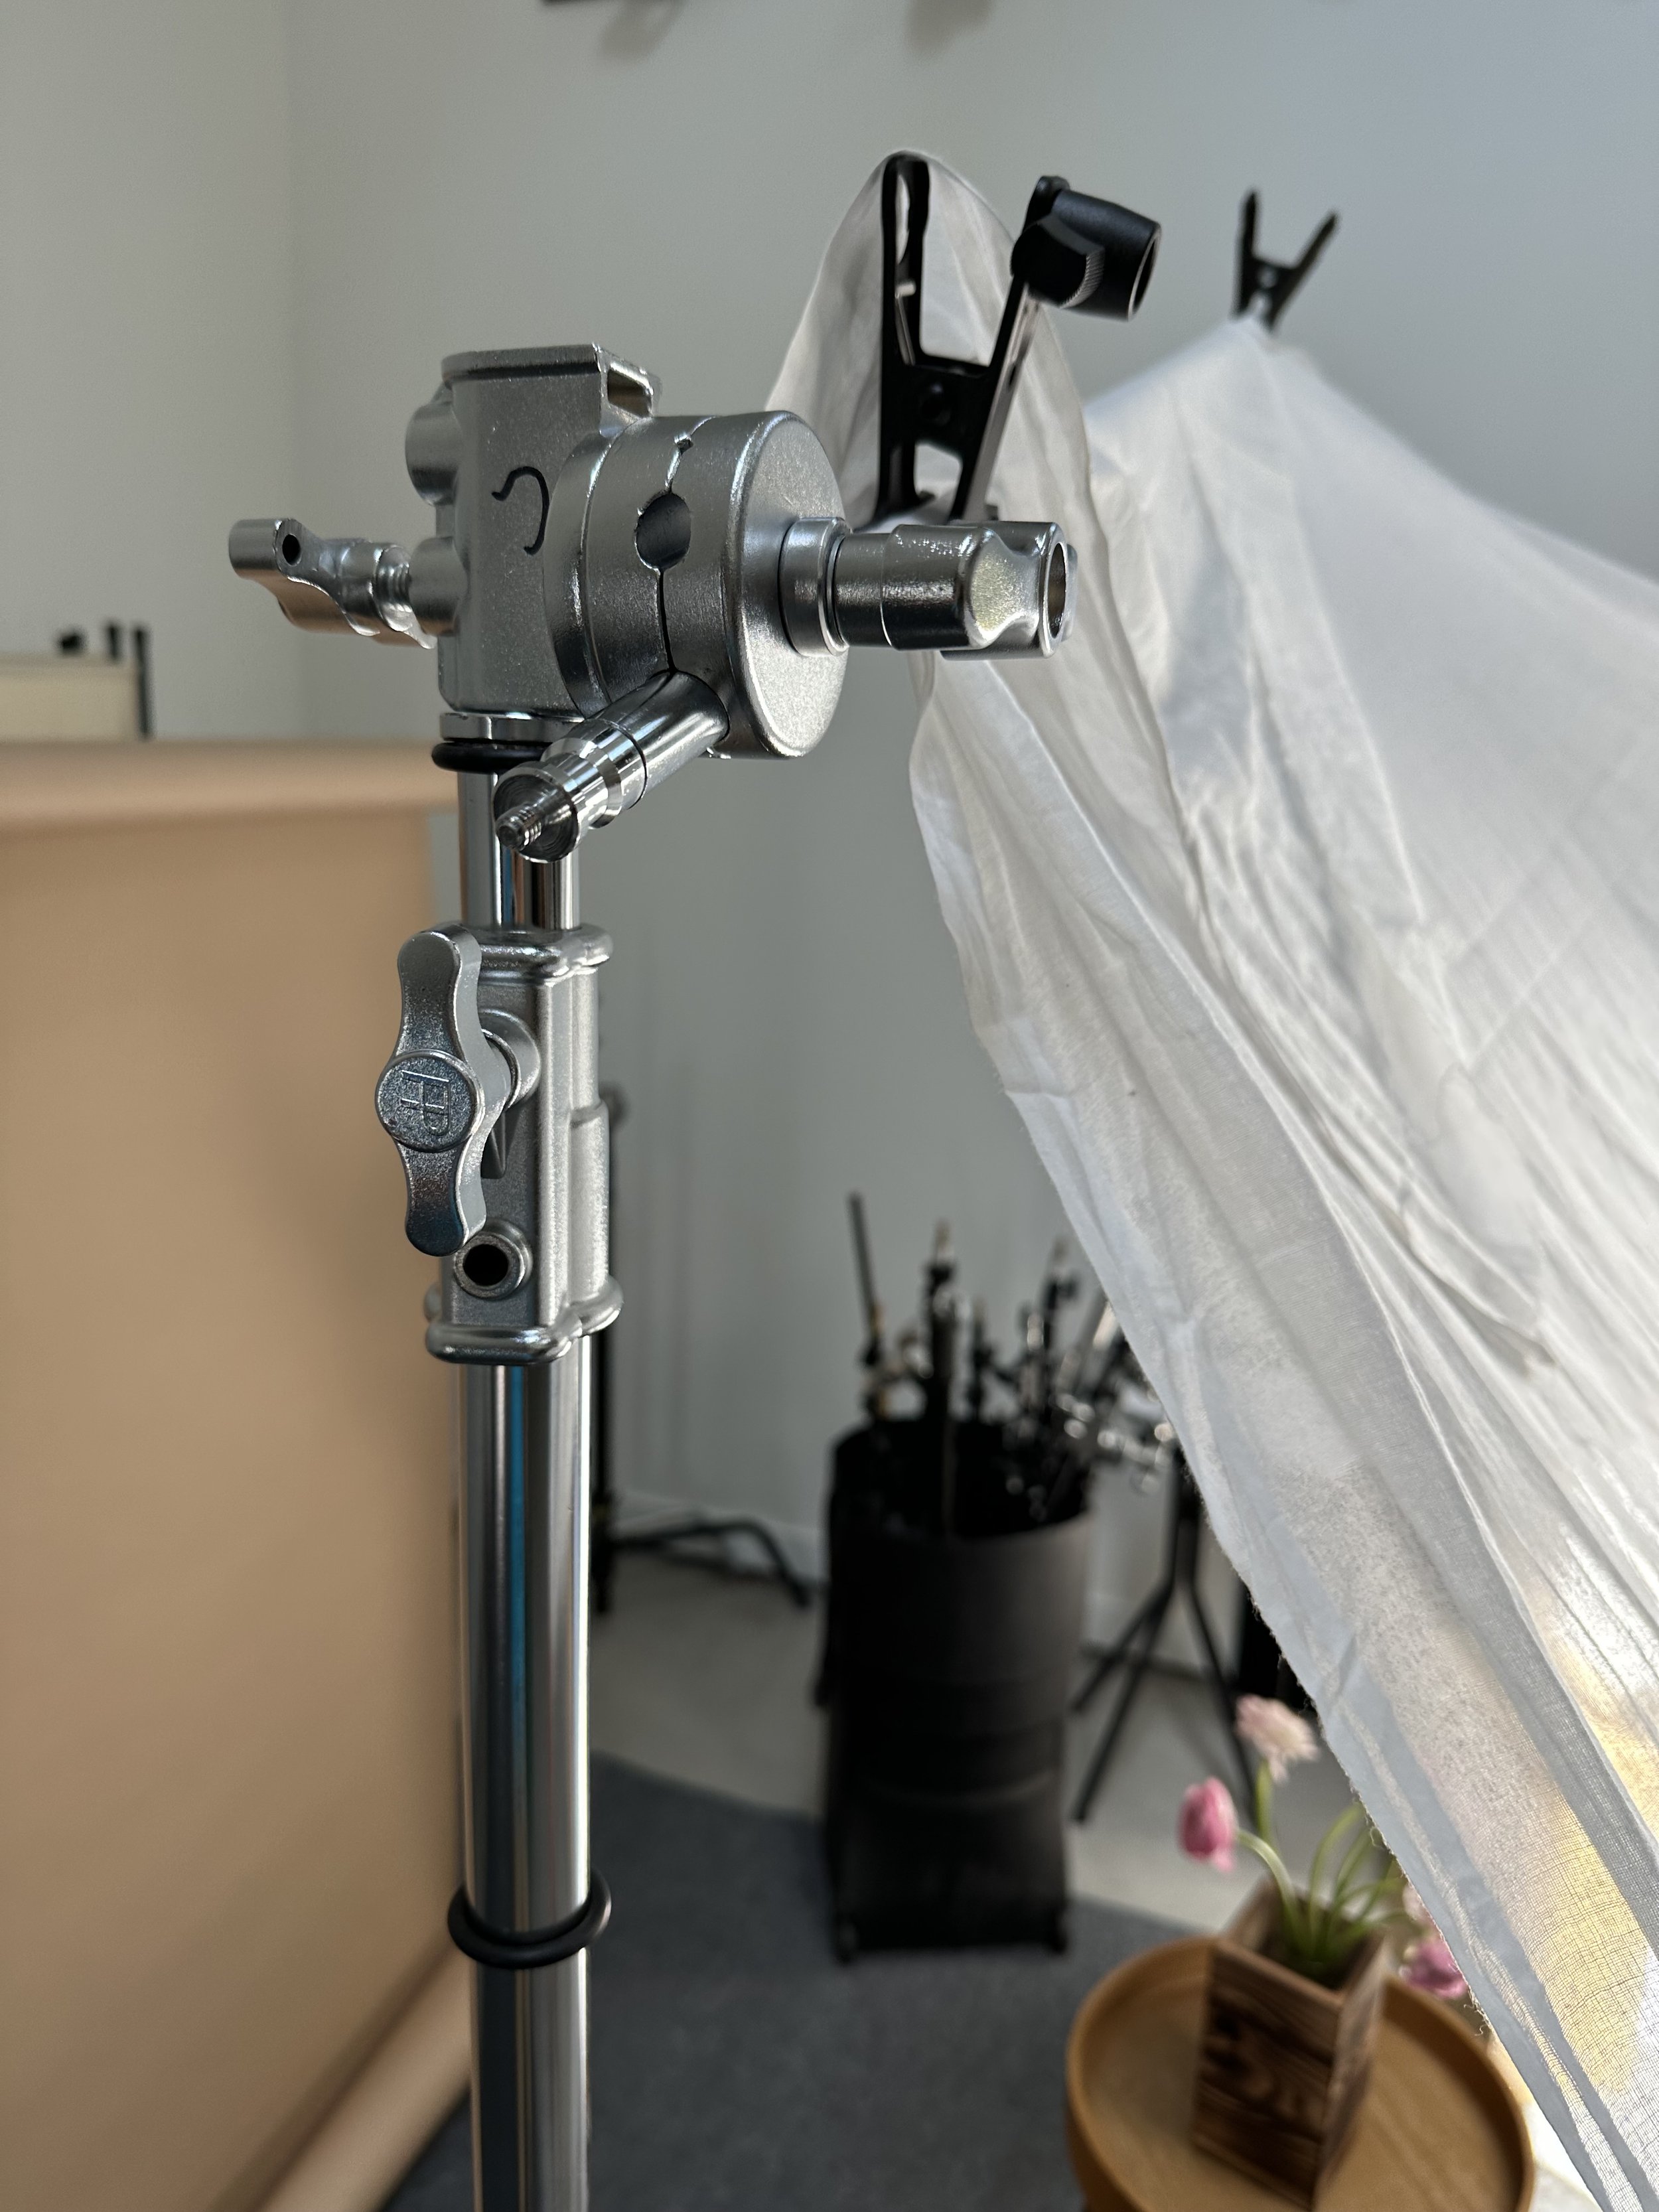
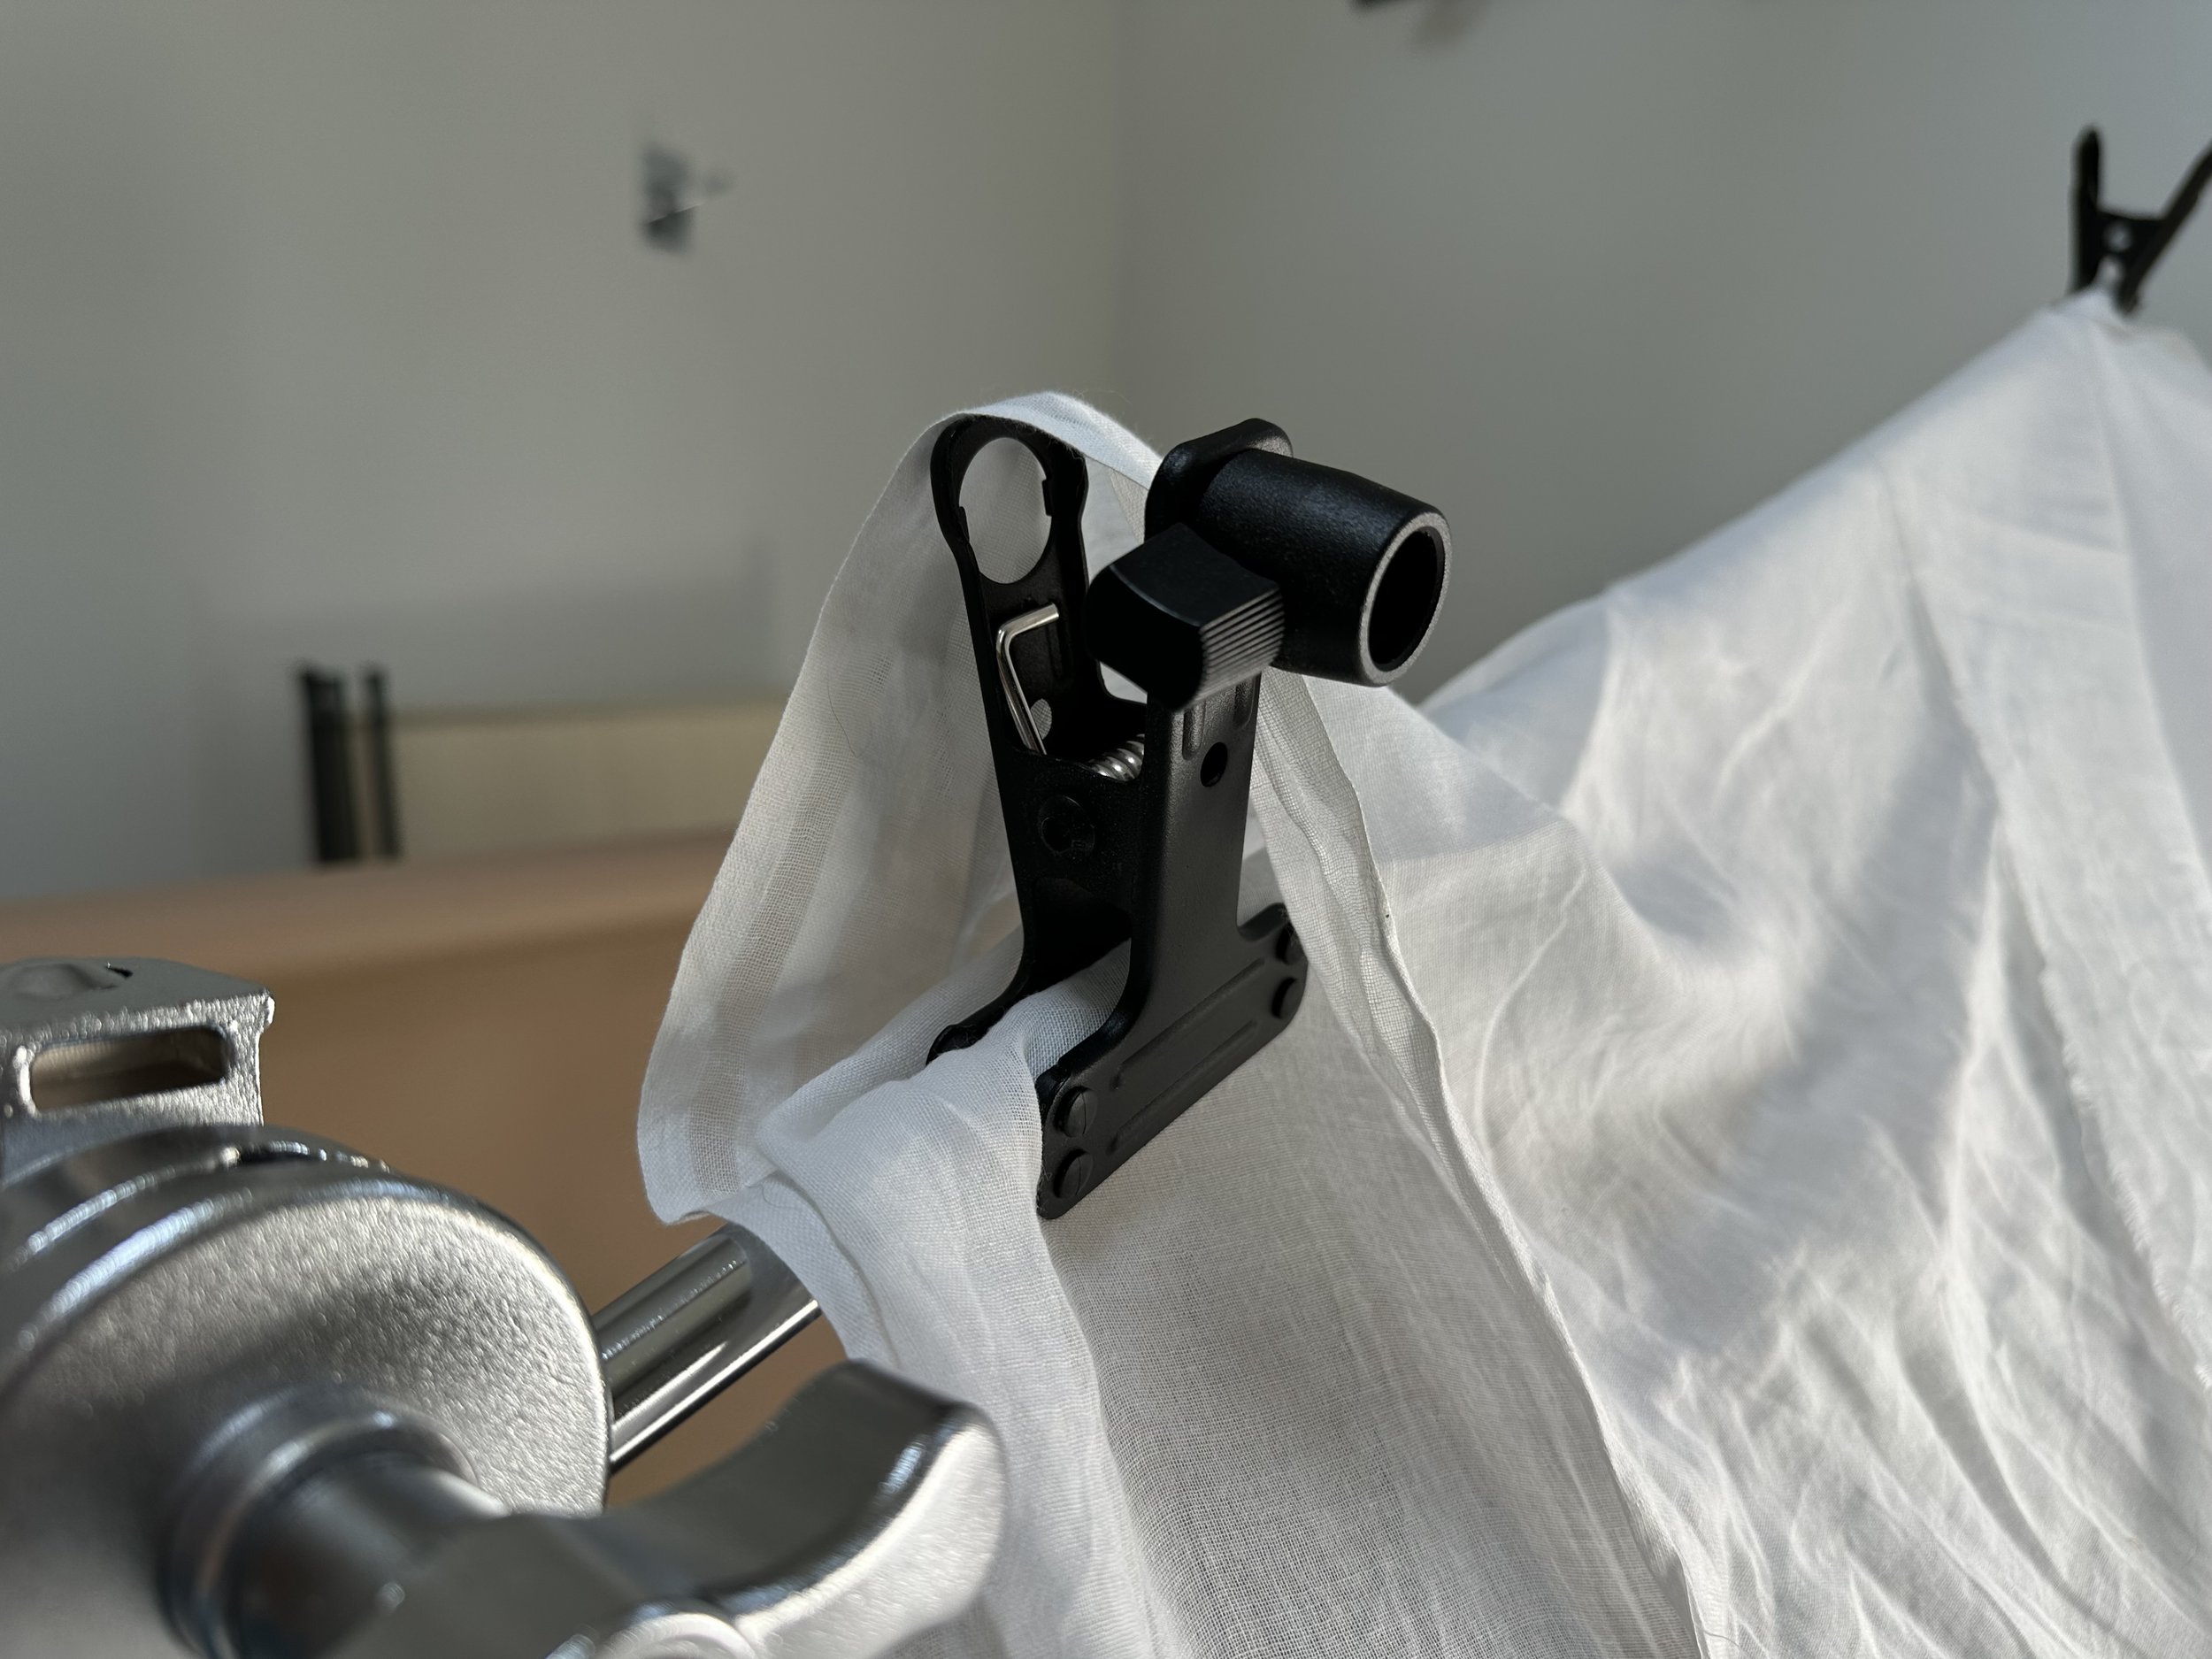
The tools I’m using here are pretty affordable and easy to find as well. First you need a heavy stand to support the weight of an arm being extended. I prefer heavy c-stands like this one. Then you’ll need several of these really cheap clamps (like this small one from Impact) which are more of a duckbill design so they grab on to polls. Normal spring clamps, or a-clamps as they’re called in photography are not adequate because they’ll slip right off of an arm, or gobo arm as they’re called. The arm often comes with the stand, like the one I linked to above. Then, make sure you weigh down your stand with bag of rocks or a proper photo sandbag like this one.
You can do so much with such a simple setup! There’s no need to go over the top and spend a fortune on equipment before you’re really ready to make the leap. If you’ve got an etsy page or need simple product photos that you want to do yourself you definitely accomplish the look you’re after with a few simple tools! Good luck!